Our first adventure in cutting a hole in the side of our new home was for the bedroom window.
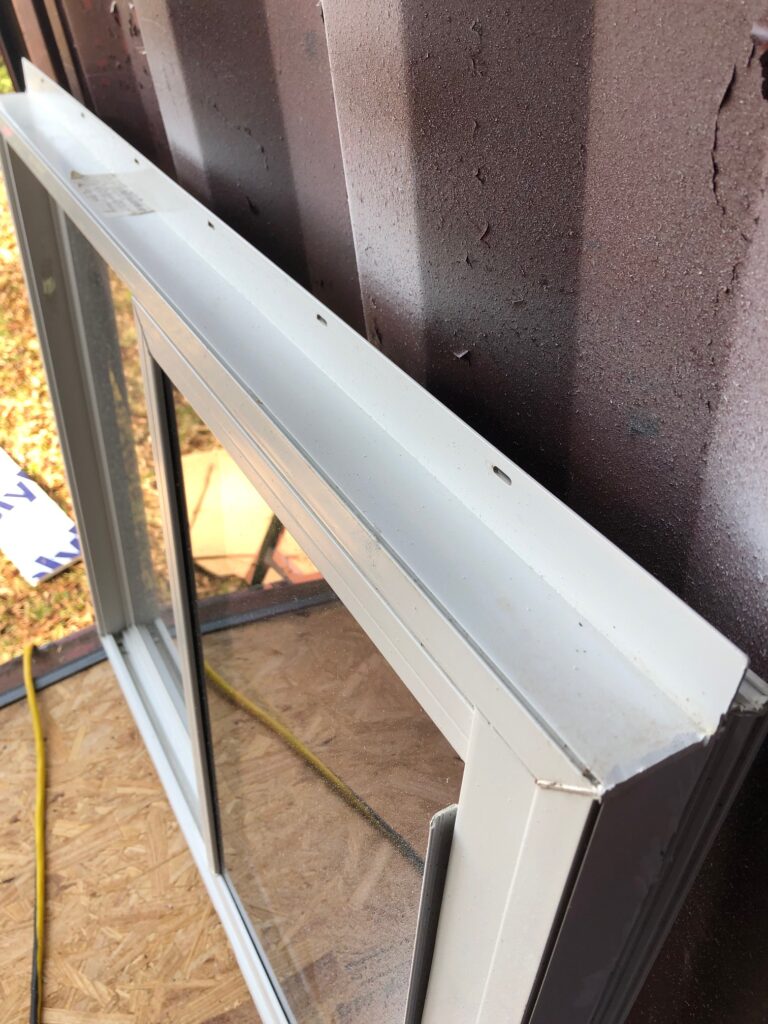
We already had in our backyard shed a brand-new vinyl window. We’d bought it at a flea market for 40 dollars, imagining we’d use it someday. It was a “new construction” window, meaning it had the flanges around the edges. I think it was 30”x36” but it doesn’t matter for the purposes of this blog post, and in any case at this particular moment I’m 2219 miles away from the container so I can’t very well pop out and measure the thing.
Figuring out how to mount a window (and later, a door) in the wall of a shipping container was possibly a bigger challenge than the framing. On second thought, maybe it was less challenging than scary. After all, you don’t want your windows and doors falling out of the house. Also, if you cut a hole that’s too big, there’s only so much gap that caulk can fill.
As with just about everything on this project, I went online—including to YouTube—to learn, and as with just about everything else, found people using a wide range of methods of mounting windows and doors.
You have to cut a hole in the corrugated container walls, of course, but what do you attach your door or window frame to? Some people made steel frames, welded those to the container, then added lumber to the inside of the frame to create a traditional mounting surface. Most people, however, devised steel frames of one sort or another, then mounted their doors and windows directly to them.
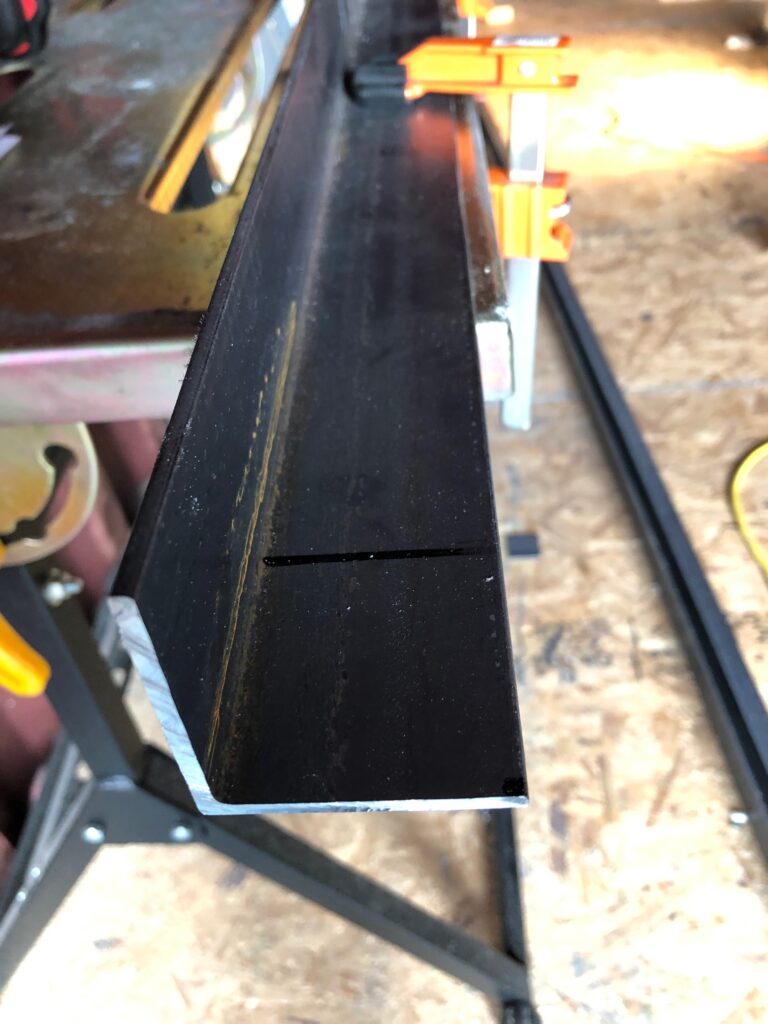
One option was square steel tubing, but while I’m sure it’s solid this seemed to me like overkill. The other option, which is where we ended up, was angle steel. I’d weld a frame, then weld that to the container-wall cutout, then mount the door or window directly to the steel. I don’t think this method would work if you’re using aluminum windows, but because ours are vinyl, there shouldn’t be a problem.
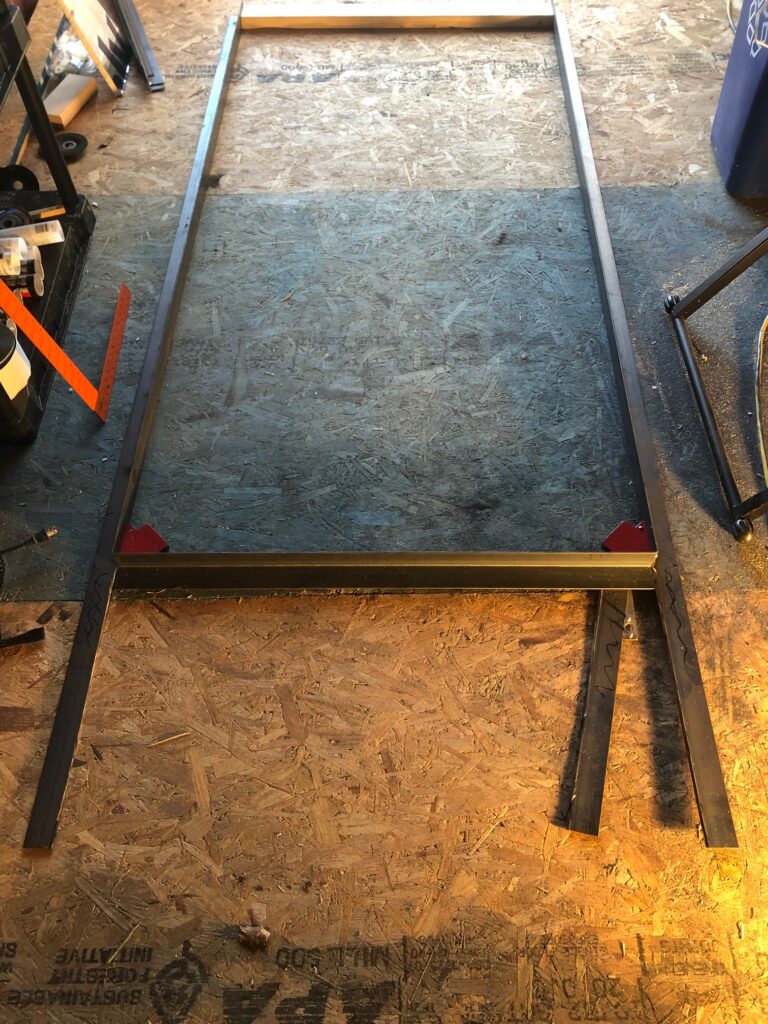
The steel I chose was 2”x2”x1/8”, and it’s really solid stuff. No chance of bending or wobble, at least over the longest distance we’re looking at (around eight feet max, for the door frame) and when welded in place.
THE WINDOW
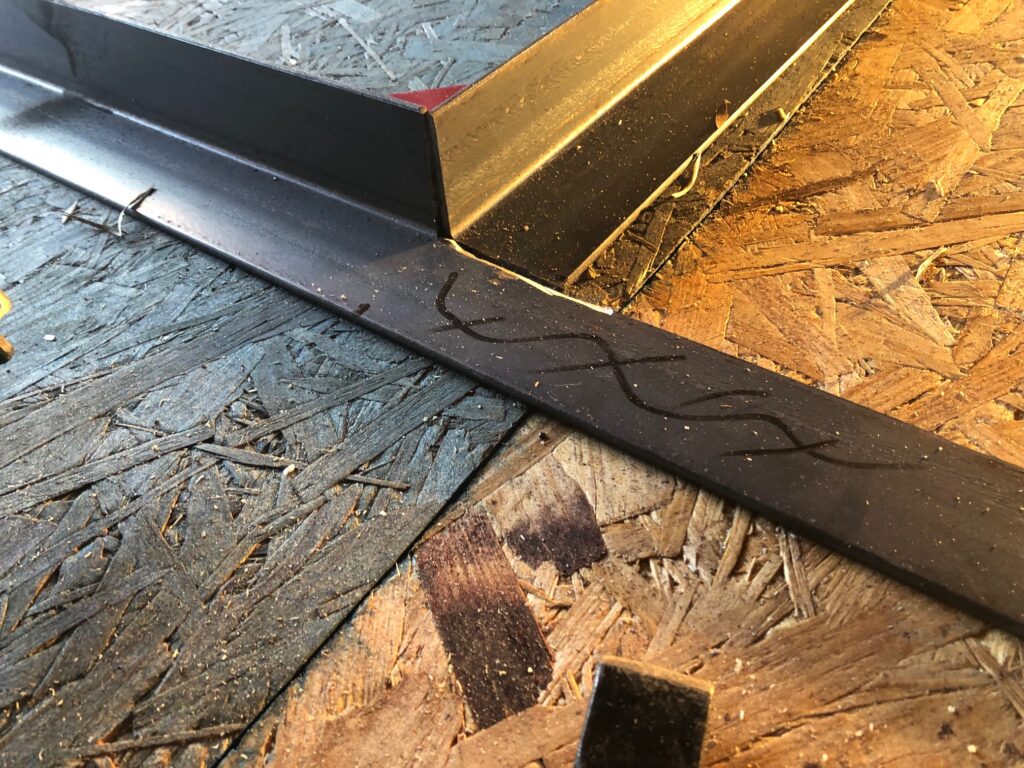
I’d build the frame in such a way that a flange is created, and the whole thing can simply be slid into the wall and welded, leaving a two-inch surface to which to mount the window.
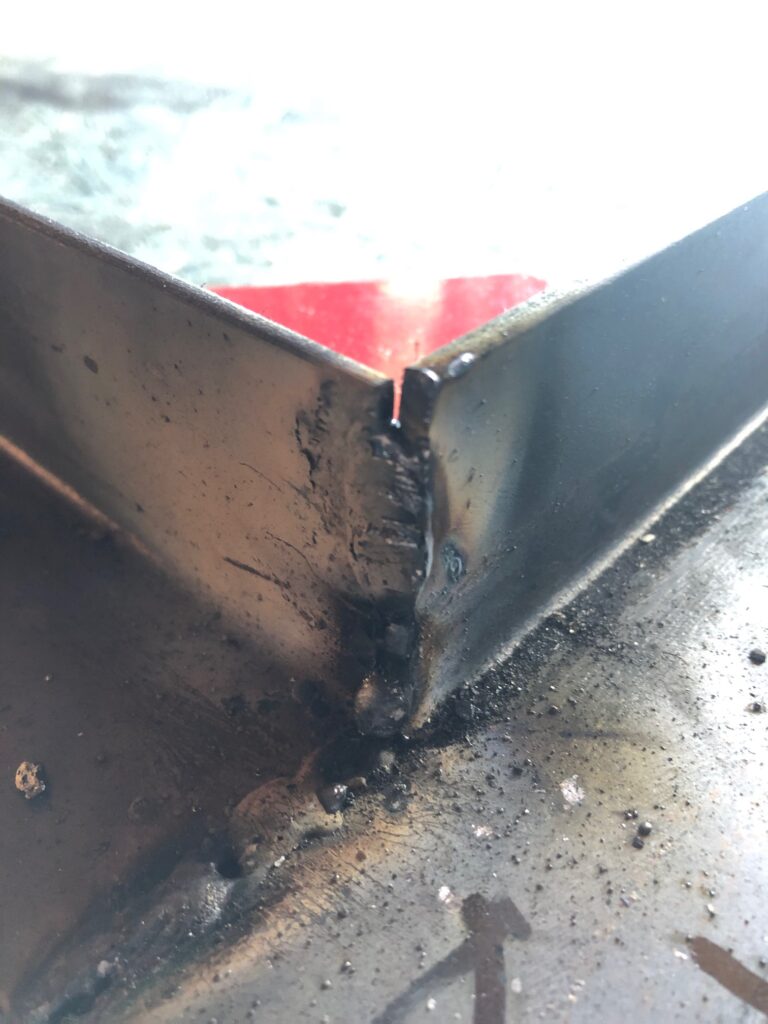
Next it was time to fire up my welding machine.
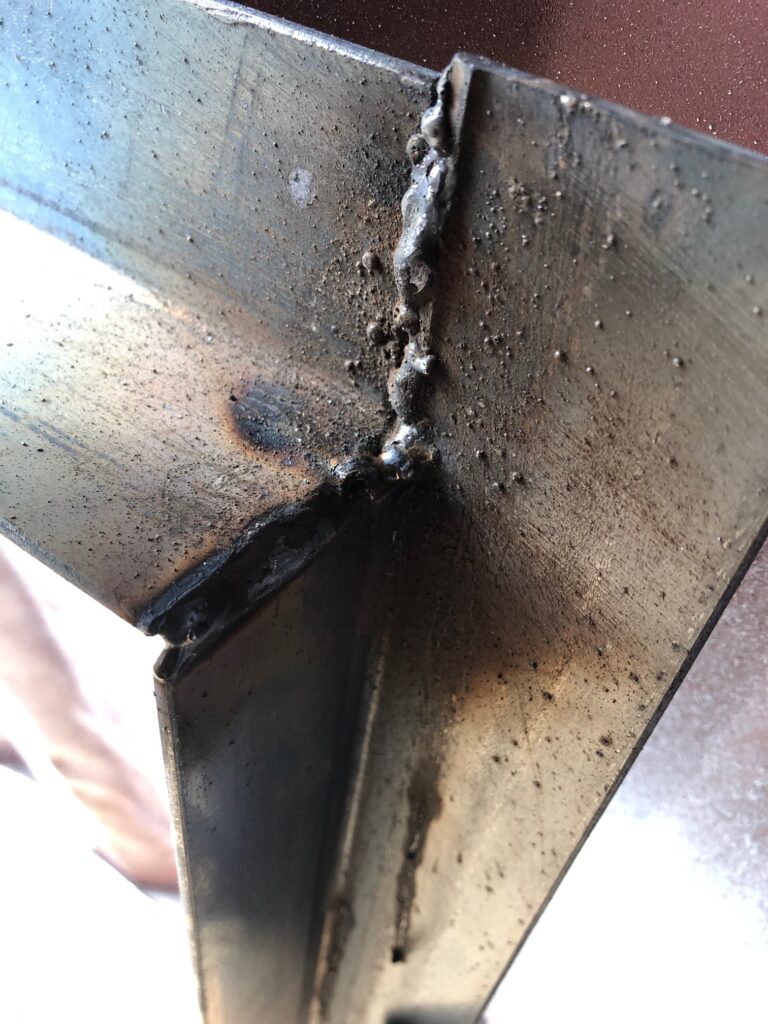
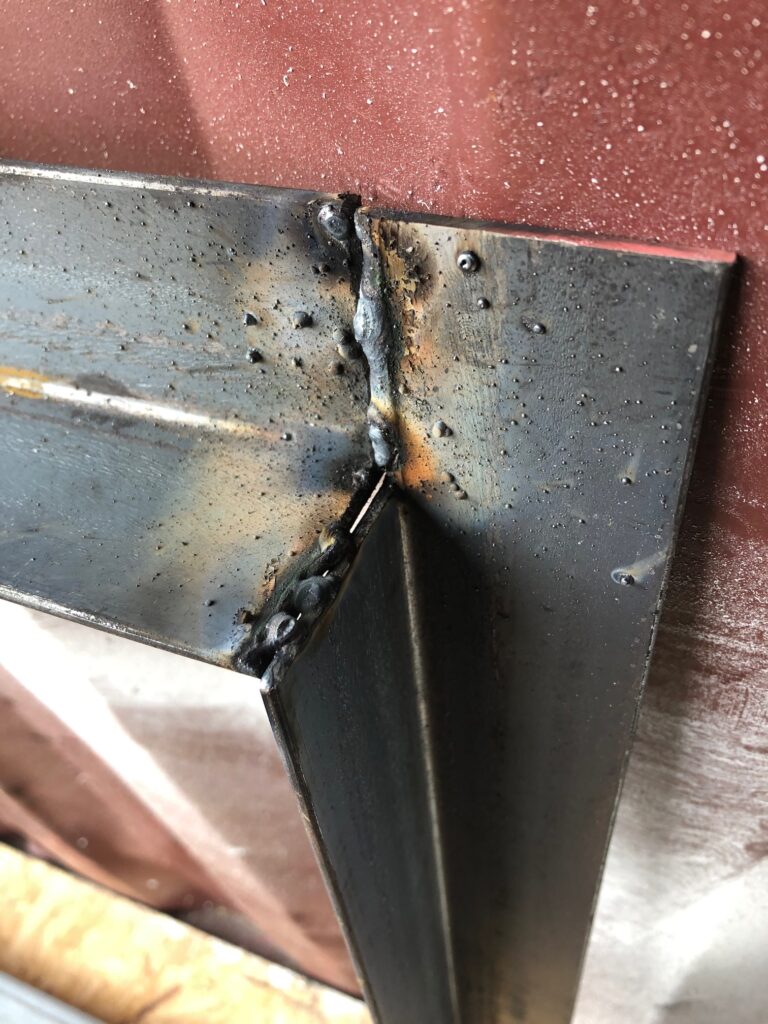
My welds are not pretty—keep in mind I’ve spent maybe a dozen hours of my entire life doing it—but the joints felt strong.
For the “new construction” window to work with this installation method, we had to turn it into a “replacement” window by cutting away the vinyl flange around the edges. This was quick work with a cutting blade on a grinder.
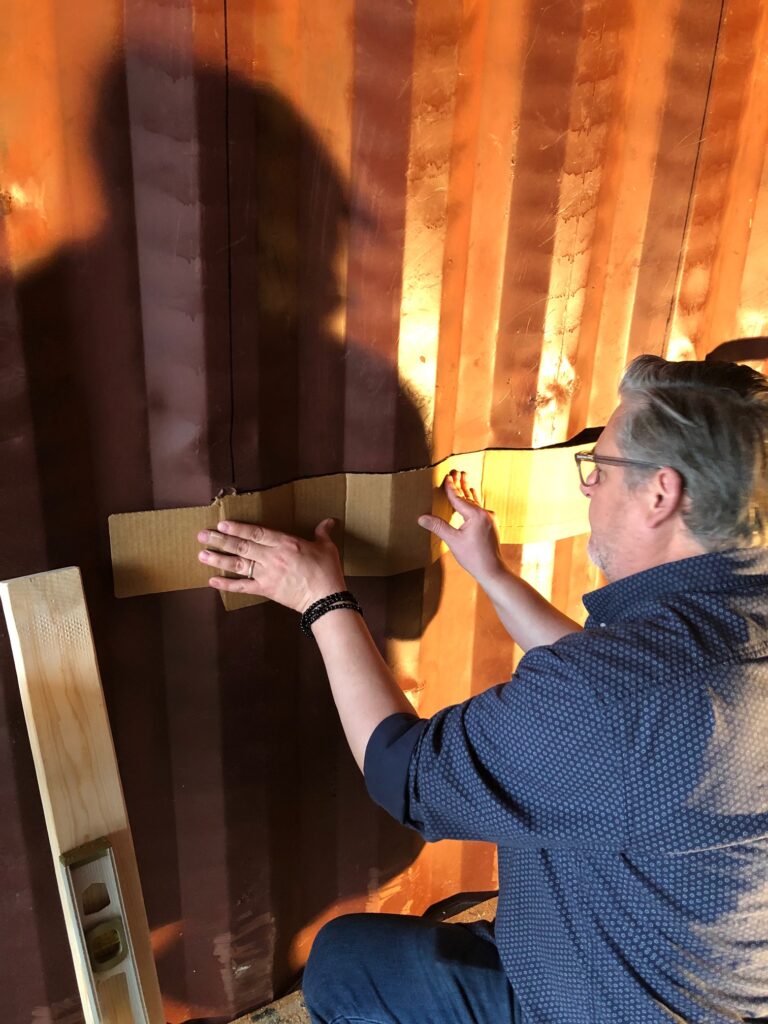
We measured and marked where the window would go, and Calvin used a piece of cardboard to make straight lines at the top and bottom.
Being hesitant to make an opening that was too large, we erred on the conservative side and had to do a good bit of grinding in a number of spots, but we finally were able to insert the steel window frame and weld it into place. I spot-welded roughly every six or eight inches on the vertical edges, and in as many places as I could find where there was good contact between the frame and container wall.
We didn’t take any pictures of this step, largely because we were both engaged in the actual work. Sorry about that.
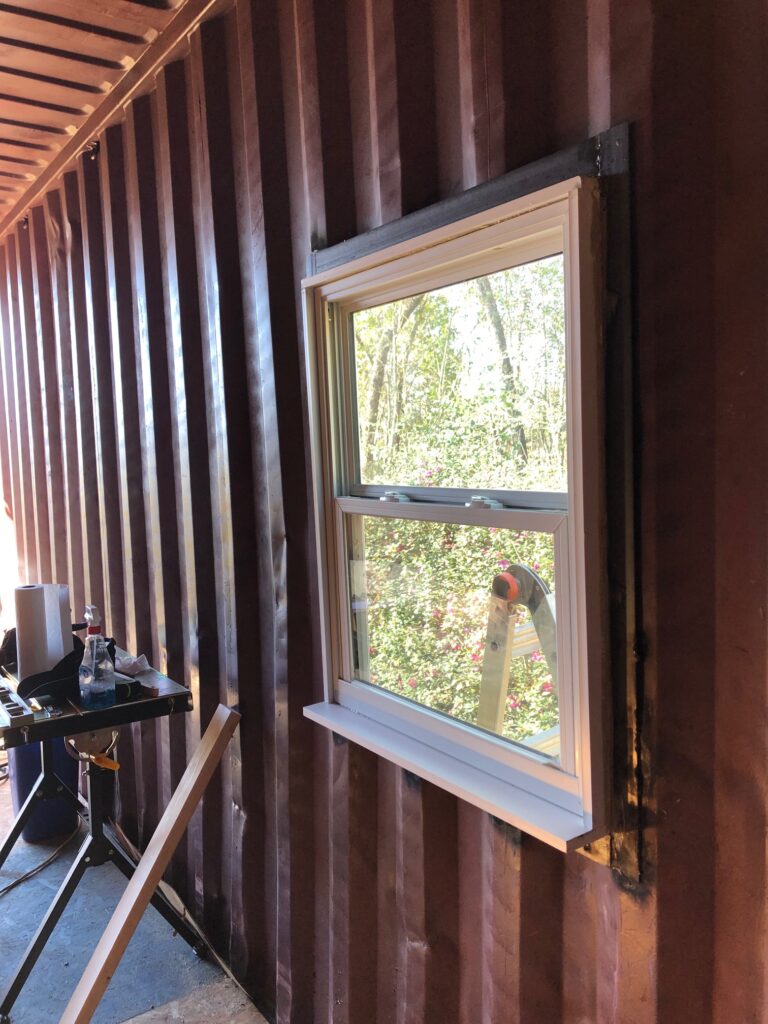
With the frame mounted securely, installing the window was easy.
Oh wait! I forgot a step!

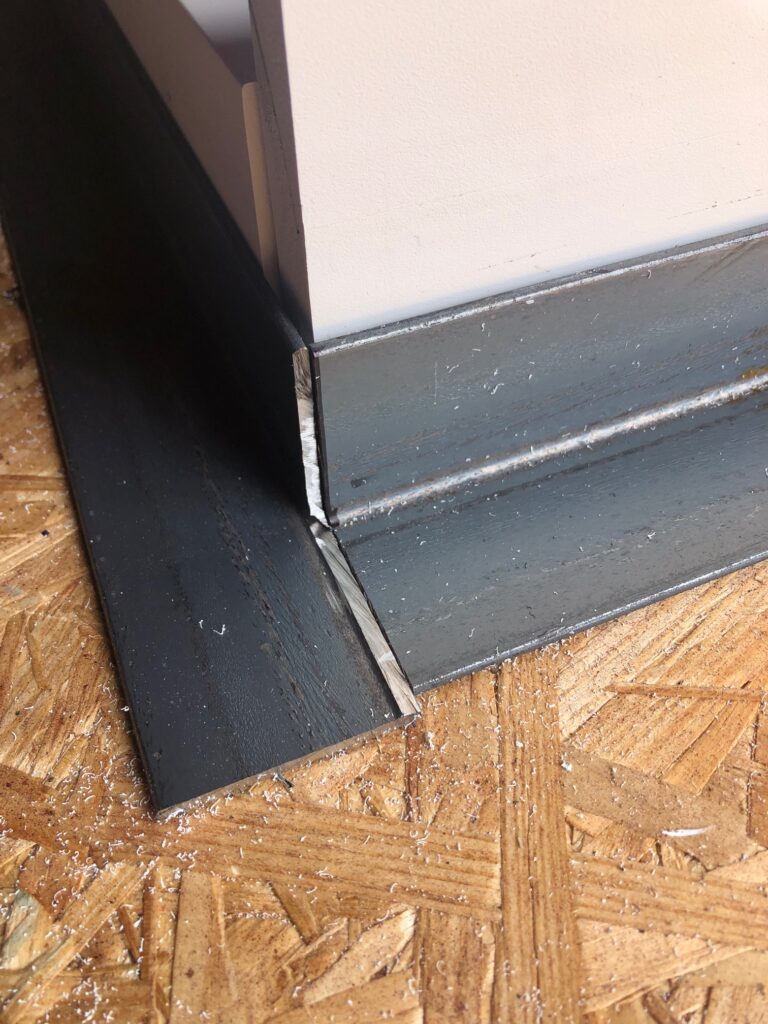
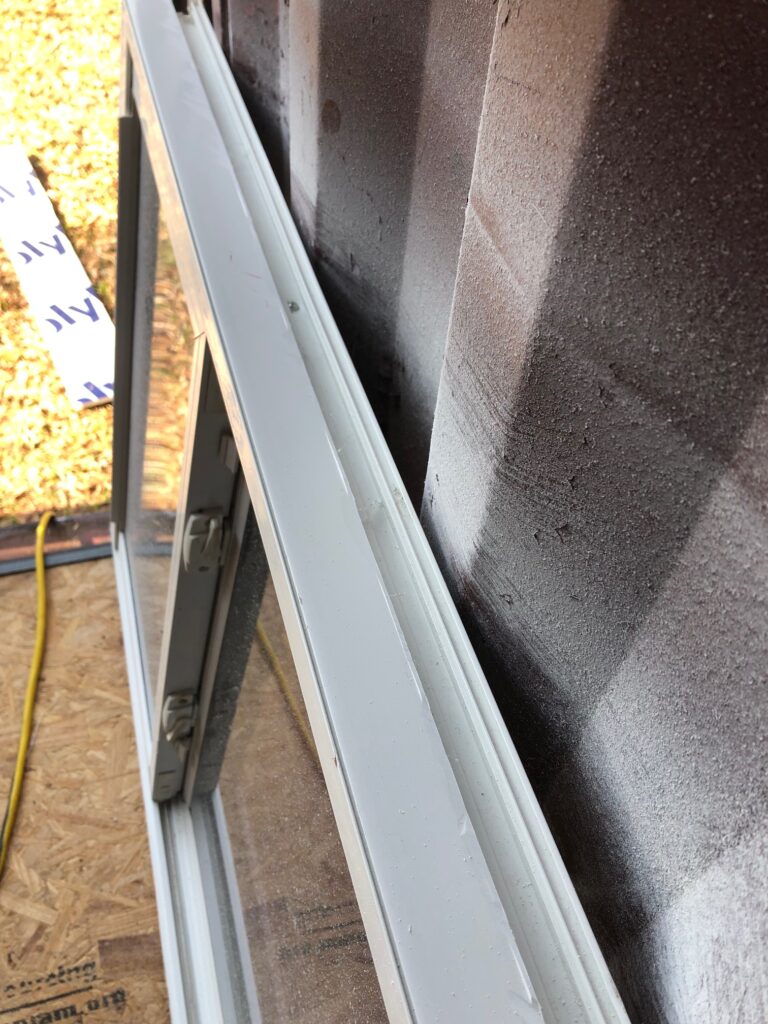
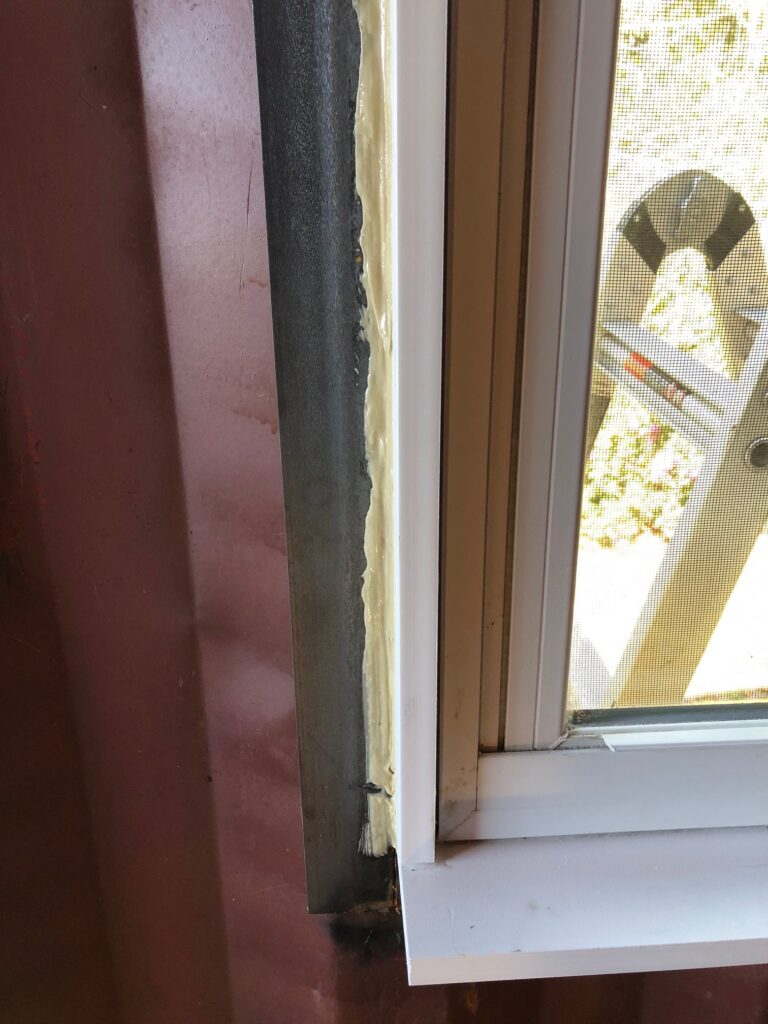
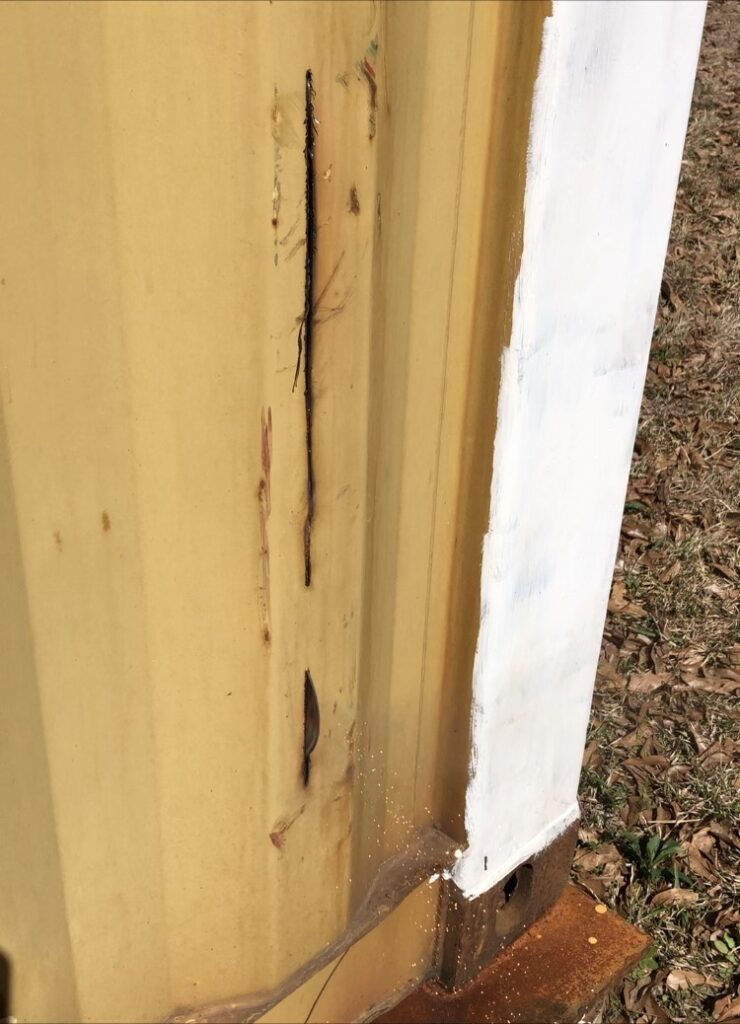
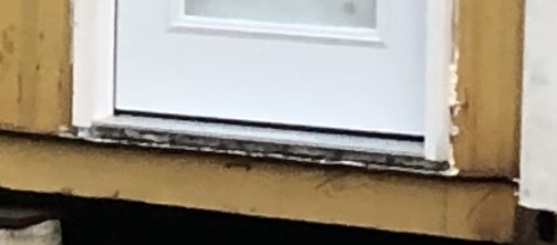
We didn’t attach the window directly to the steel frame at all! Between the two we put strips of 3/4”-thick PVC trim board, four inches wide on the top and sides, and six inches wide at the bottom in order to create a sill on the inside.
We attached the PVC trim to the steel frame with OSI Quad Max sealant caulk, which I read somewhere was strong enough to hold a Honda Civic to an I-beam. It started raining right about then, so I got wet while outside, on a ladder, clamping the PVC to the steel frame so the OSI Quad Max could set overnight.
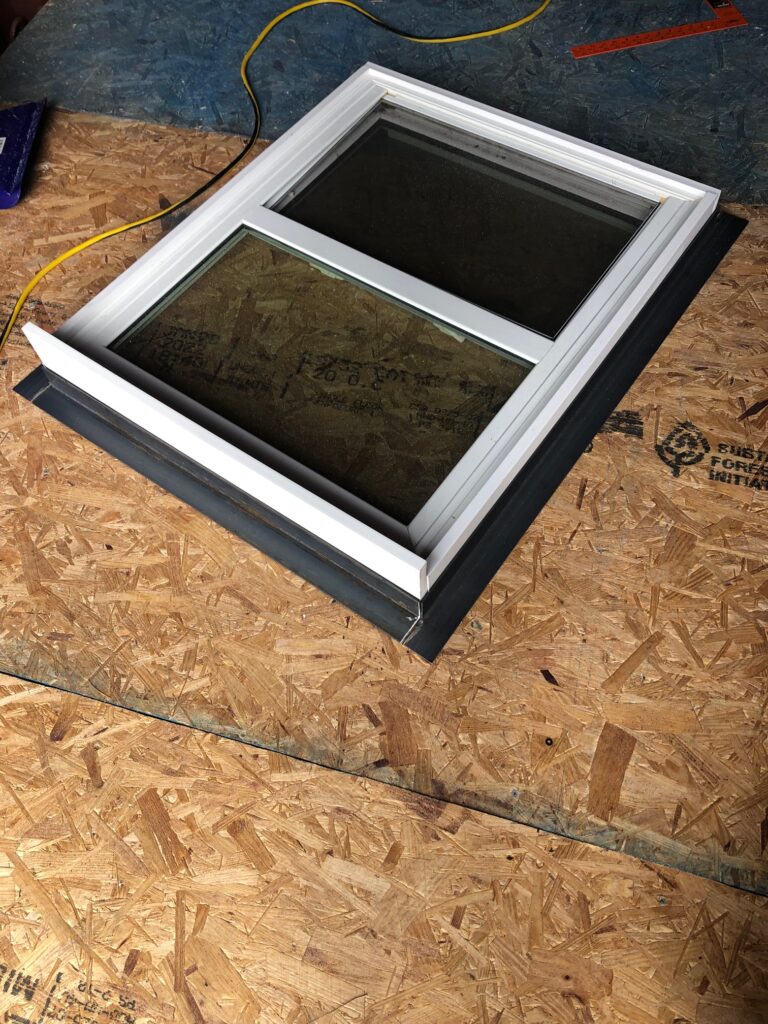
In the morning we repeated the process, this time gluing the window to the PVC. Here’s the finished product.
We squeezed caulk into every nook and cranny we could find, inside and out. And believe me, when your window frame is set in a curvy steel wall, there are a lot of nooks and crannies to caulk.
THE FRONT DOOR
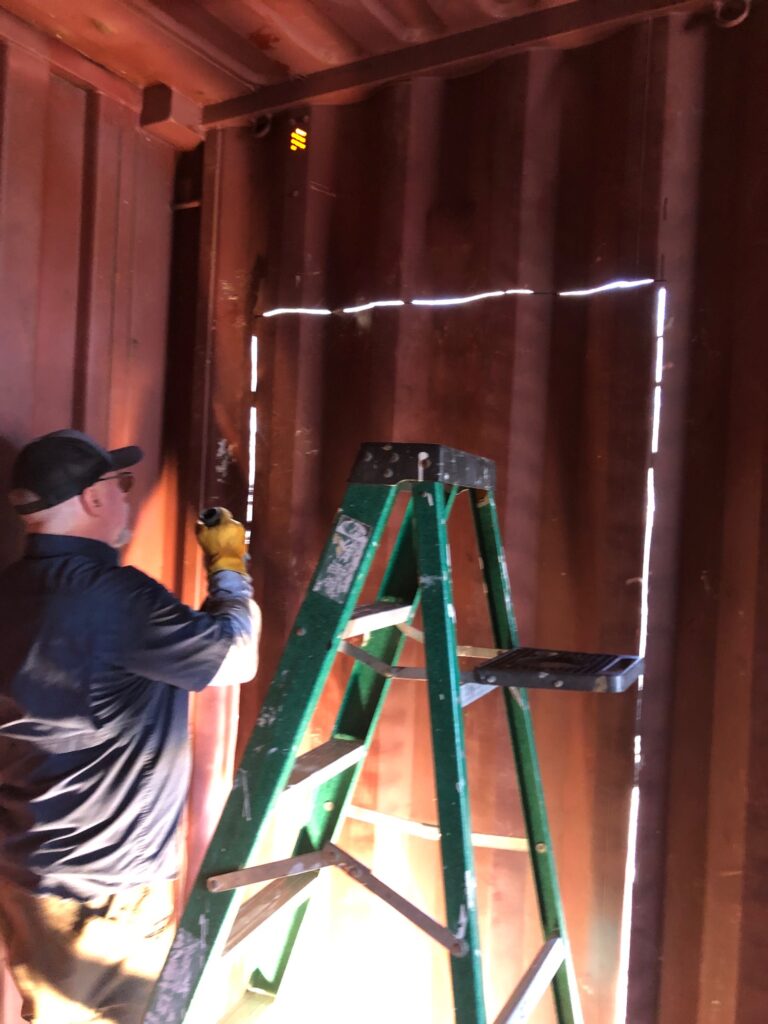
The mounting process for the front door was essentially the same as with the window, with some exceptions. For one thing, there was a much bigger hole we had to cut out of the container. My brother-in-law George was a huge help with that. But before we started cutting, I had to make a steel frame for the door.
We had bought, by the way, a prehung door at Home Depot. Specifically, it’s this:
Masonite 36” x 80” Premium Full Lite Right-Hand Inswing Primed Steel Prehung Front Exterior Door with Brickmold
That’s a mouthful, but it is what it is.
I used the same 2”x2” angle steel for the door frame as with the bedroom window. But because the vertical span is much longer—over eight feet for the door versus three feet for the window—I wanted the steel support to reach all the way to the roof for the sake of stability.
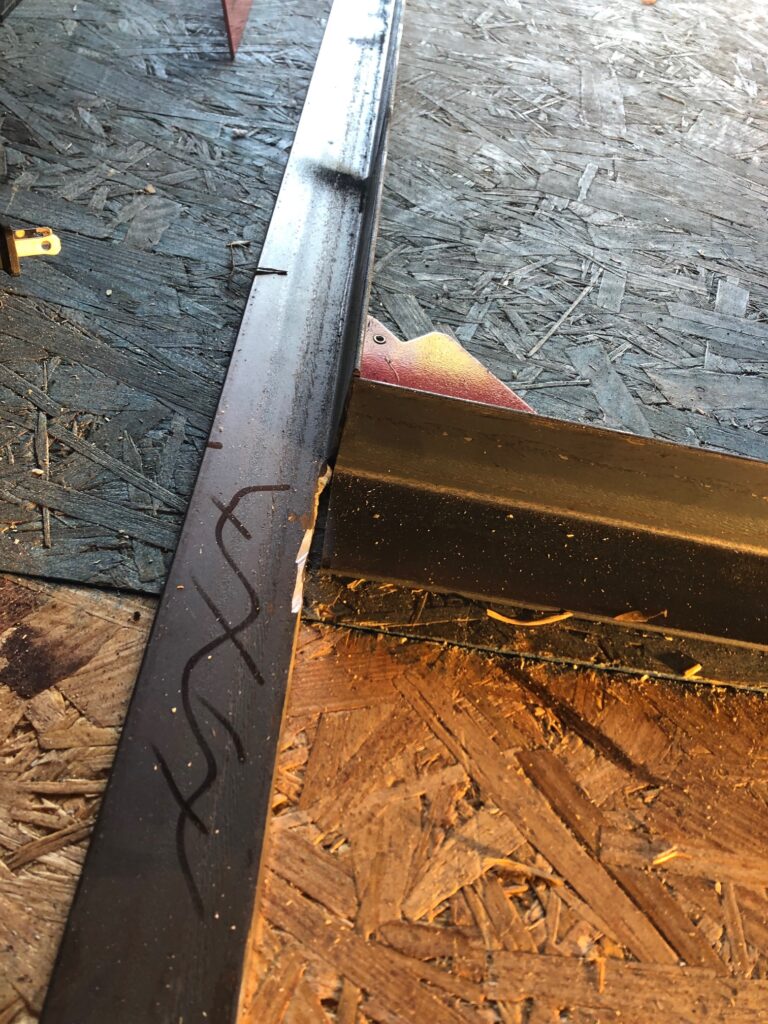
So I used the same basic system as for the window frame, creating a flange-thing that could be slipped into the container cutout and welded into place. For the door, though, there was no cross-piece across the bottom, and I ran the verticals higher to connect to the structural steel tubing that runs around the top of the container. There would also be the layer of PVC trim to give the prehung door something to be mounted to that’s of somewhat traditional dimensions.
Cutting the opening in the container wasn’t hard, just tedious. (Helpful HInt: When you go to Lowe’s, save yourself some time and buy the multi-pack of cutting disks. Buy 50 if they come that way and you won’t regret it. You’ll use them…and more) We marked the outline with a Sharpie, then started cutting. We’d cut lengths of about six inches, then leave a quarter- or half-inch. This was intended to help us control the eventual complete removal of the steel and its falling-away.
(By “we” just now I mean George. He did most of the cutting for the door because I thought it was vitally important that my talents be employed in taking pictures of the process rather than the physical labor.)

Just as with the window, we erred on the side of caution and ended up cutting an opening slightly too small, which necessitated a lot of grinding to make the door frame fit. But I’d rather do that than worry about filling big gaps.
We applied flashing at the threshold, which I understand is good practice regardless of what your house is made of.
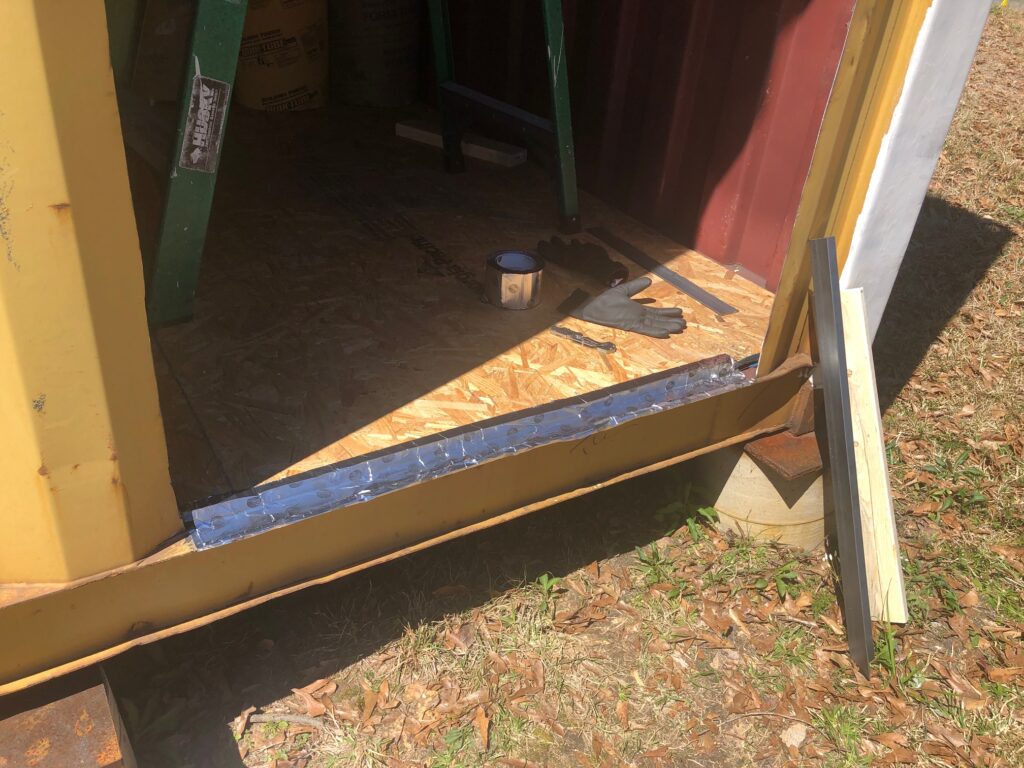
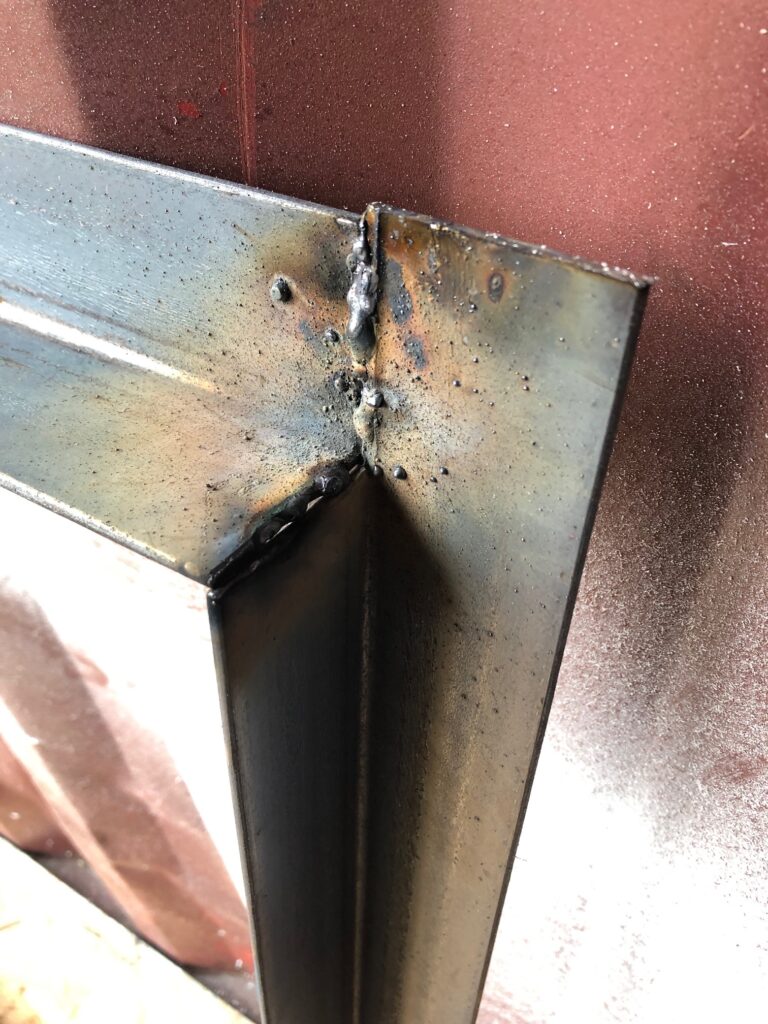
These are terrible pictures but you can just get the idea of how the steel frame looks once mounted.
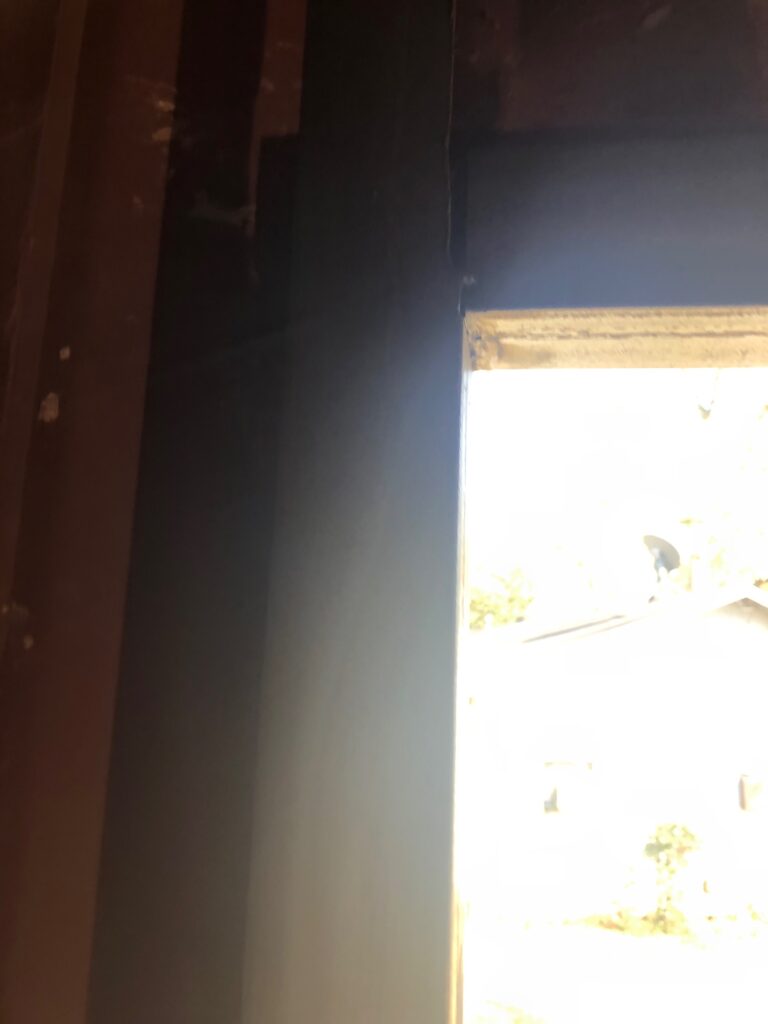
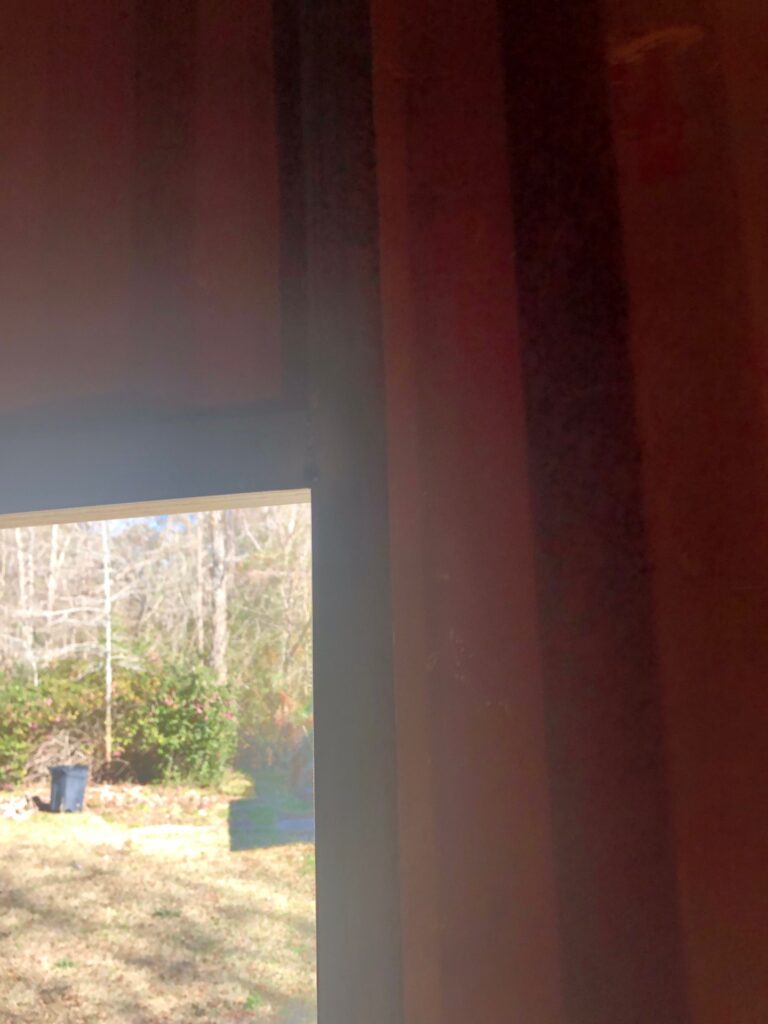
Just as with the window, we attached four-inch-wide 3/4” PVC trim to the inside of the door frame, and the prehung door would be mounted within that framework. We applied adhesive caulk between the steel and the PVC, just as before, but added several screws through the PVC and the steel, just to be safe.
Because we had made the steel frame square, level and plumb when it was welded to the container, and because it had been assembled to the right dimensions in the first place, we didn’t have to shim, as is usually necessary when installing a door within stud walls.
Again, we used adhesive and screws—screws that went through the door frame, PVC and steel—to hold the door in place. The system worked well.
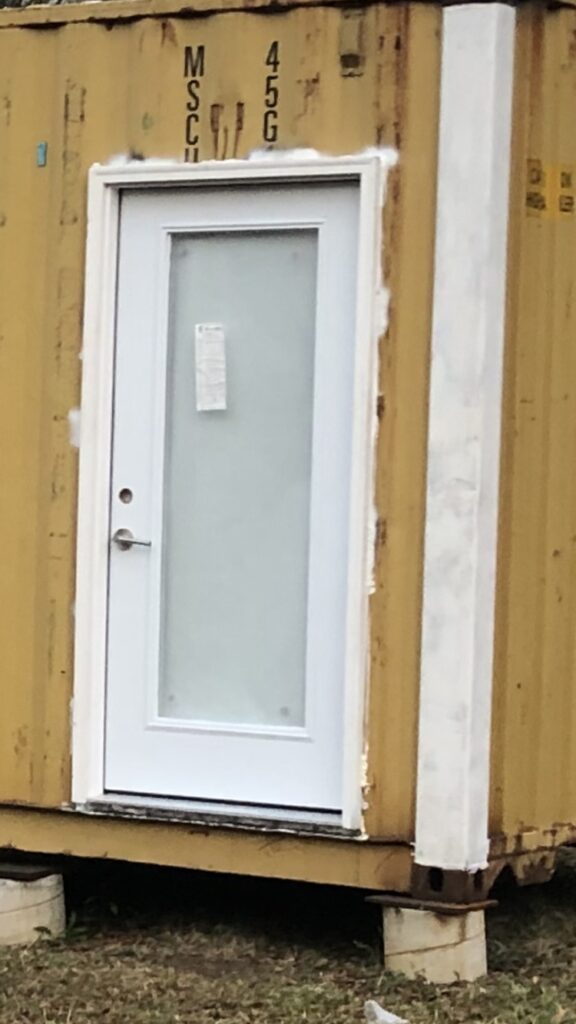
Because this is an unusual construction, there’s nothing to support the exterior half of the threshold. Eventually there will be a front porch built—composite deck boards, maybe?—and something will slide underneath that sill plate and support it. But for now we have to remind people not to step on it.
A NOTE ABOUT THE PVC
Our house is in southwest Mississippi, and it’s hot and humid here. So anything we can do to mitigate the risk of heat-and-moisture-related rot and corrosion is worth doing.

PVC resists moisture more than pine lumber does, so that’s why we added a layer of it around our window and door. It might very well work for other folks in other climates to affix their windows and doors directly to steel frames, but we wanted to play it safe.