(October 2023: This post is WAY overdue, in part because of some back-end WordPress issues and in part because I’ve been lazy.)
July.
Southwest Mississippi.
Steel box.
Sounds like fun!
(Management decreed after about five minutes of this madness that henceforth no work shall ever be undertaken between May and September.)
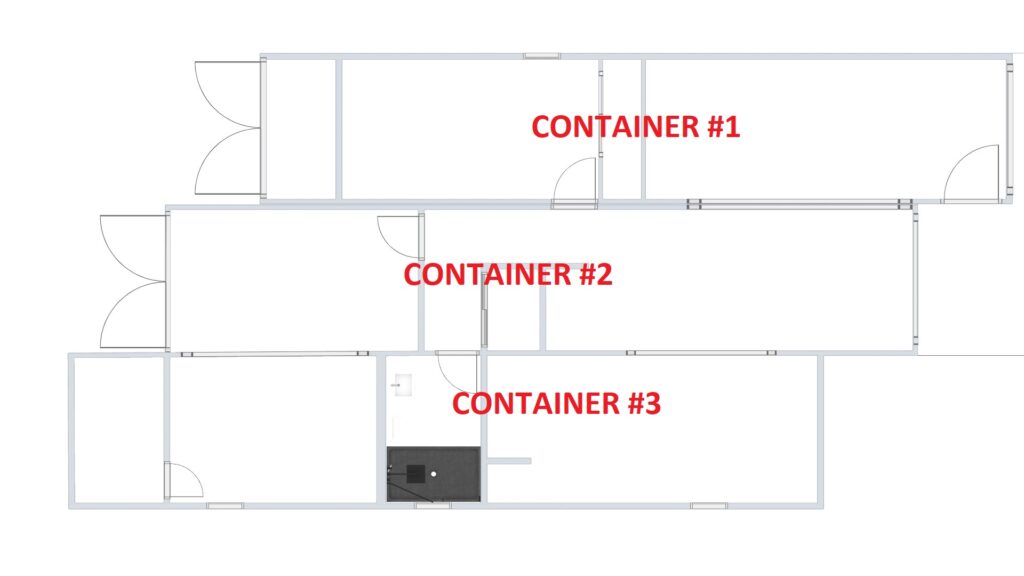
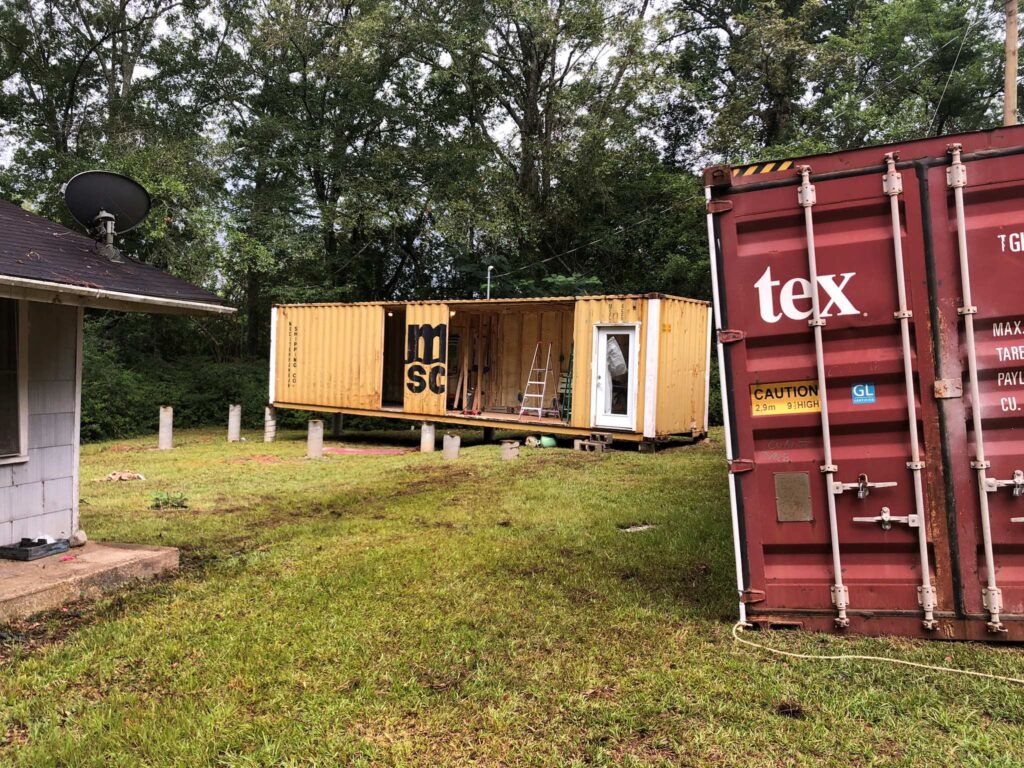
It’s been five months since we did any work because Clay has been in California. In February we put the concrete piers for Container #2 in the ground. A month ago we bought the second and third containers from “Da Cajun Containers” of Fernwood, Mississippi, who gave us a deal for buying two containers at once. Prices have come down over a quarter since we bought the first one in September 2021. Back then, the supply coming out of China, where they’re made, had dwindled because of the pandemic, so prices had shot up.
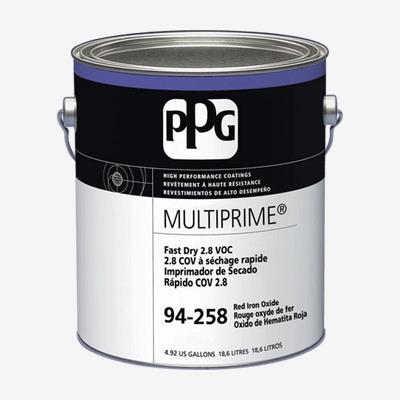
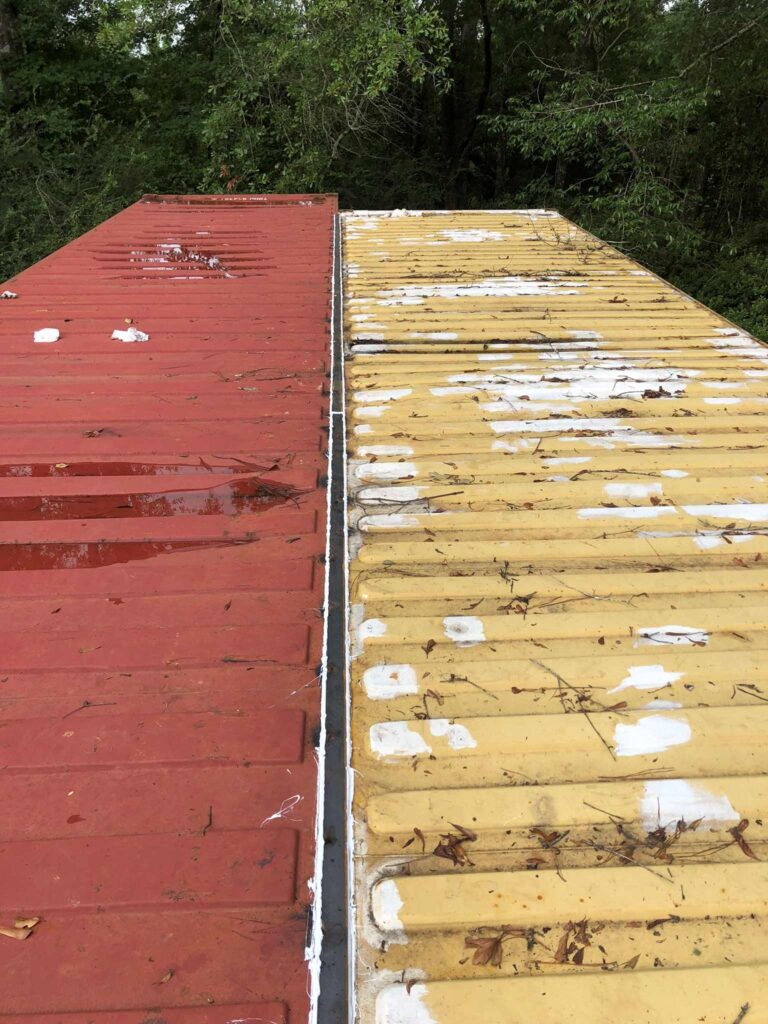
The crane came on Monday, July 10th. Ahead of that we had to do some rust-grinding on the corners that would become inaccessible once Container #2 was placed next to Container #1, and then apply PPG 4160 DevGuard Multiprime primer.
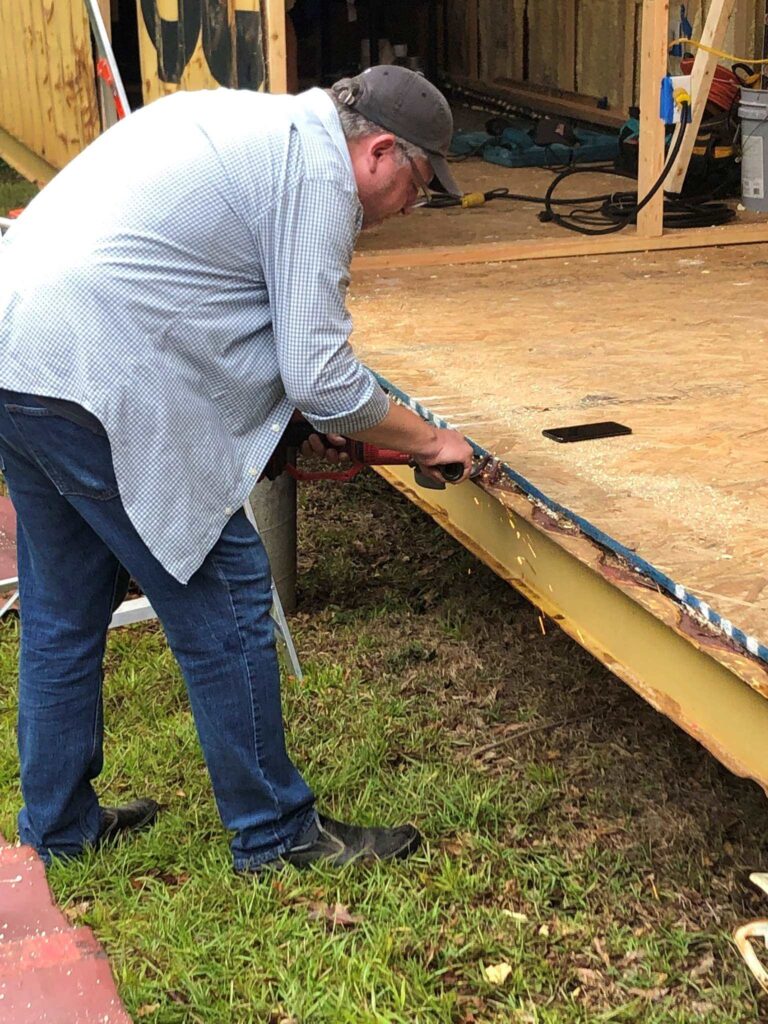
Calvin also cut out the tie-downs that appear every few feet on the floors (and ceilings) of the container. Without them it will be a bit easier to lay the subfloor.
We also had to cut out the openings between the living and dining rooms and between the small bedroom and the hall.

This needed to be done on Container #1 before #2 was set in place, otherwise there’d have been no way to remove the cut-out walls from within #1. As before, Calvin’s most excellent brother George came from central Texas to help.
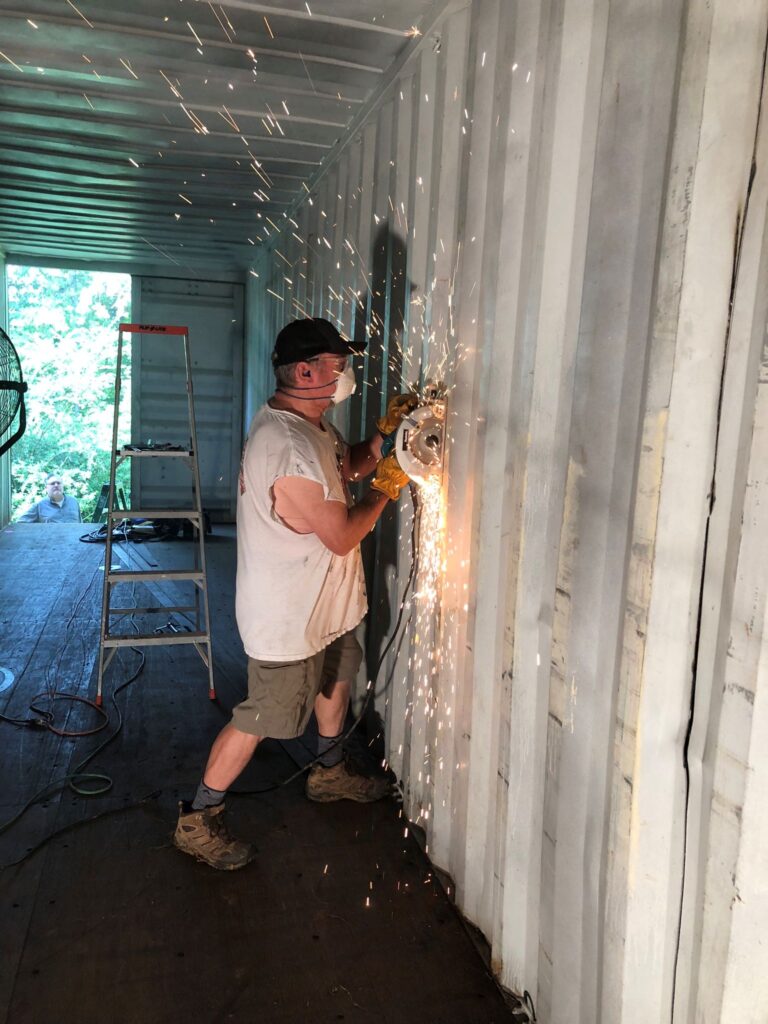
Something I learned since the last time we did any cutting was that you can use a reciprocating saw, which goes a lot faster than an angle grinder. Against the bottom and top, however, the grinder works better.
We needed these two cutouts done before the crane arrived but we didn’t want to leave gaping holes all night, which might have invited thievery. So we cut all the way across the bottom and then around the sides and top, leaving an inch or so intact every couple of feet. It was quick work to finish the cutouts early Monday morning.
(MISTAKE: I realized too late that the cutout for the bedroom door should not have gone all the way to the roof, given that the door itself will only be 80 inches high. I was a steel-cutting fool.)
Part of the choreography of activity that morning was for the electric company to come and disconnect the line from the power pole to our existing house. The crane couldn’t have done its job if the wire were in the way.
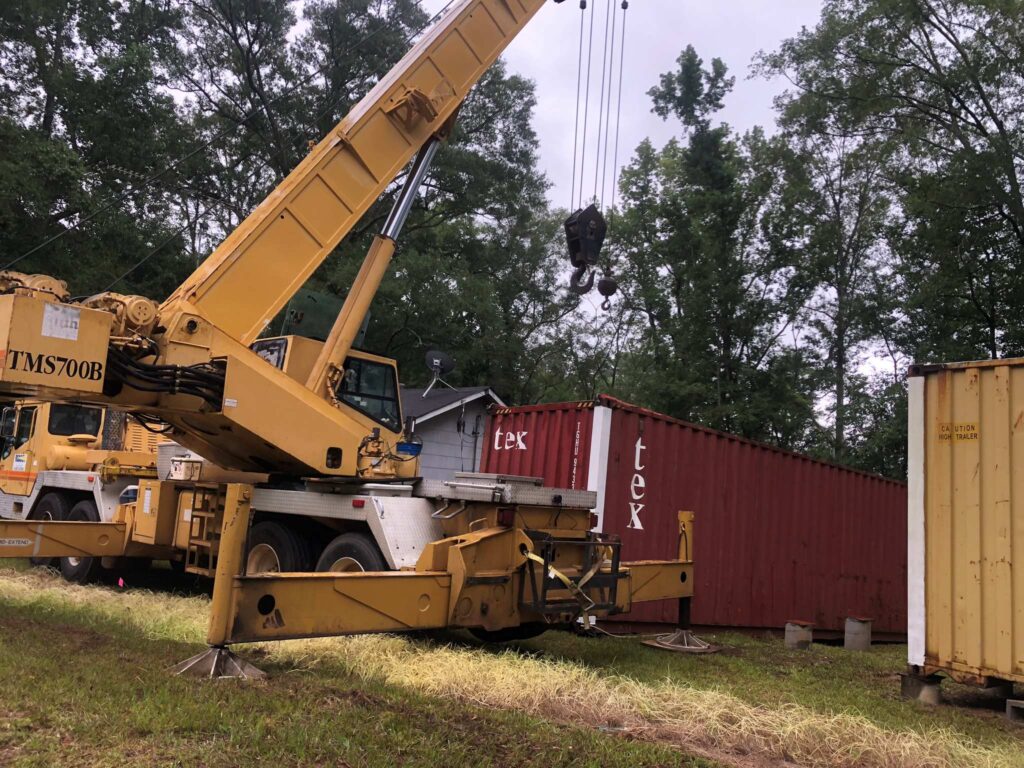
The crane operator we used before has since retired, and on his recommendation we hired Mr. Dale Fontenot of Beacon Crane in Columbia, Miss. He maneuvered his mammoth machine expertly, especially given how little room we’d given him to work with.
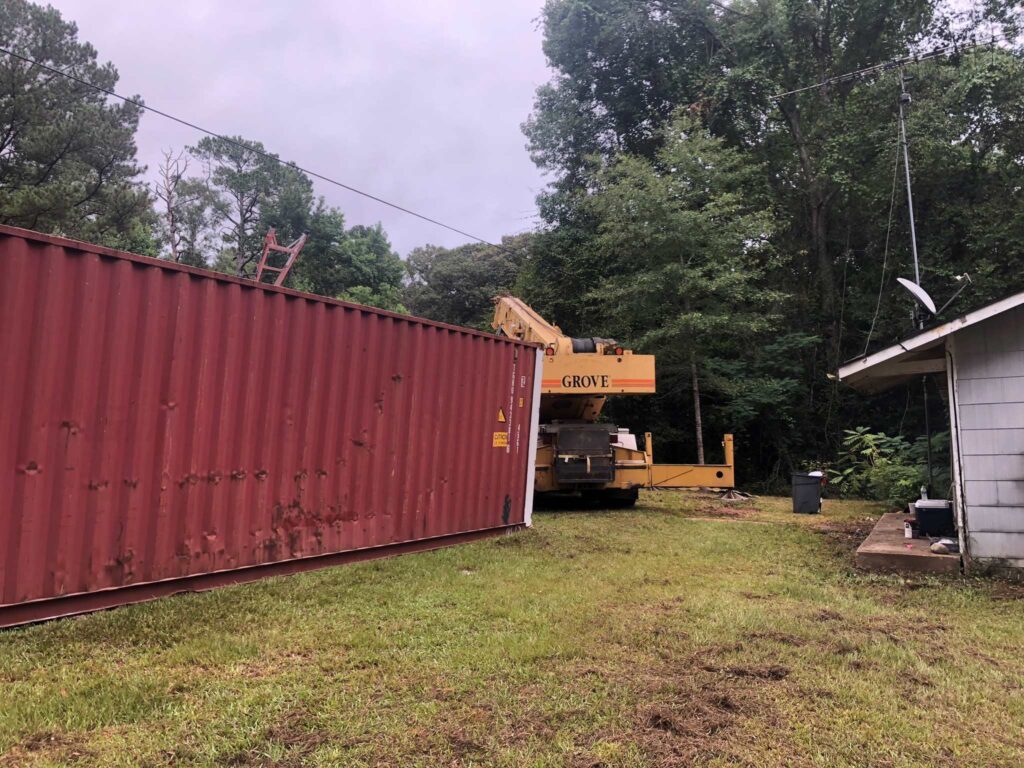
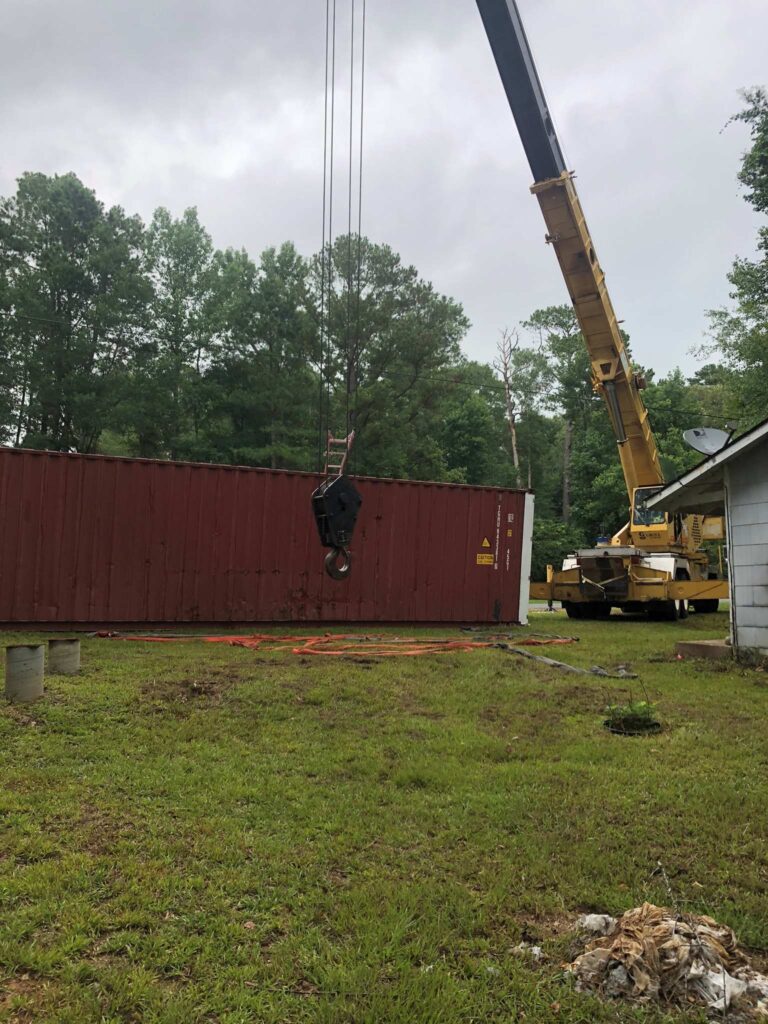
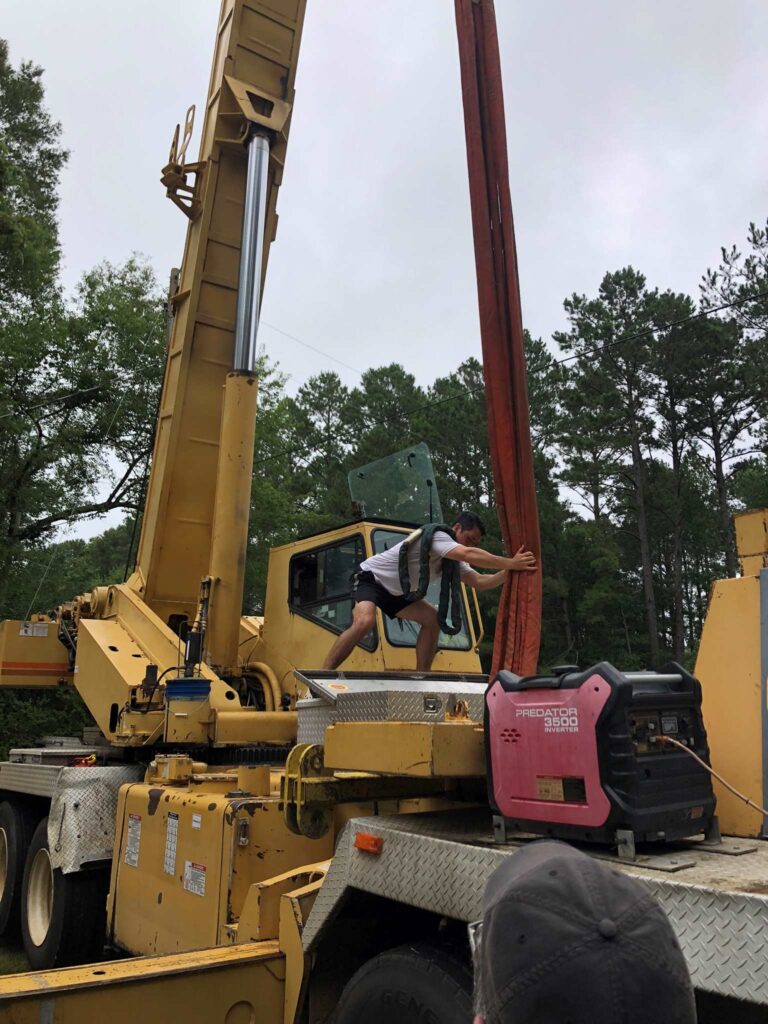
As with the first container, I climbed up and did the rigging myself, largely because I was too cheap to pay Mr. Fontenot to bring someone to do it.
Additional helping hands on he scene were those belonging to our friend Zach, who is the soccer coach at the local community college. Judging by his energetic approach to the job, it might be assumed that for him this was just another CrossFit training session.
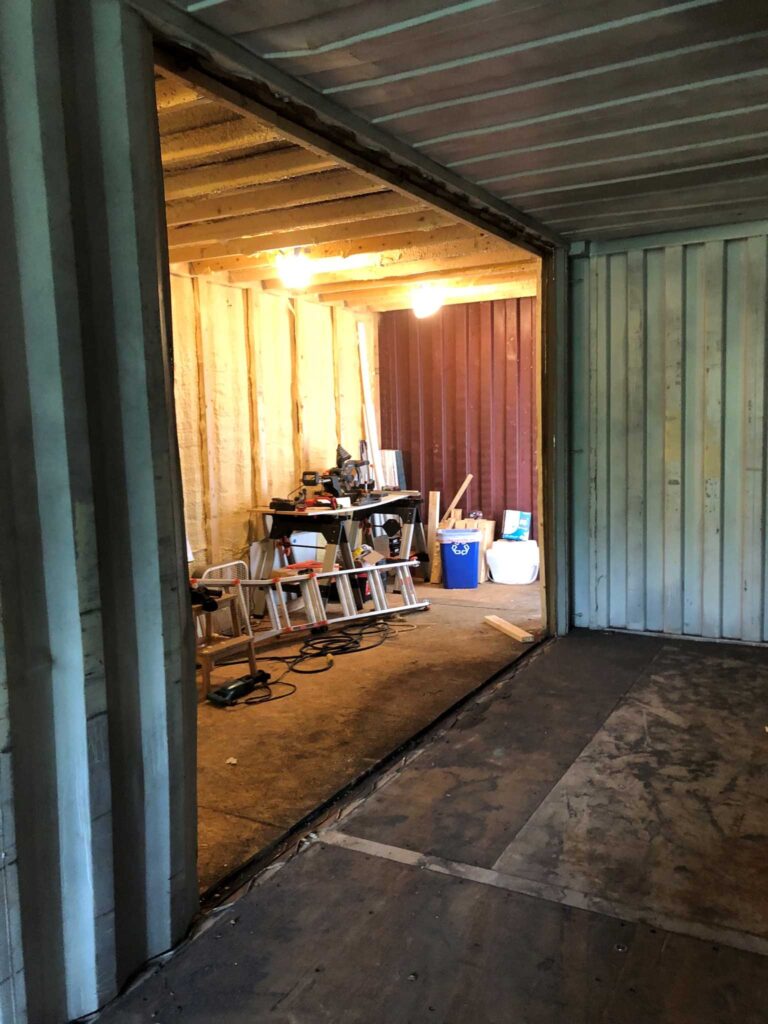
The placement of this container was a bit easier than with the first, largely because we wanted this one as close as possible to the other, meaning butted right up to it. As long as two of us were pulling the corners against the first container, this meant we really only had to worry about the longways alignment.
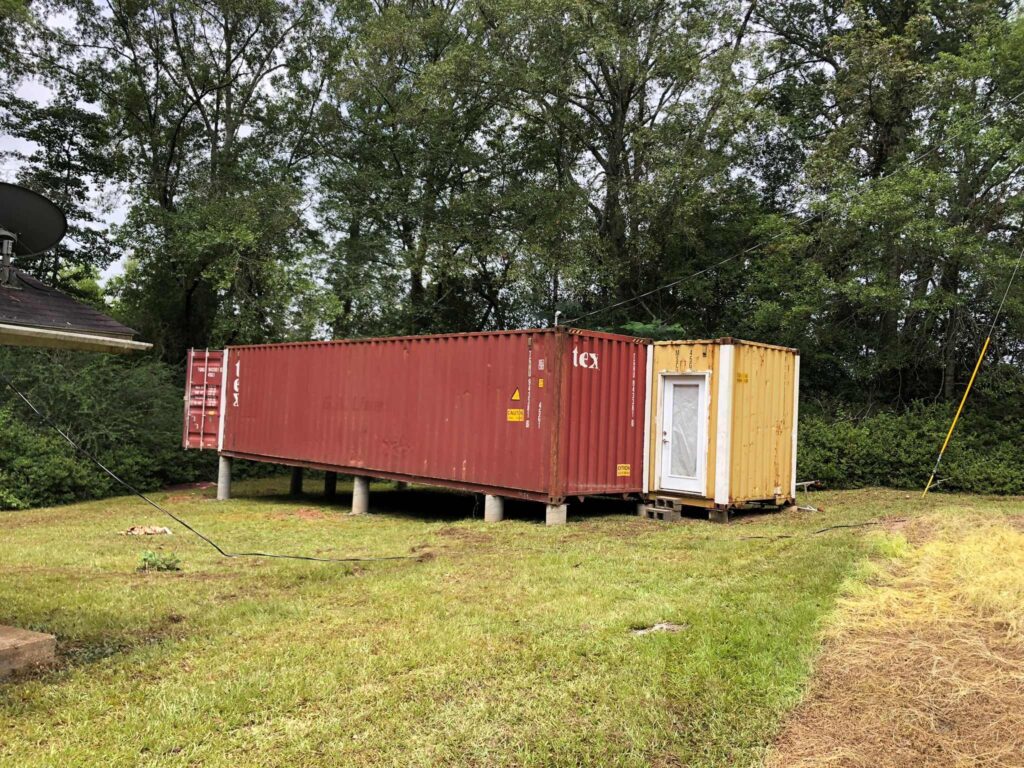
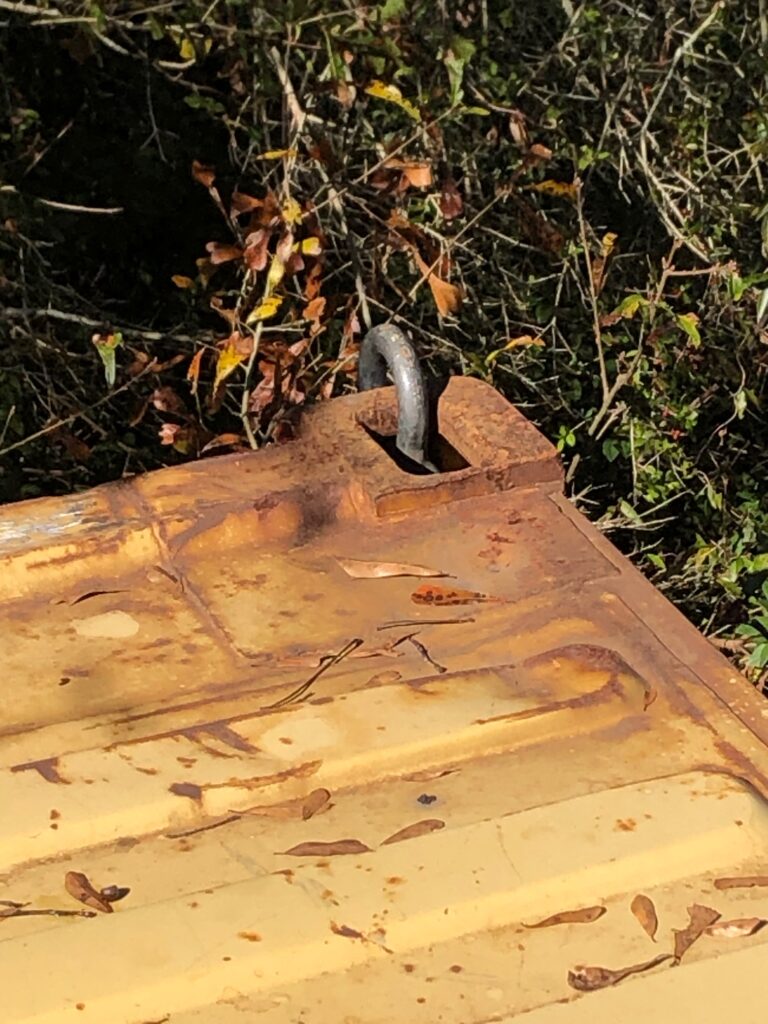
The piers turned out to have been placed not perfectly but well enough. The rear pillars were off a few inches, I think because of the terrible wetness back when we planted them. But there was enough steel to support the container corners, so we were in business.
I was really happy to see that the height of the piers, if not their placement on the ground, was almost perfect. Where the containers met on the roof and floor, there was no gap larger than about a centimeter.
Over the length of the containers, #2 is level with #1 at one end but a centimeter off at the other. This concerned us at first, but then Calvin spoke with someone who knows about epoxy floors. This person said that between the multiple layers of product that will need to be applied, even three-quarters of inch over 40 feet is no problem.
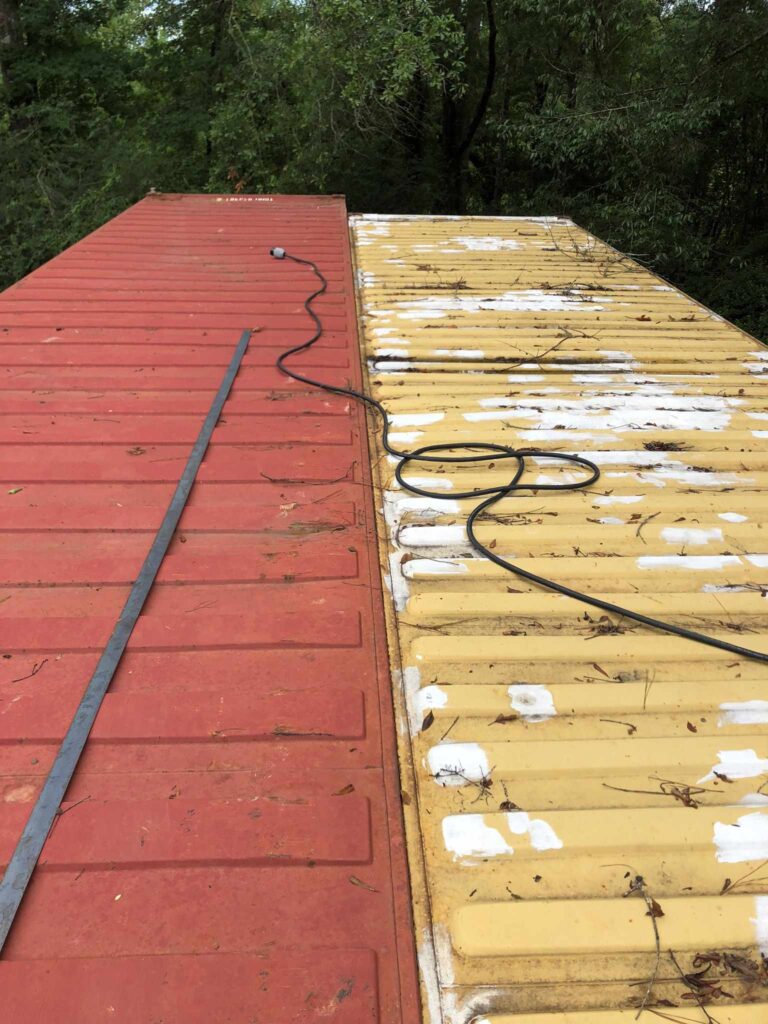
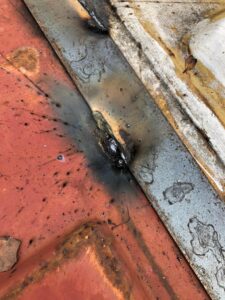
To seal that gap on the roof I first tack-welded a strip of steel (1/8” x 2”) every foot or so. As in the past, my welds weren’t pretty but they held the steel in place.
Steel duly tacked down, I applied caulk along both edges of it.
And after that was set I sprayed a couple of coats of Flex-Seal over everything.
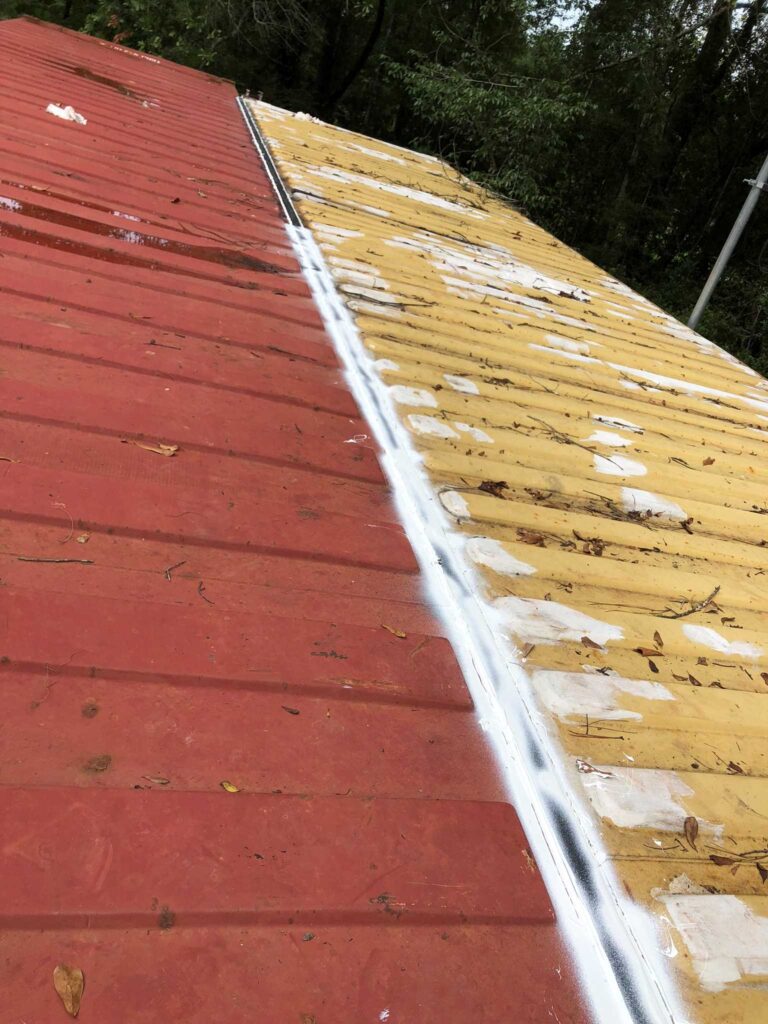
(We went out a while later after a heavy rain and saw no sign of leakage inside.)
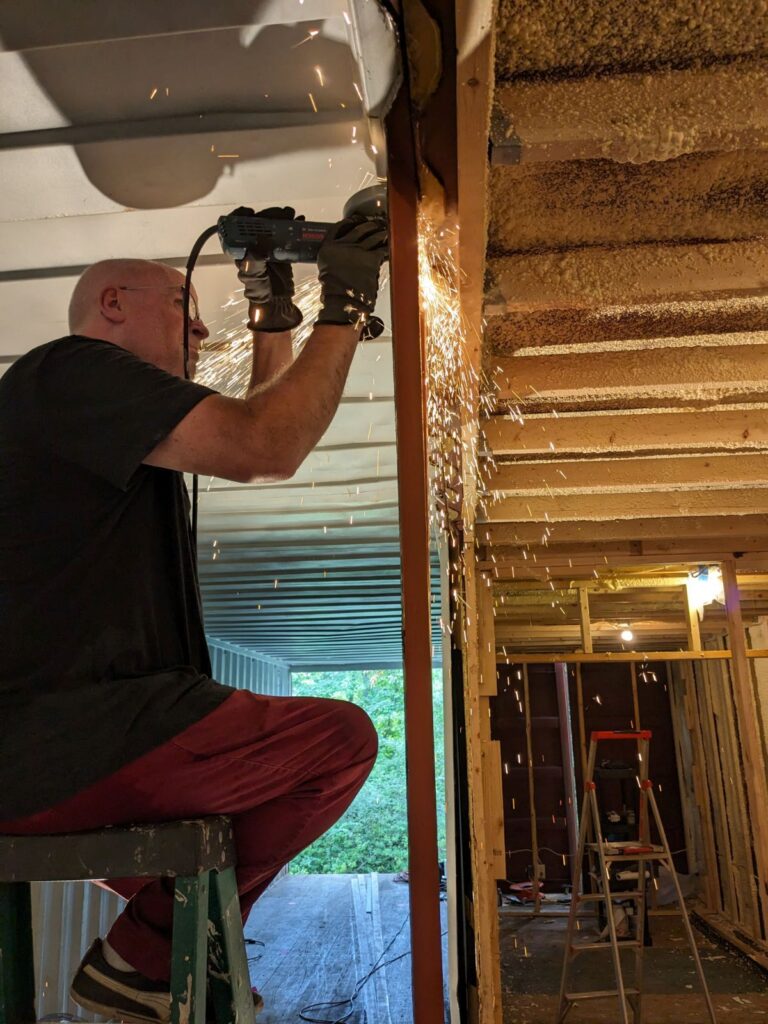
We learned something while making the wall cutouts that will change how we do things when the third container comes. We framed the first container completely, including the openings to the next container. This meant that when we started to make the cutouts we had to point the angle grinder or reciprocating saw in at an angle. At each pass-through, we wanted the steel to end up slightly behind the studs so as not to interfere with the drywall that would eventually cover the framing.
For the next round, we’ll wait to frame until after the the cutouts between Containers 2 and 3 are made. This should mean more room to maneuver the cutting tools.
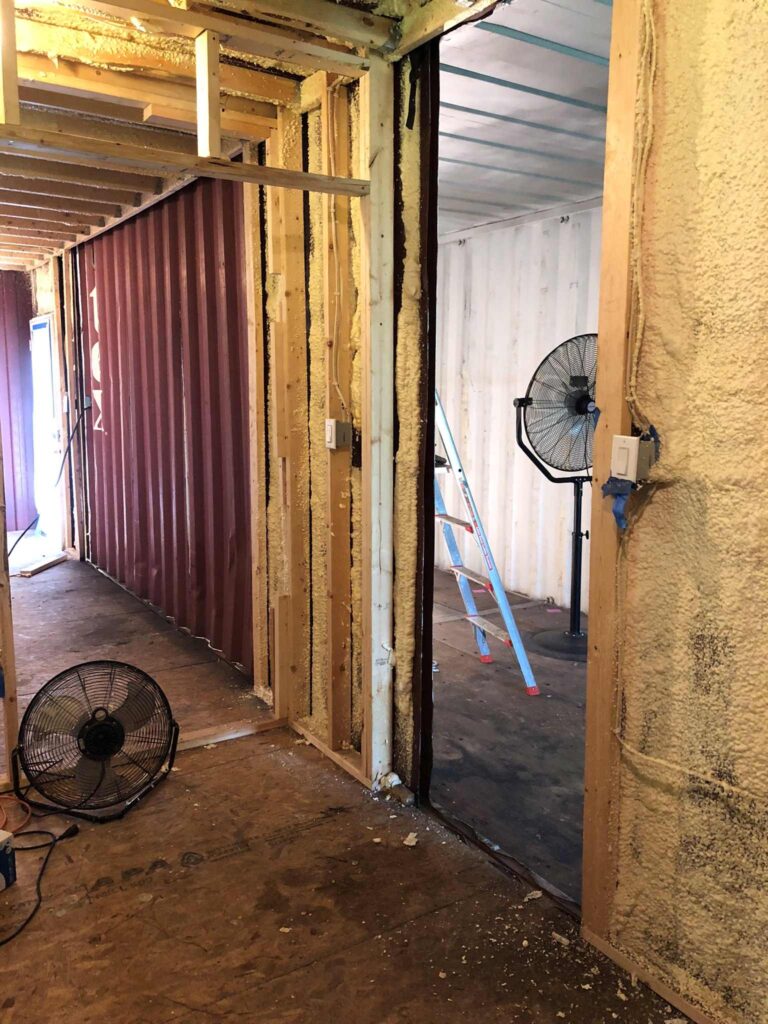
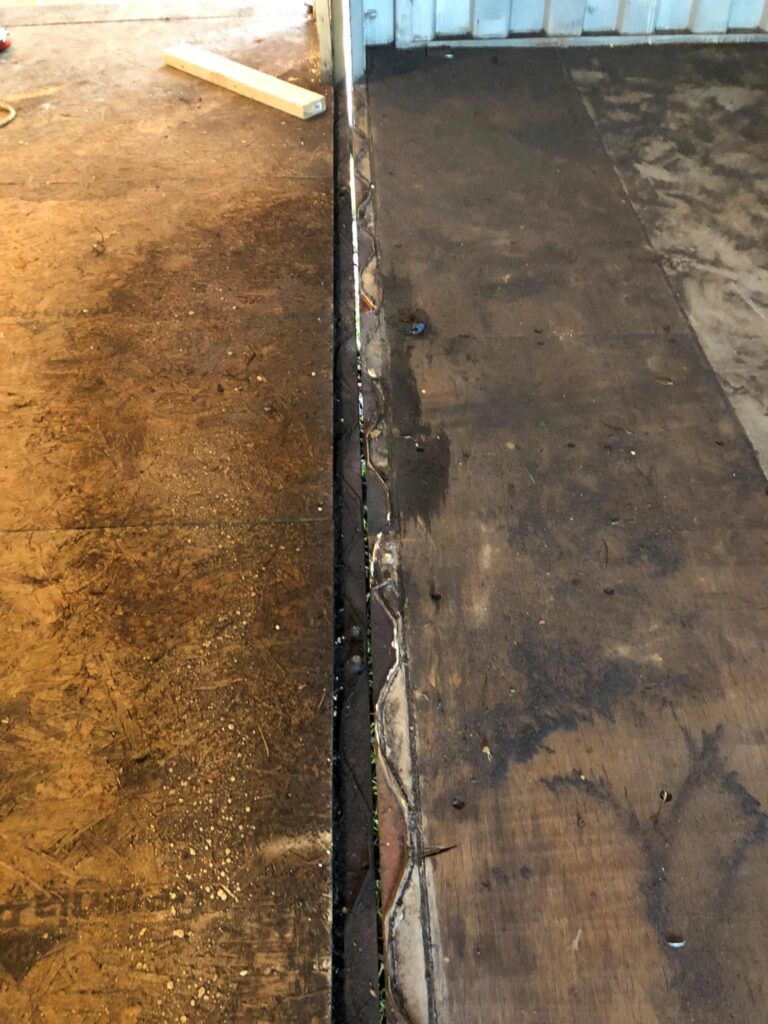
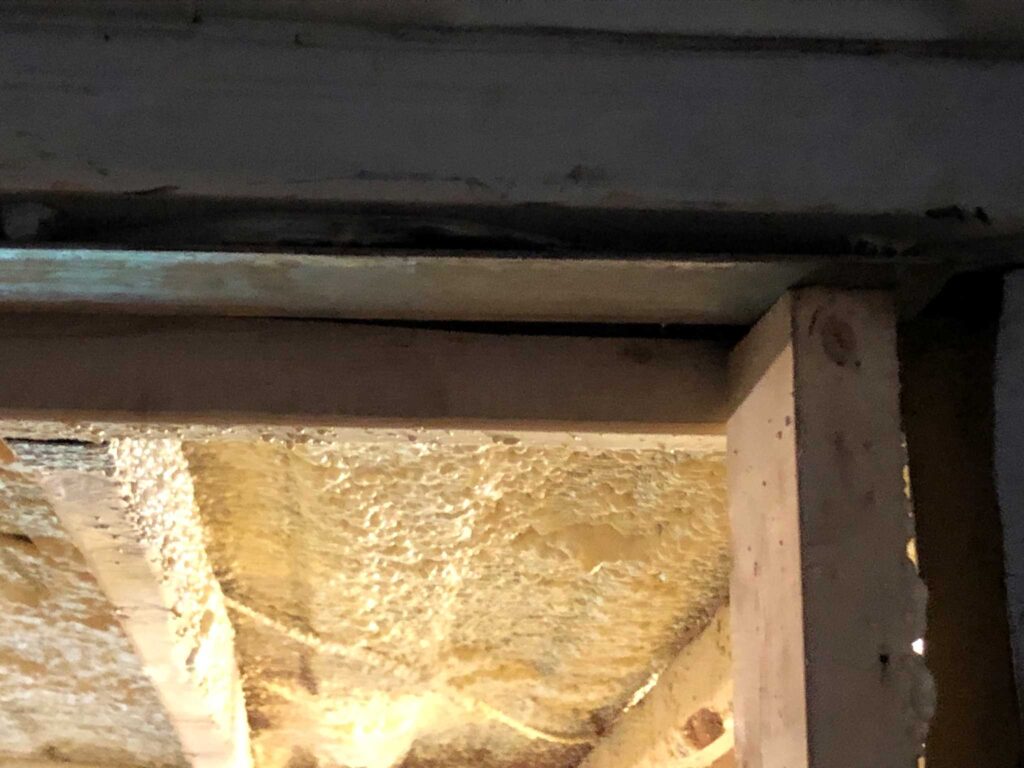
Sealing the space between the corrugated sides of the containers where the cutouts were made was something we couldn’t really plan until we could see it. This is because the corrugation meant the sides of the containers might be only an inch or so apart, or three or four inches apart.
One approach I tried was squirting gap-filler into each, well, gap, the idea being to keep the elements away from the eventual drywall. The first attempt wasn’t pretty, and I had to saw off some overfill, but I think the concept is sound. I ran out of time before doing this around all the cutouts.
Something else I experimented with was attaching a piece of 1/8” x 3” steel across an opening, in this case the top of the doorway between the hall and bedroom.
There was no way to get up in there and weld so I used construction adhesive, whch held the steel in place securely. This serves no structural purpose; it’s only an extra layer of protection in case the roof seam ever develops a leak or in case critters work their way between the containers from the bottom. I’ll try the same method with steel around the sides of the pass-throughs.
COMING UP NEXT
Before I return to Mississippi in October, Calvin will install the subfloor (foam insulation sheets and OSB) in Container 2. While I’m there, here’s the plan:
- Dig holes and pour four piers for Container 3. (Fingers crossed for dry weather!)
- Finish sealing (gap filler, steel strips) cutouts betwen Containers 1 & 2.
- Finish/touch up insulation in Container 1, this time with all the floor clutter removed and with plenty of spray nozzles on hand. (HERE is an explanation of why things need touching up.)
- Mark cutouts for passthroughs between Containers 2 & 3.
LOOKING AHEAD
In late November:
- Crane to lift Container 3 onto its concrete piers.
- Cut out openings between Containers 2 & 3.
- Seal roof & floor seams.
- Seal pass-throughs between Containers 2 & 3.
- Install subfloor in Container 3.