I shouldn’t have complained about the wet ground last spring, when it complicated the hole-digging for the Container 2 piers. The digging then was easy — for Mr. Sammy, his helper Lee and the auger, anyway — even though in one of the holes we hit water.
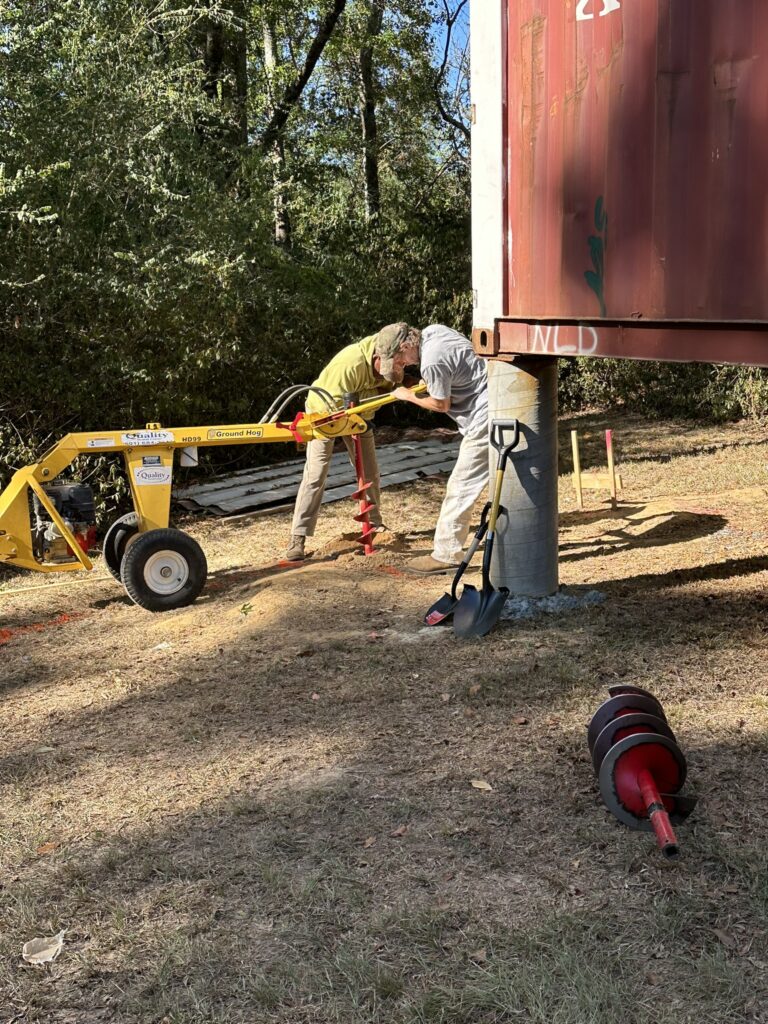
My complaints back then might have jinxed things for this trip. There’s been a drought, you see, and the earth this time was hard enough for Michelangelo to carve sculptures from it. Even with the auger, digging the four holes took twice as long as any of the previous digging.
CONCRETE PIERS
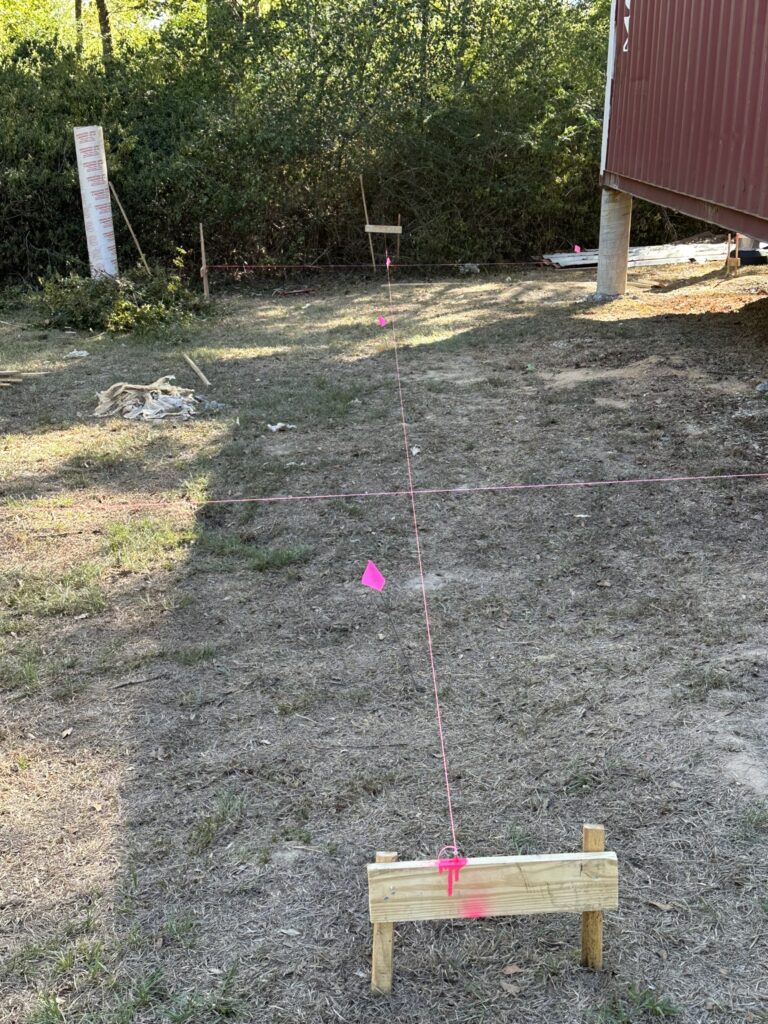
As always, the first job was locating the spots where the piers were supposed to go, and that was a very old-school process: batter boards, strings and a plumb bob.

The azaleas at the back of the yard are terribly overgrown and interfered with my batter board placement, so I cut them back ruthlessly with a hedge-trimmer. They’d overasserted themselves lately, and hacking them away felt good. Azaleas need to be shown who’s boss, with brutality if necessary.

Sammy and Lee worked hard, but neither the auger, the post-hole digger nor shovels could loosen more than a handful of earth at a time. They really earned their money.


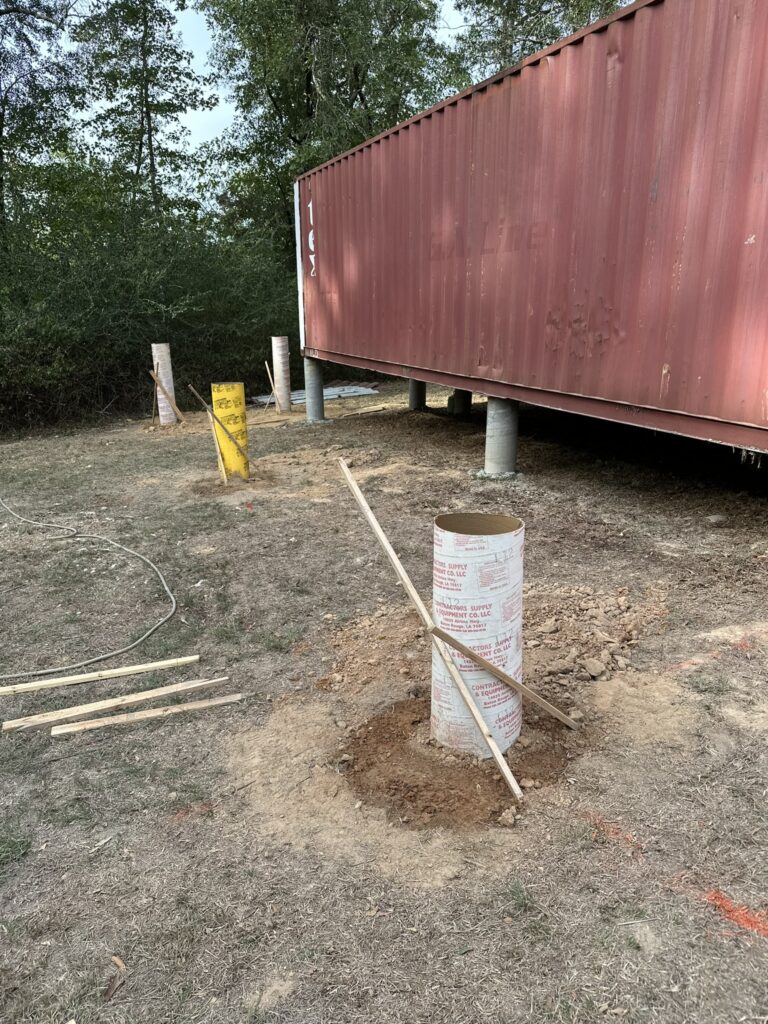
As in the past, on the next day I worked on placing the concrete tube forms, making them plumb, and then backfilling. Sammy & Lee returned the third day with the cement mixer.
Speaking of cement mixers, click here for a peppy song about them.
Mixing concrete and pouring it, bucket by bucket, into the tubes was the simplest part of the job. First, though, I had to cut the tubes to the right heights. The laser level, at dusk, made this easy. Here’s Calvin marking the tubes. (We’ll find out in November, when the crane lifts the container onto these piers, how well we did.)

Into the tops of the piers, in the wet concrete, I inserted some of the nifty steel assemblages I created.
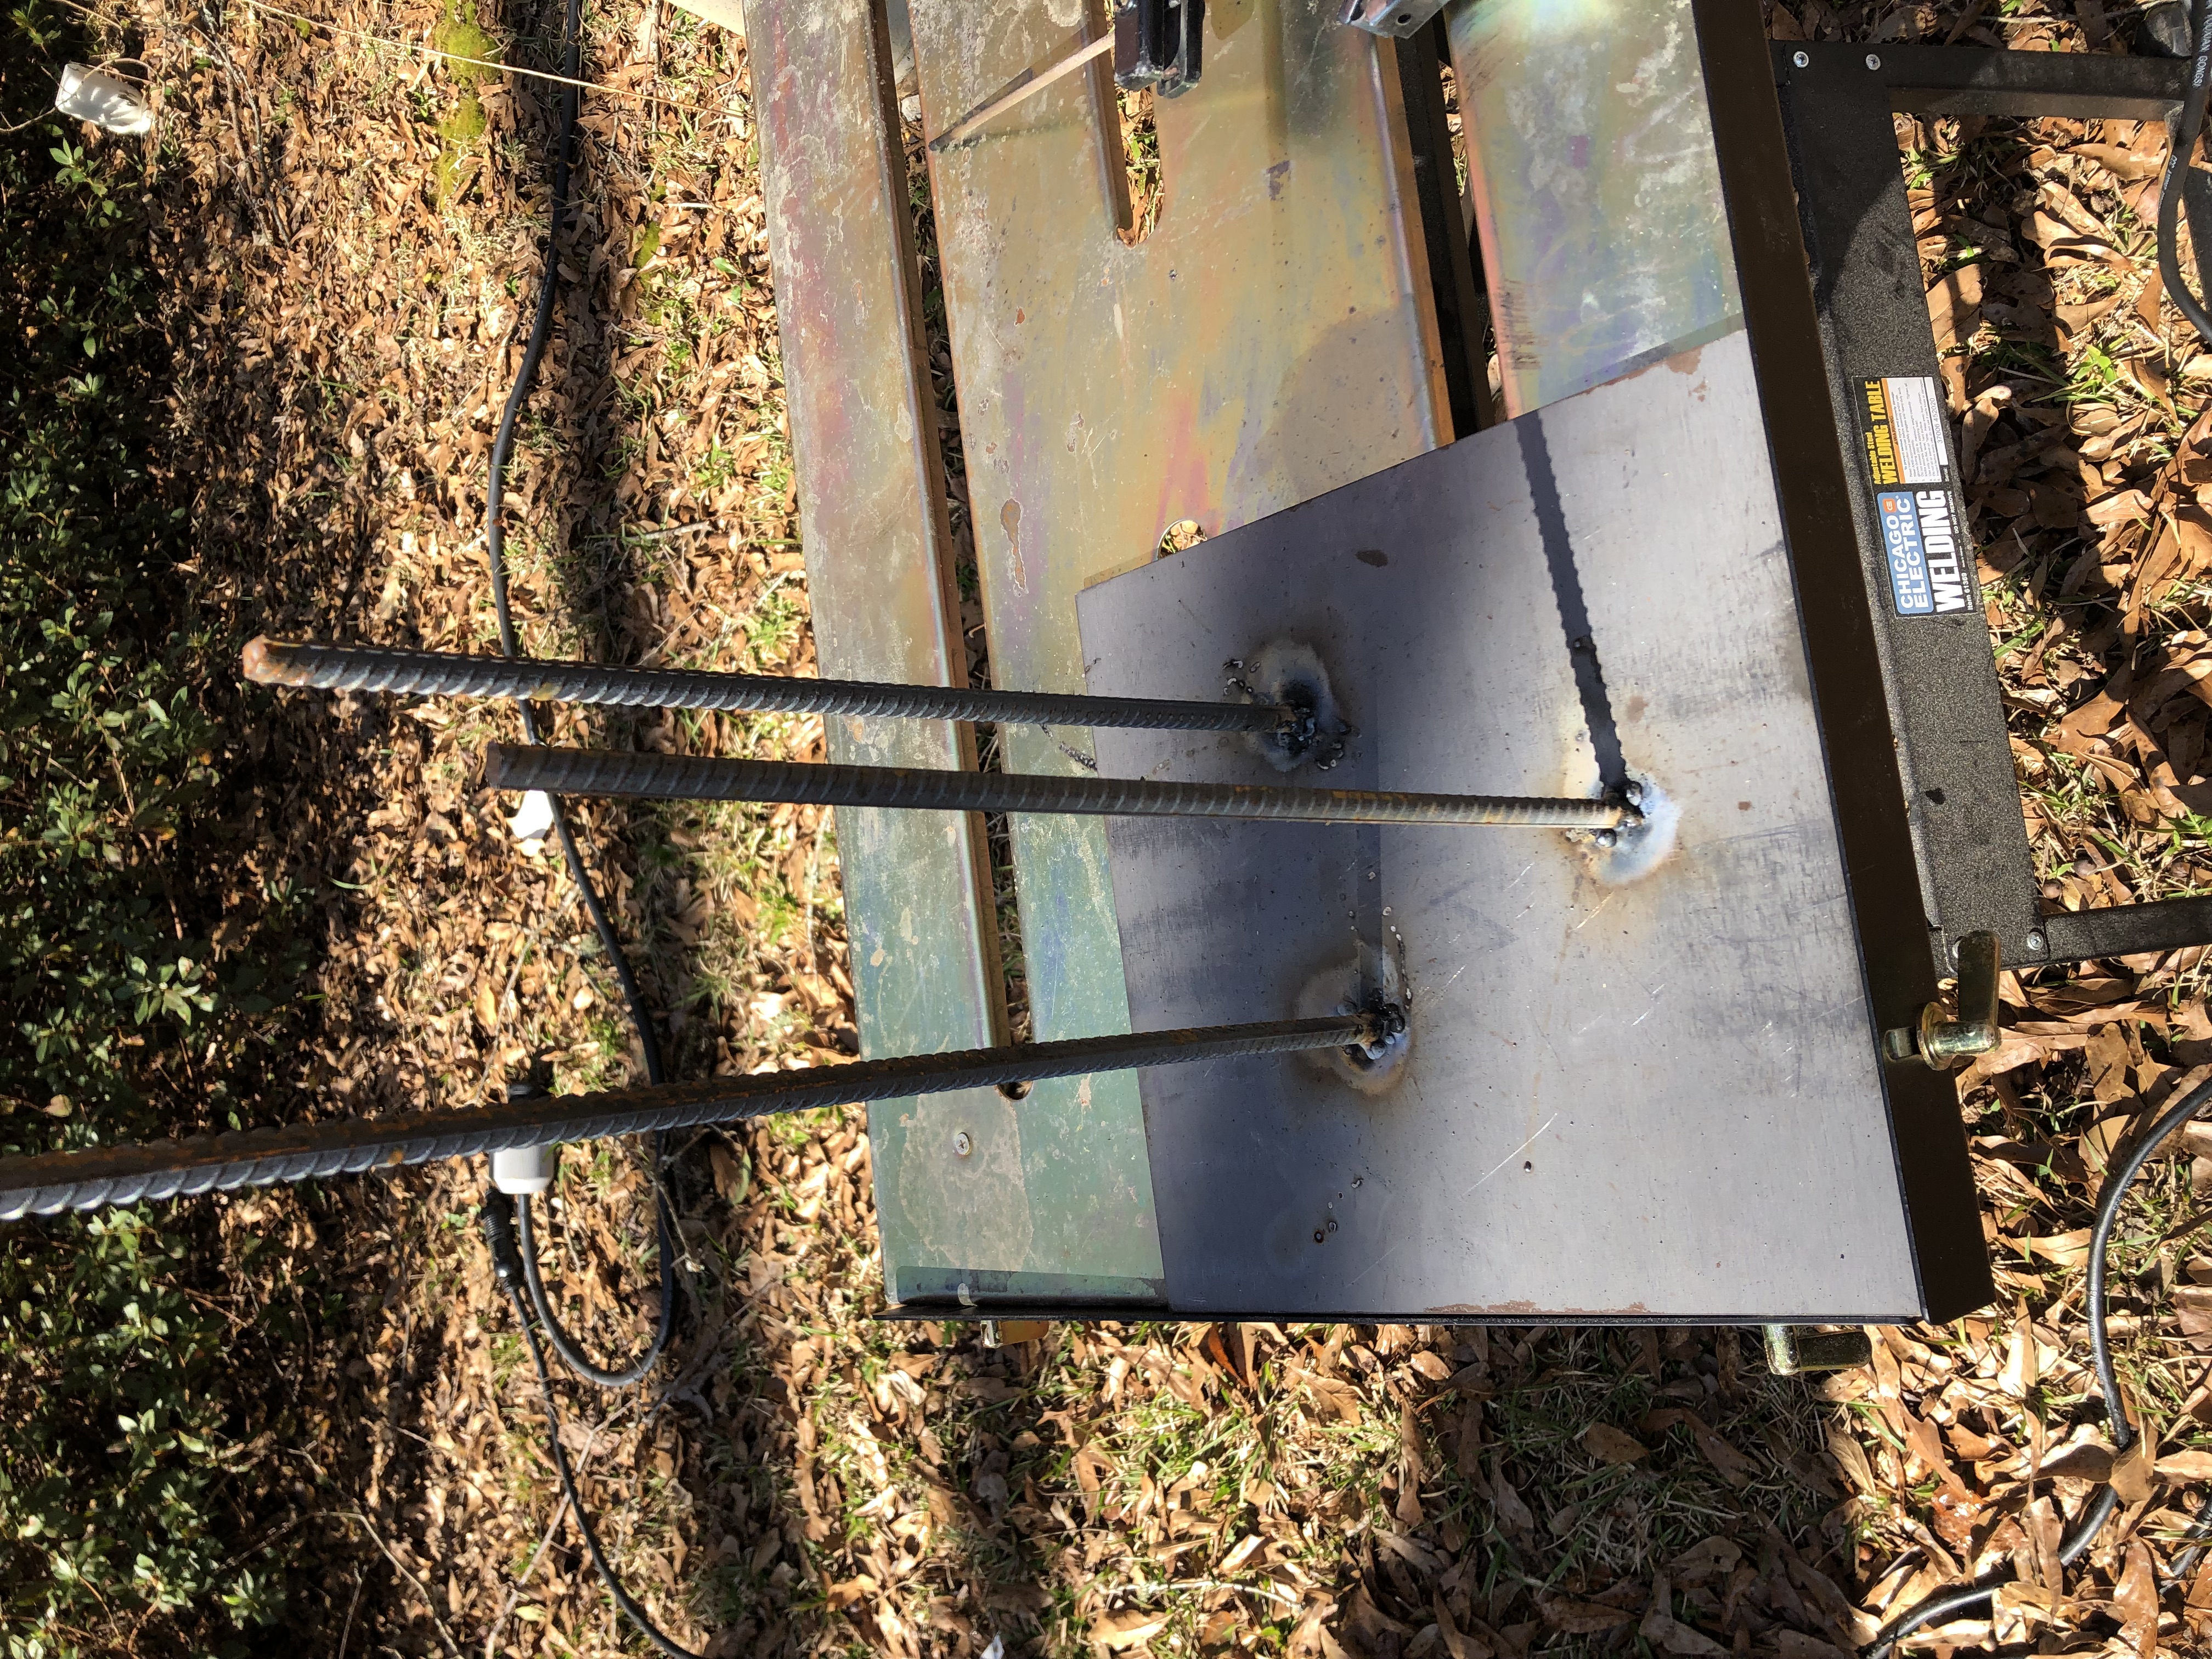
As a reminder, the rebar is at goofy angles to help keep it in place, not that it would ever be sliding upward out of concrete with a nine-thousand-pound box resting on it. The container corners will then be welded to the steel plates.
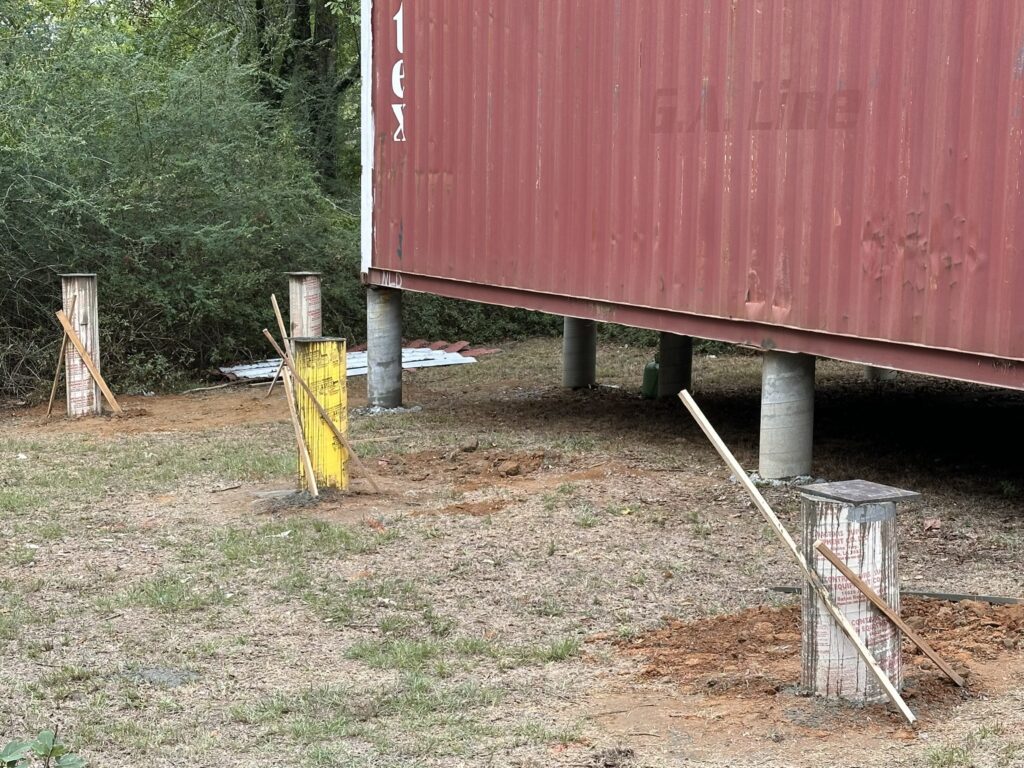
(MISTAKE: I should have removed the support stakes as soon as the concrete was poured. Because I didn’t, and because there won’t be a way to unscrew the screws holding them in place, it’s going to take some wiggling to get the stakes pulled away, after which I’ll grind the screws off. Or maybe we’ll leave them in place for hanging Christmas lights.)
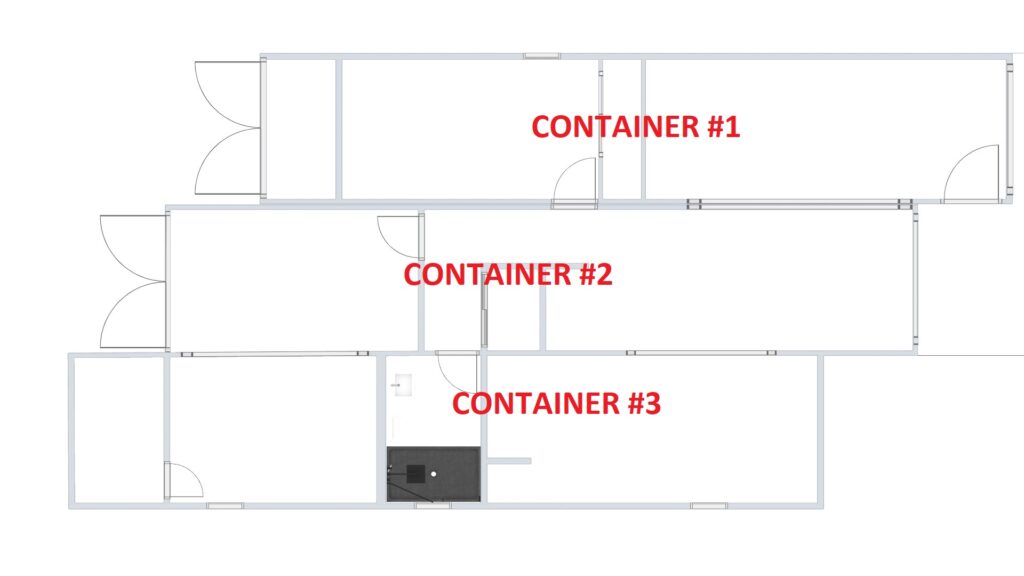
JOINING CONTAINERS 1 & 2
Despite my steel strip/weld/caulk/Flex-Seal treatment of the roof seam of Containers 1 and 2, there was a drip inside during a heavy rain. So I went up and applied two very heavy additional coats of Flex-Seal, which I hope does the trick. That stuff’s not cheap!
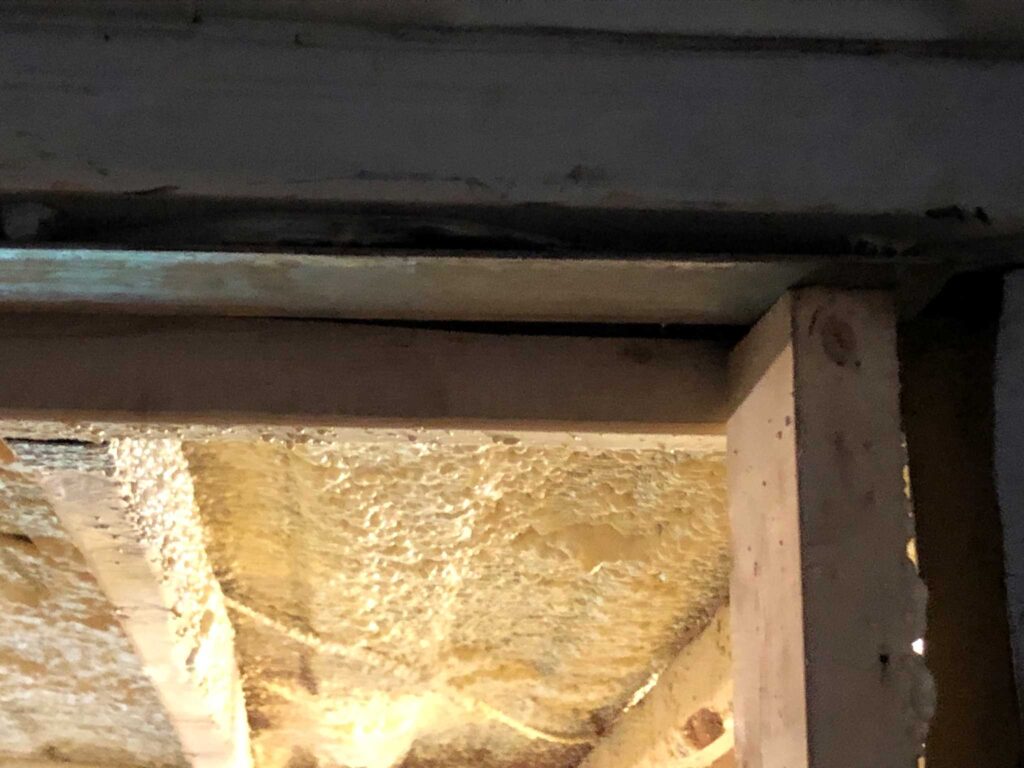
It was hard to devise a way to create an interior barrier between the outside air and the cutouts between two containers, at least until I was standing there. On my last trip to Mississippi I played around with cementing a piece of flat steel across the roof seam but then I ran out of time to think about it any more.
You can’t see much but here’s a picture anyway.
For the floor seams I first ran a thick line of caulk down the seam, which was easy enough. Because the subfloors extend only to the inner line of corrugation, the edges of the subfloor were about four inches apart. We could have cut the OSB wider in those spaces in order to narrow that gap, but it didn’t seem worth the trouble at the time. For the upcoming connection between containers 2 and 3 we’ll make the extra effort so as to have a smaller gap to fill.
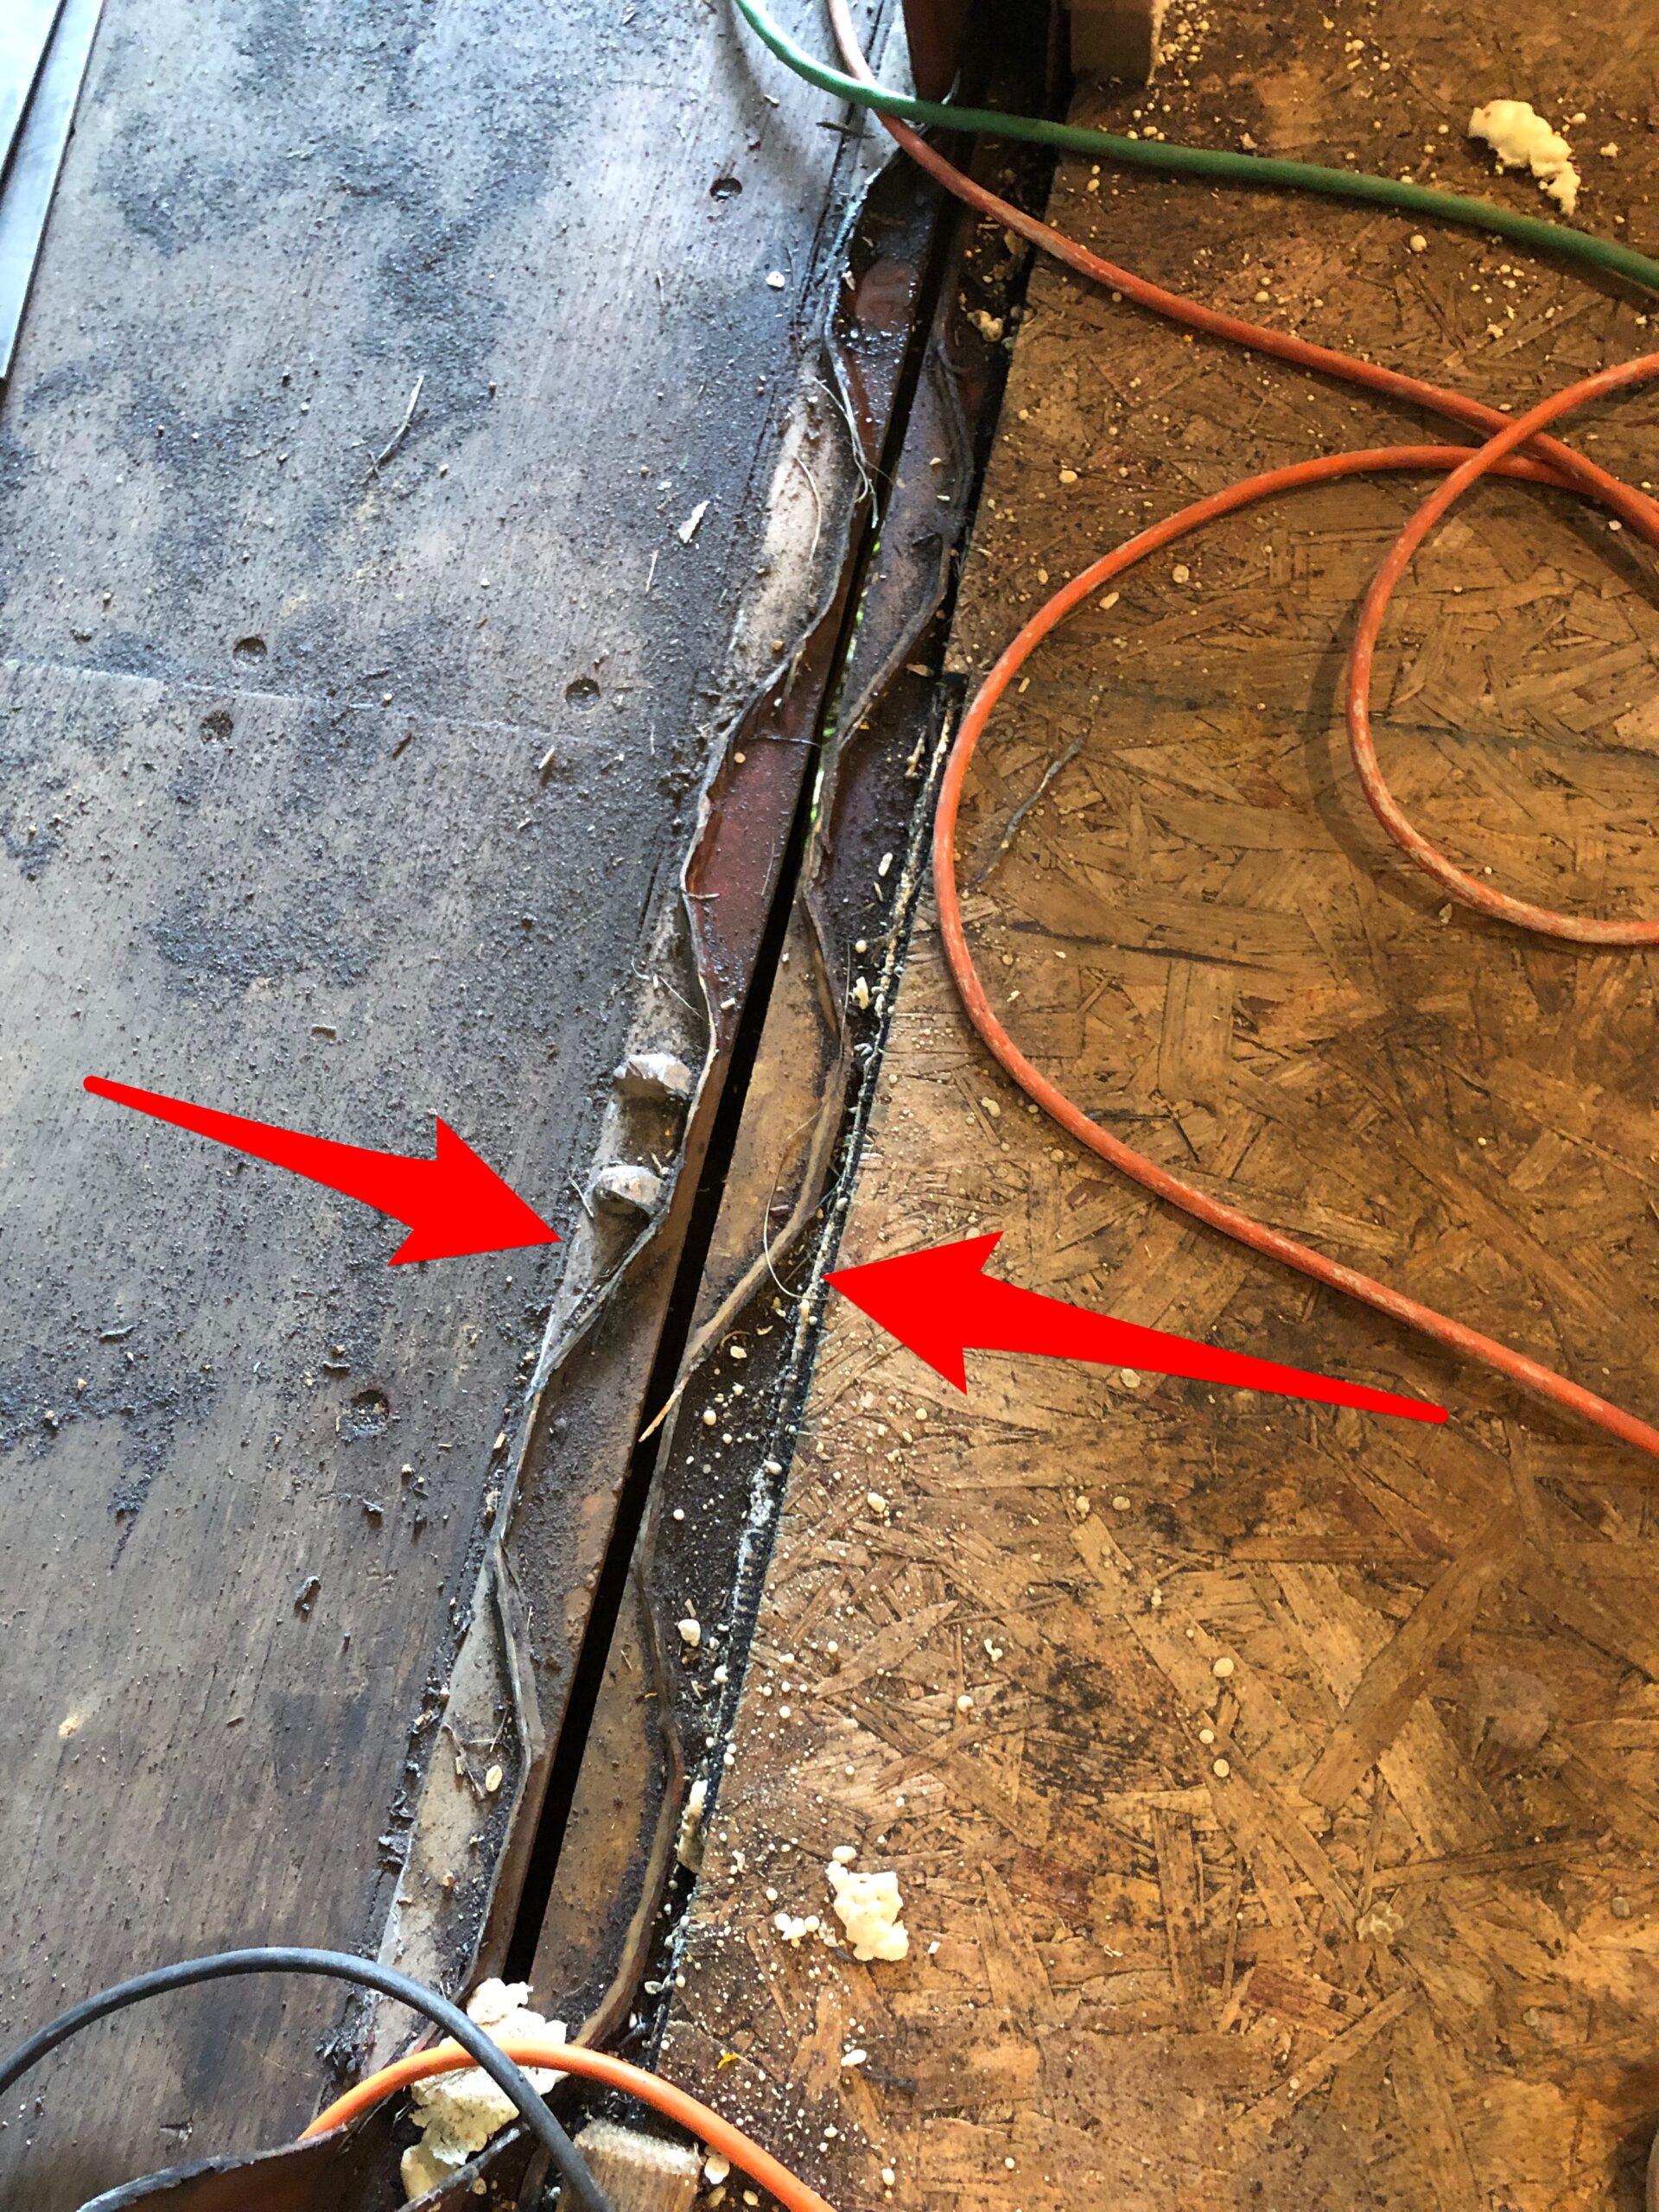
After the caulk I ran some small lines of gap filler in the void between the subfloors, but not so much that it rose too high when it expanded. Finally, over that space I laid some 5” x 1/8” flat steel, using construction adhesive to glue it to the OSB on each side. We’re going to be doing epoxy floors, so that 1/8” bump won’t make a difference.
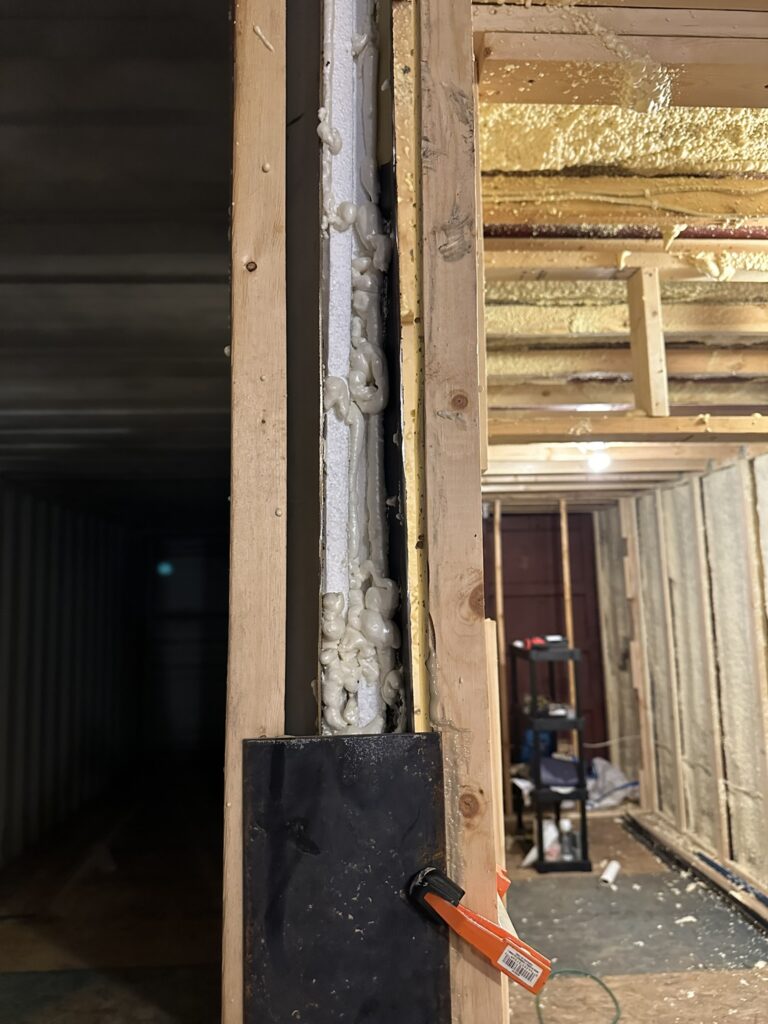
As for the vertical cutouts where the containers meet, I continued the unattractive-but-effective method I began on my last trip to Mississippi. As a reminder, it involved stuffing four-inch-wide pieces of foam core insulation (left over from the subfloor) between the two containers, and then spraying gap filler between and around them.
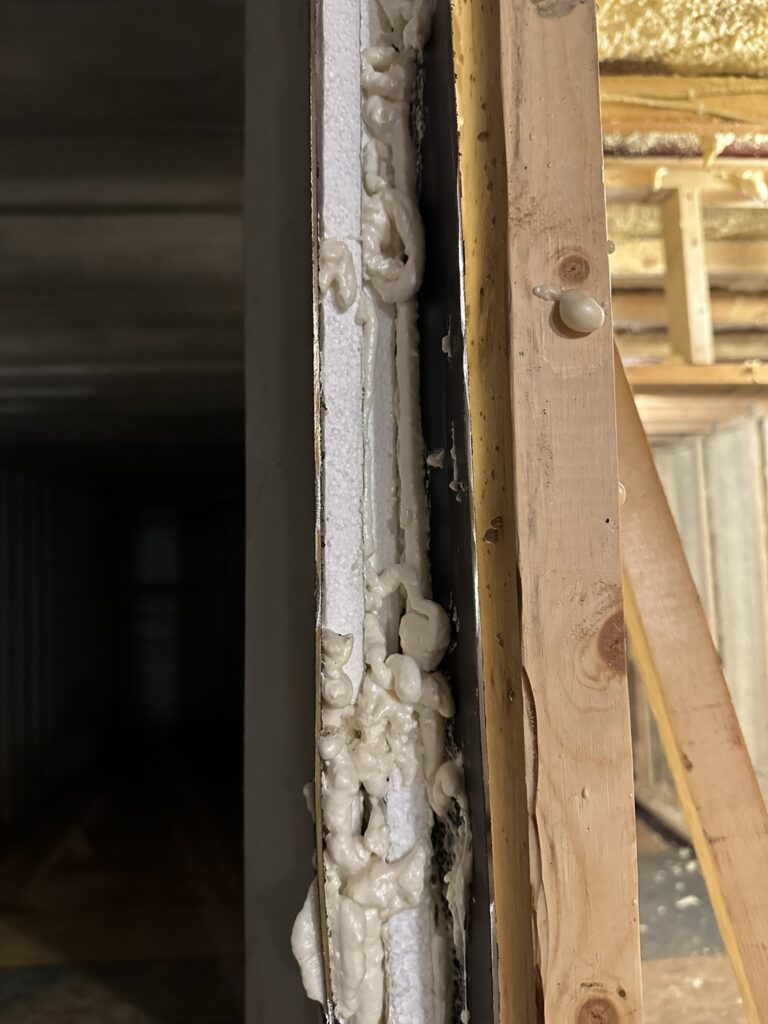
After that, I attached more flat steel across the studs, thereby enclosing the insulation between the container walls. I used construction adhesive, clamping the steel in place while it set. The connection is solid.
A ways back, when I insulated Container 1, it was a mess. I didn’t have enough nozzles and there was too much clutter on the floor for me to be able to move the ladder around properly. And all the surfaces didn’t end up getting covered. I documented that frenzied experience here.
To finish the job this session I bought the same Froth-Pak spray foam as before, but a smaller kit (the 210-square-foot kit vs the 650). I had ordered a big supply of spray nozzles, and we cleared everything out of Container 1 and put it in Container 2. Thus prepared, I completed Container 1’s insulation. I’m starting to realize that things work better when you prepare.
Anticipating the placement of Container 3 on its piers in November, we marked the location of the cutouts between Containers 2 and 3.
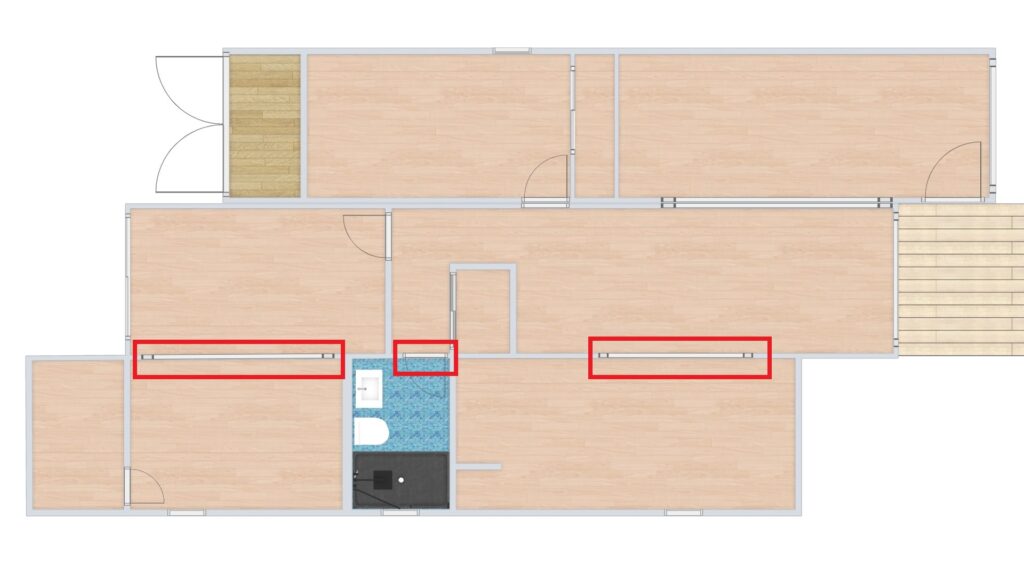
I had time to begin the cutting, so when it’s time to lift Container 3 in place there will be relatively little to do right before the crane comes.
#redibase #Frothpak
COMING UP NEXT
Before I return to Mississippi, Container 3 will be delivered and Calvin will do several things:
- Container 1: Scrape insulation residue from floor and stud fronts.
- Container 2: Continue partial cuts where the pass-throughs to Container 3 will be.
LOOKING AHEAD
In late November:
- Crane to lift Container 3 onto its concrete piers.
- Cut out openings between Containers 2 & 3.
- Seal roof & floor seams.
- Seal pass-throughs between Containers 2 & 3.
- Install subfloor in Container 3.