“You can learn anything on YouTube” is my motto.
It’s where I’ve found inspiration for many facets of shipping container conversions, including how-to tips. (I’ve also found the people who say about these conversions, “Don’t do it!…It’s a scam!…Run!”) There are several people who have documented every swing of a hammer, every turn of a screwdriver, and every inch of welding in their shipping container house construction, and the information they share has been a big help as Calvin and I launched our own project. My favorite YouTube channel is called Odd Life Crafting, run by a Brazilian couple (who speak excellent English). Their videos are rich with useful information.
In an earlier post we covered the areas of construction where our skill is minimal. To an extent, that modesty was tongue-in-cheek. We’re not complete incompetents: We’ve built stud walls and drywalled before, I’ve done minor plumbing repairs (PVC), I’ve wired lamps, we installed doors and windows a few times.
But one area where we had absolutely no experience was welding. And considering how much of it there’d be in this project, I decided to learn how. As with most things, I started on the internet. There are countless video tutorials intended for people at every skill level, and I spent a whole lot of time watching them and studying every online resource I could find.
It appeared that stick welding would be the best bet for me, a total novice, though at the moment I can’t remember why. I’m too lazy to go back through the whole research process again—maybe it was because stick is easier to learn? But after a lot of research on machines I settled on the Hobart 500570 Stickmate 160i. An abundance of good reviews helped to ease my anxiety over something scary. And I knew the brand name from their commercial mixers, which are staples of restaurant kitchens. I figured that if their mixers work well on pizza dough, then their welder would be just fine for me.
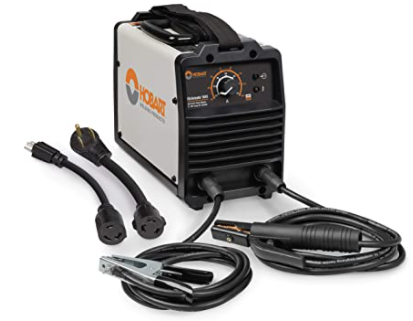
Something else I liked about this machine was that it works on both 120 and 240 volts, and that its output cranks up to 160 amps.
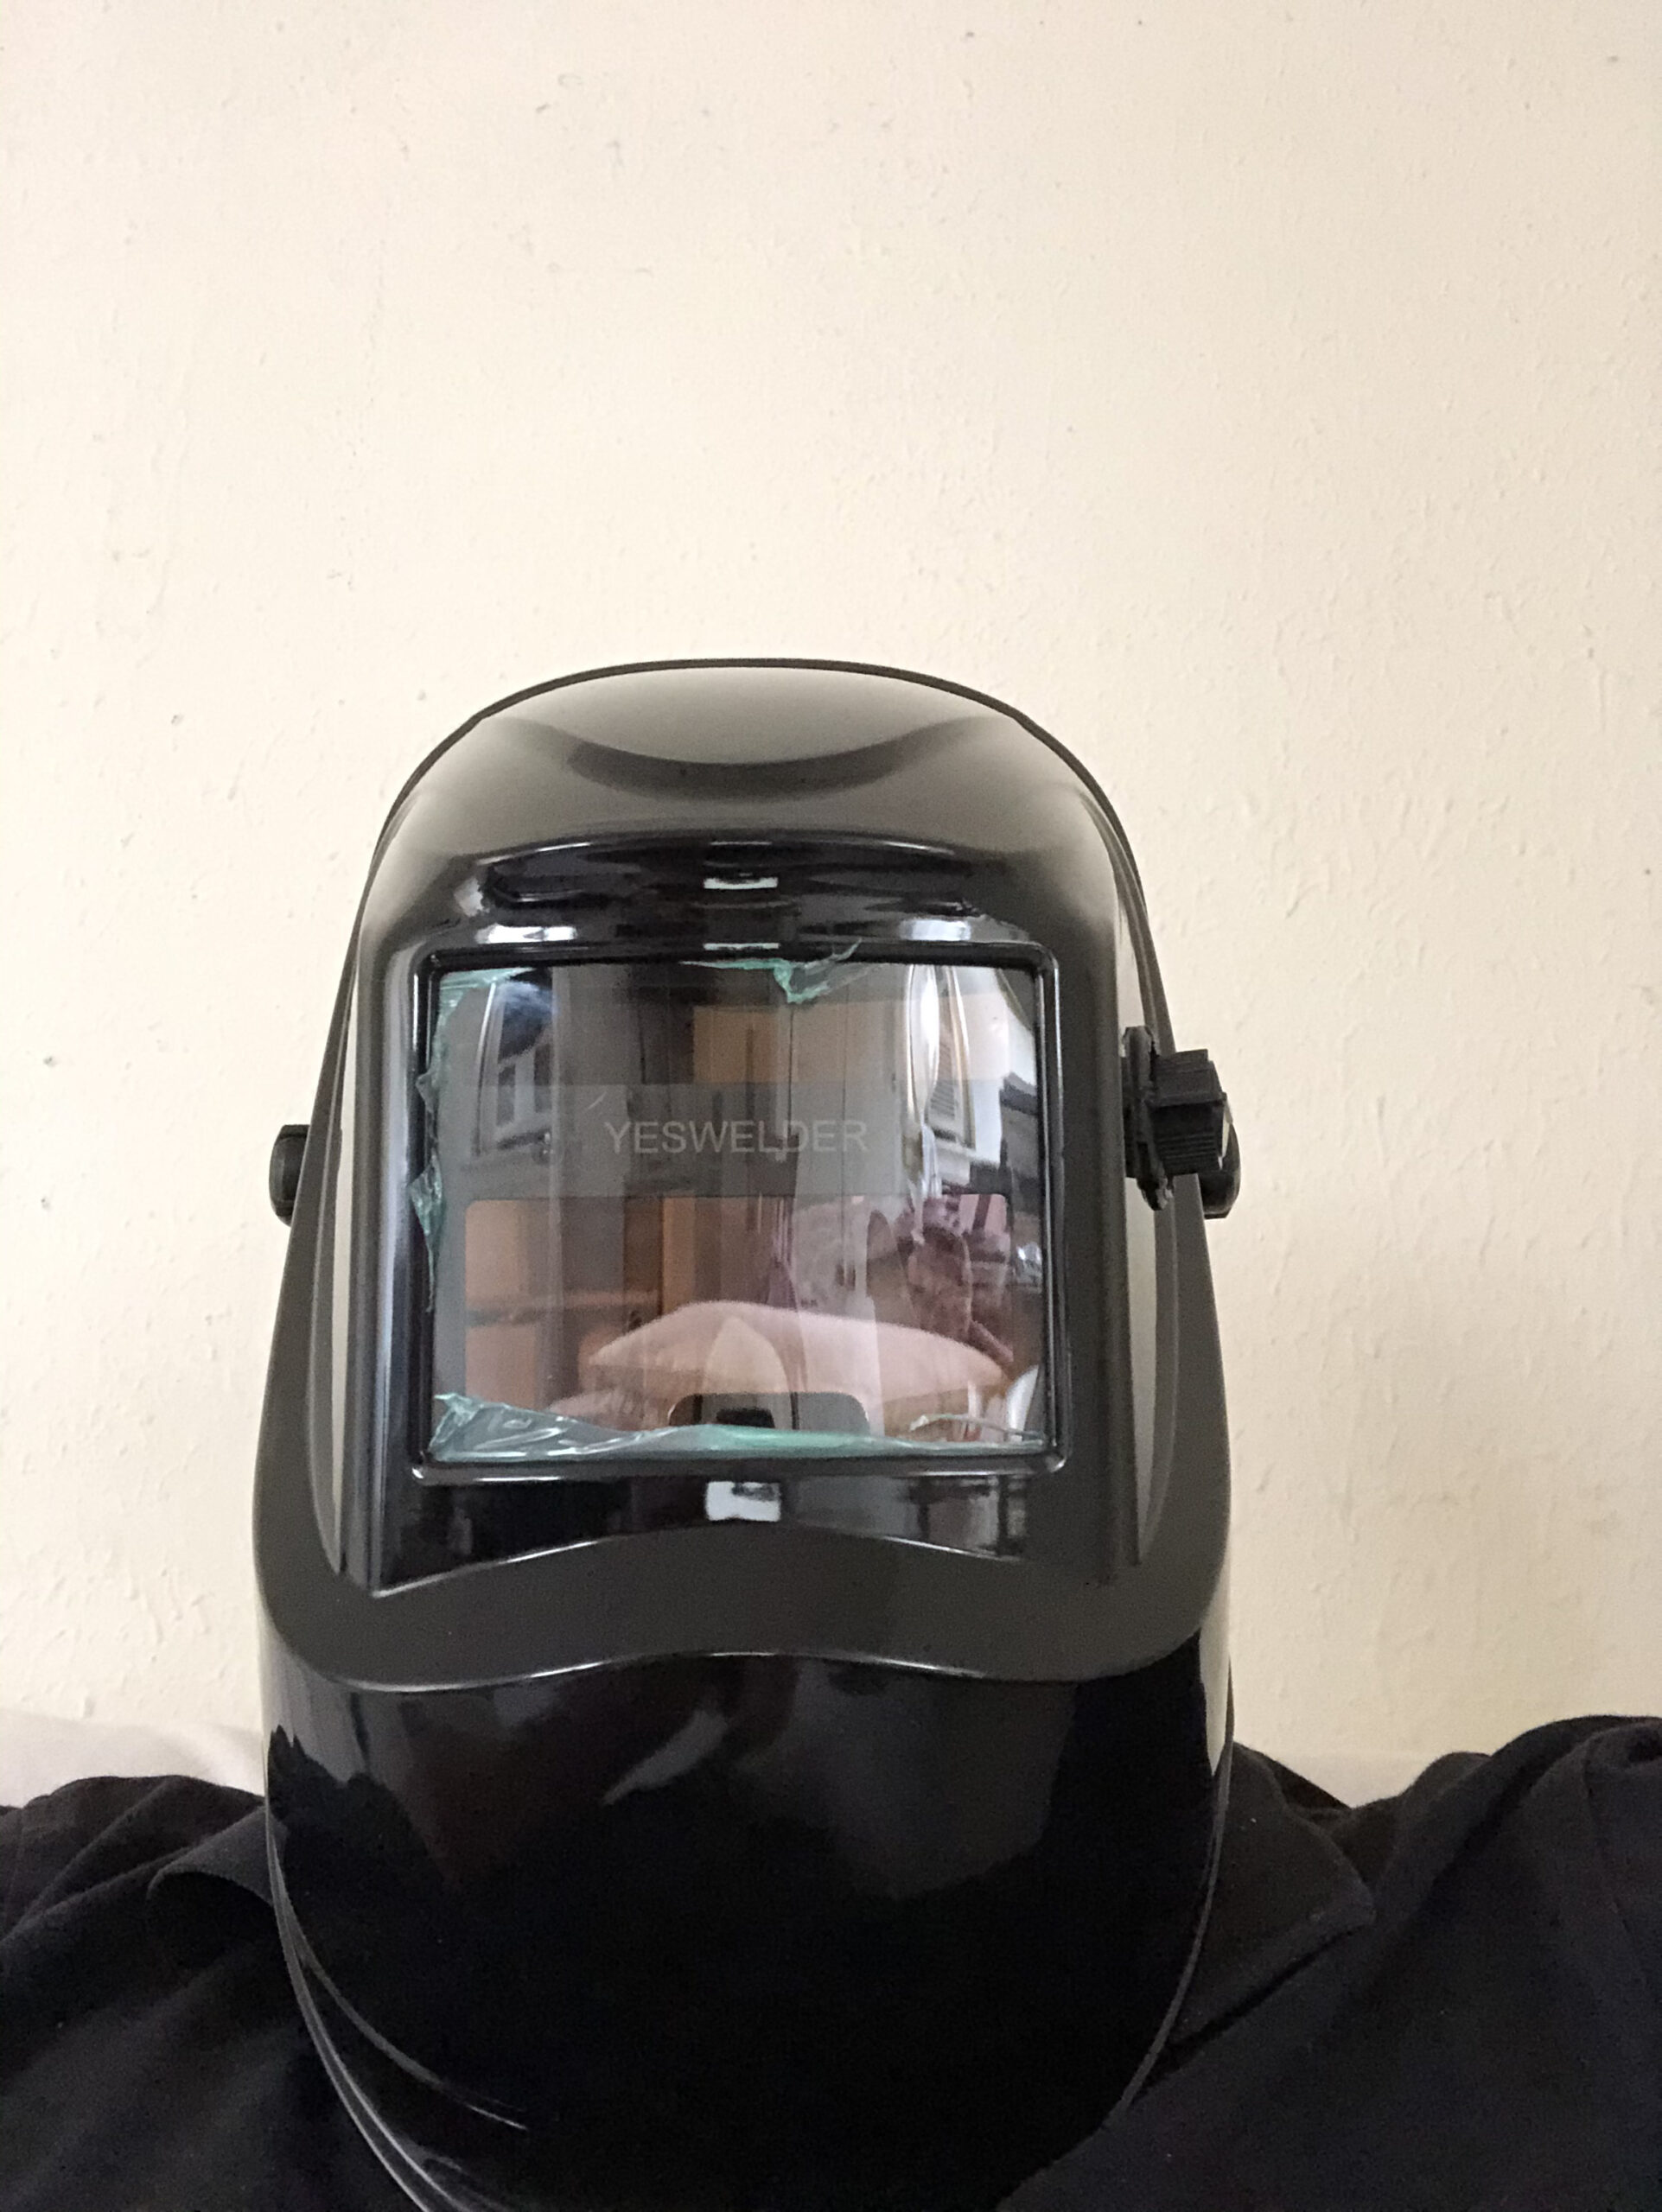
I bought a helmet, welding jacket and gloves. As with so many things, I had no idea what I was doing, but they’ve all ended up working out great. The helmet didn’t cost too much but I have no complaints.
For my very first go at welding, I bought some pieces of 1/8” steel at Lowe’s, and a welding table at Harbor Freight, as well as some 3/32” and 1/8” sticks, both 6011 and 7018. I connected to 120v this first time. If I were smart I’d have taken notes about the results from the various combinations of stick size, stick type, and amperage. But I wasn’t smart that day. Anyway, the results were a mess.
Later, when it came time to weld steel plates onto the rebar in the concrete piers, I wanted to crank up the Hobart machine and run it on 240. But A) our old house’s electrical circuitry is barely sufficient for a microwave, coffee machine and small space heater to run simultaneously, much less a welding machine, and B) in any case there was no 240 outlet.
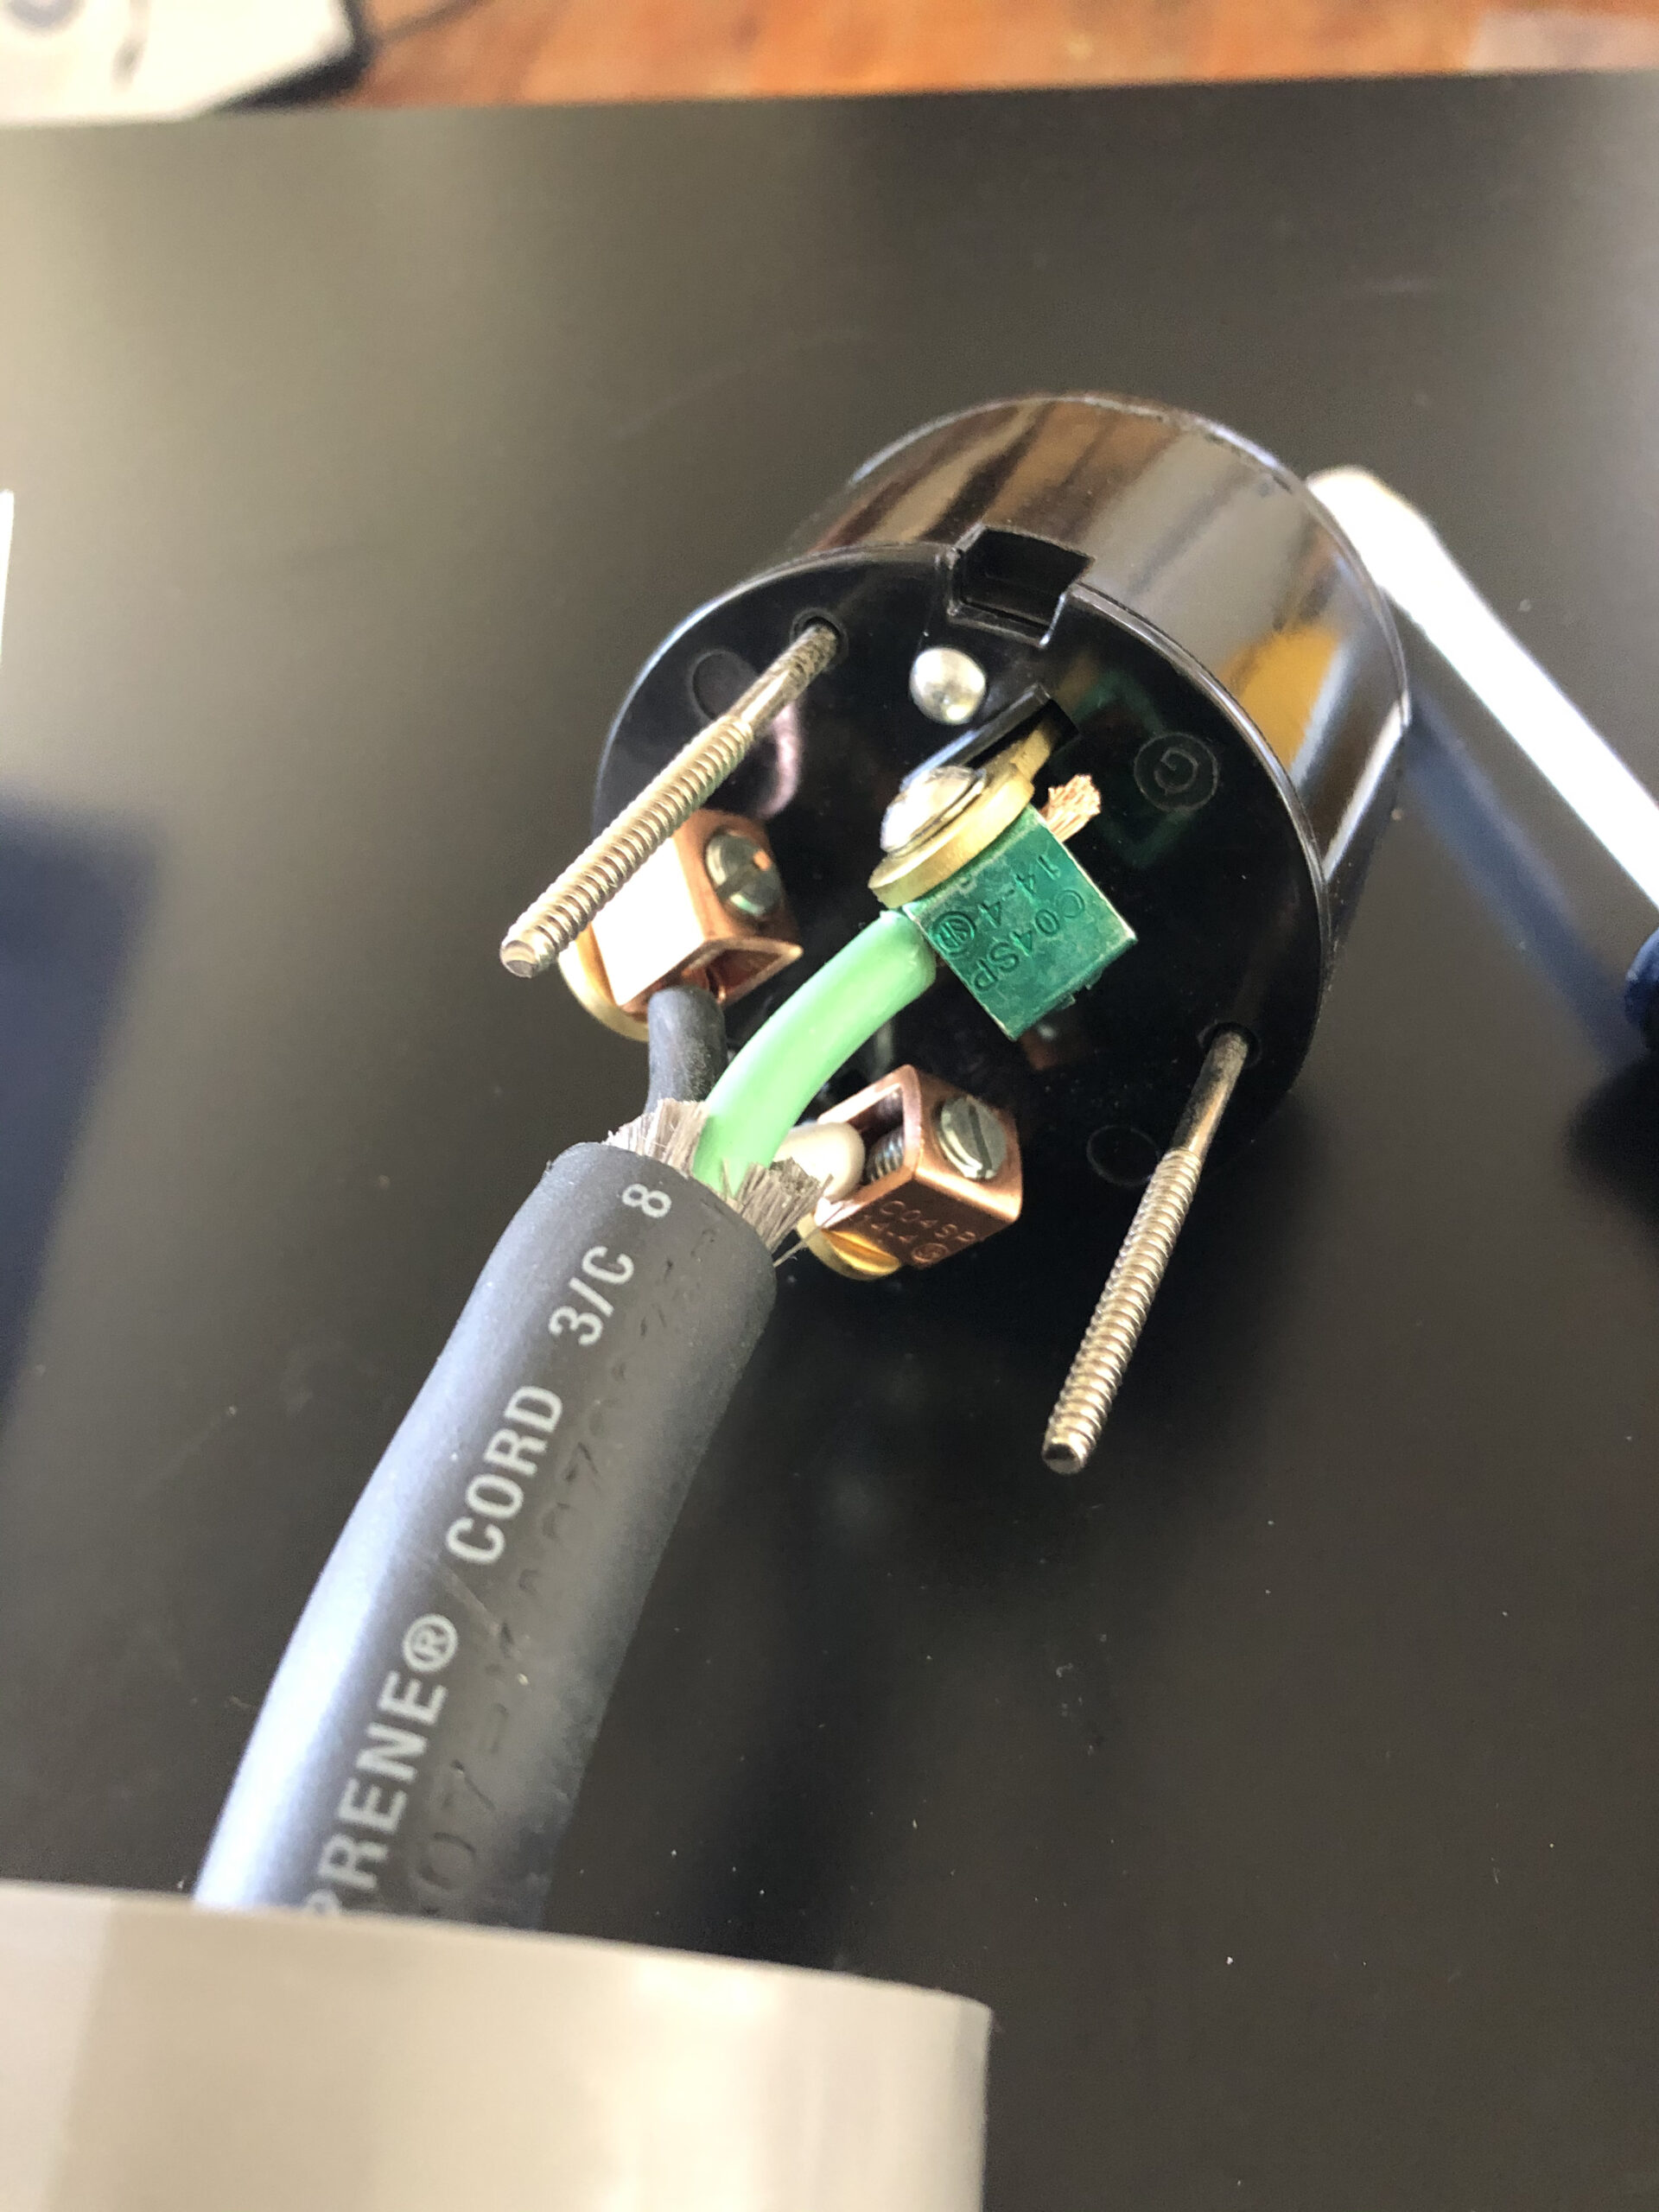
My solution was to hire an electrician to install a 50-amp outlet on the side of the house. The old house, that is—the one we still live in. If I was going to have juice for welding, I wanted JUICE. But the welding I’d be doing would be a bit more than 50 feet away, and this meant an extension cord.
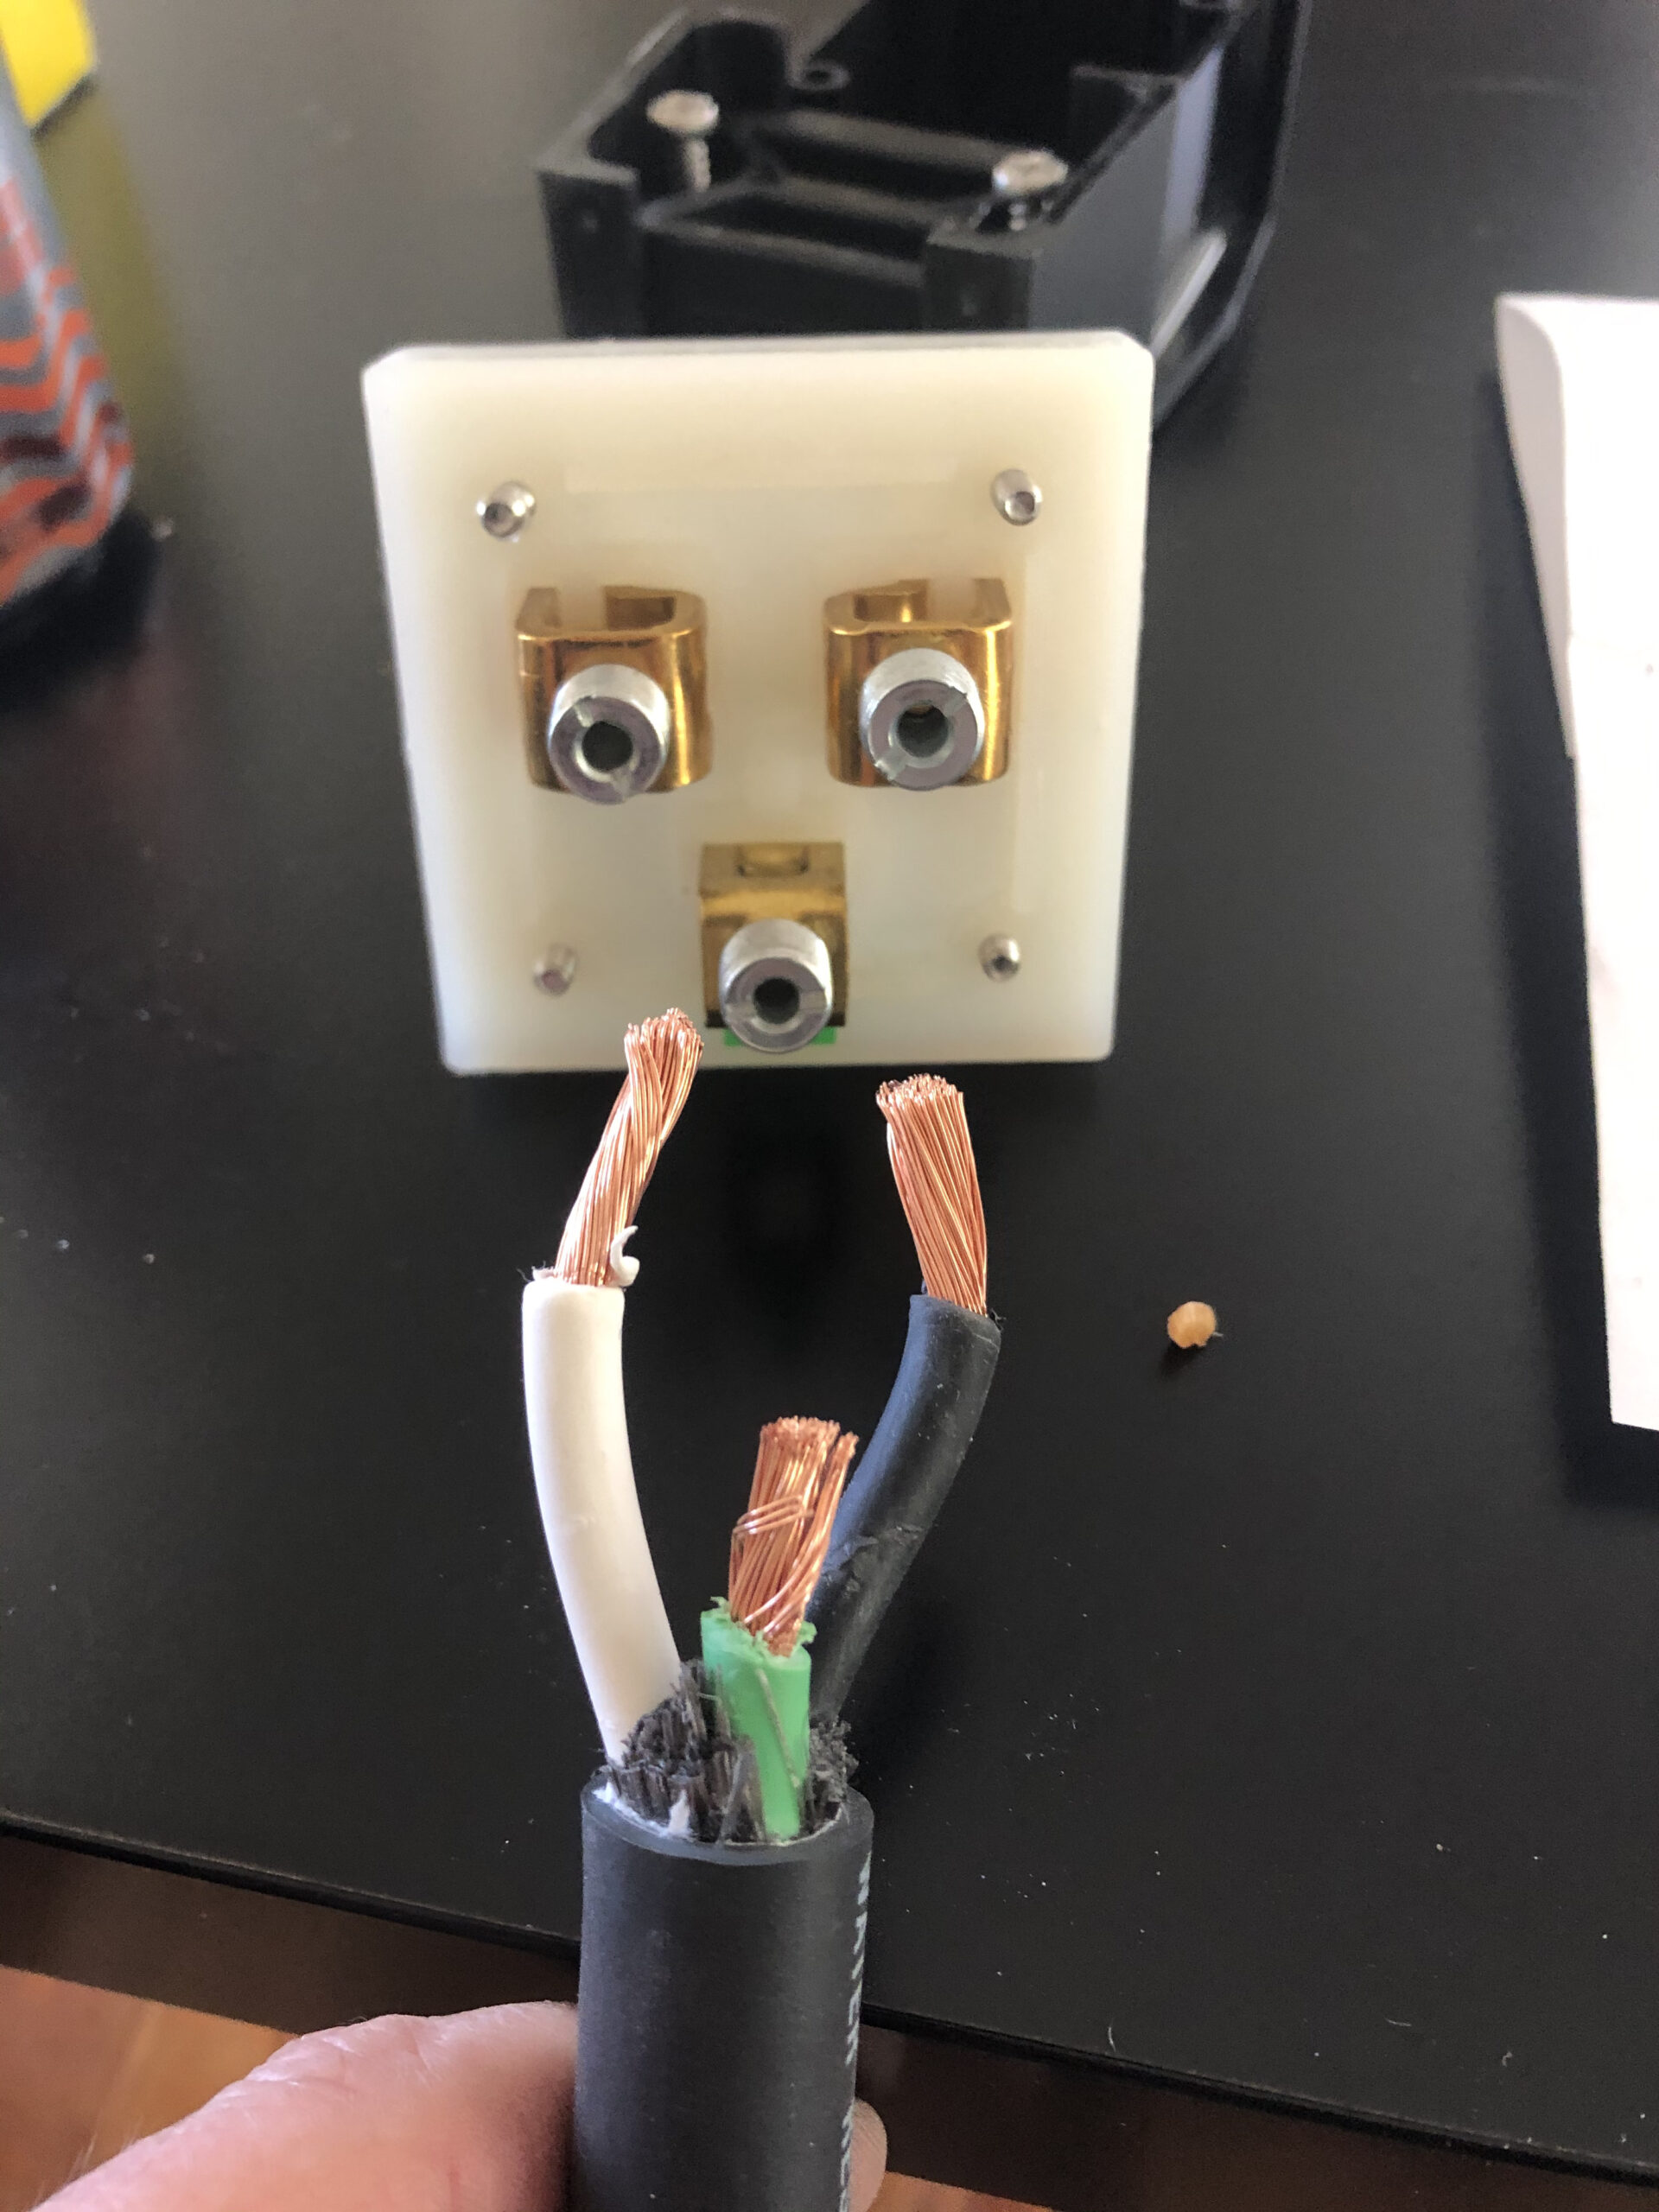
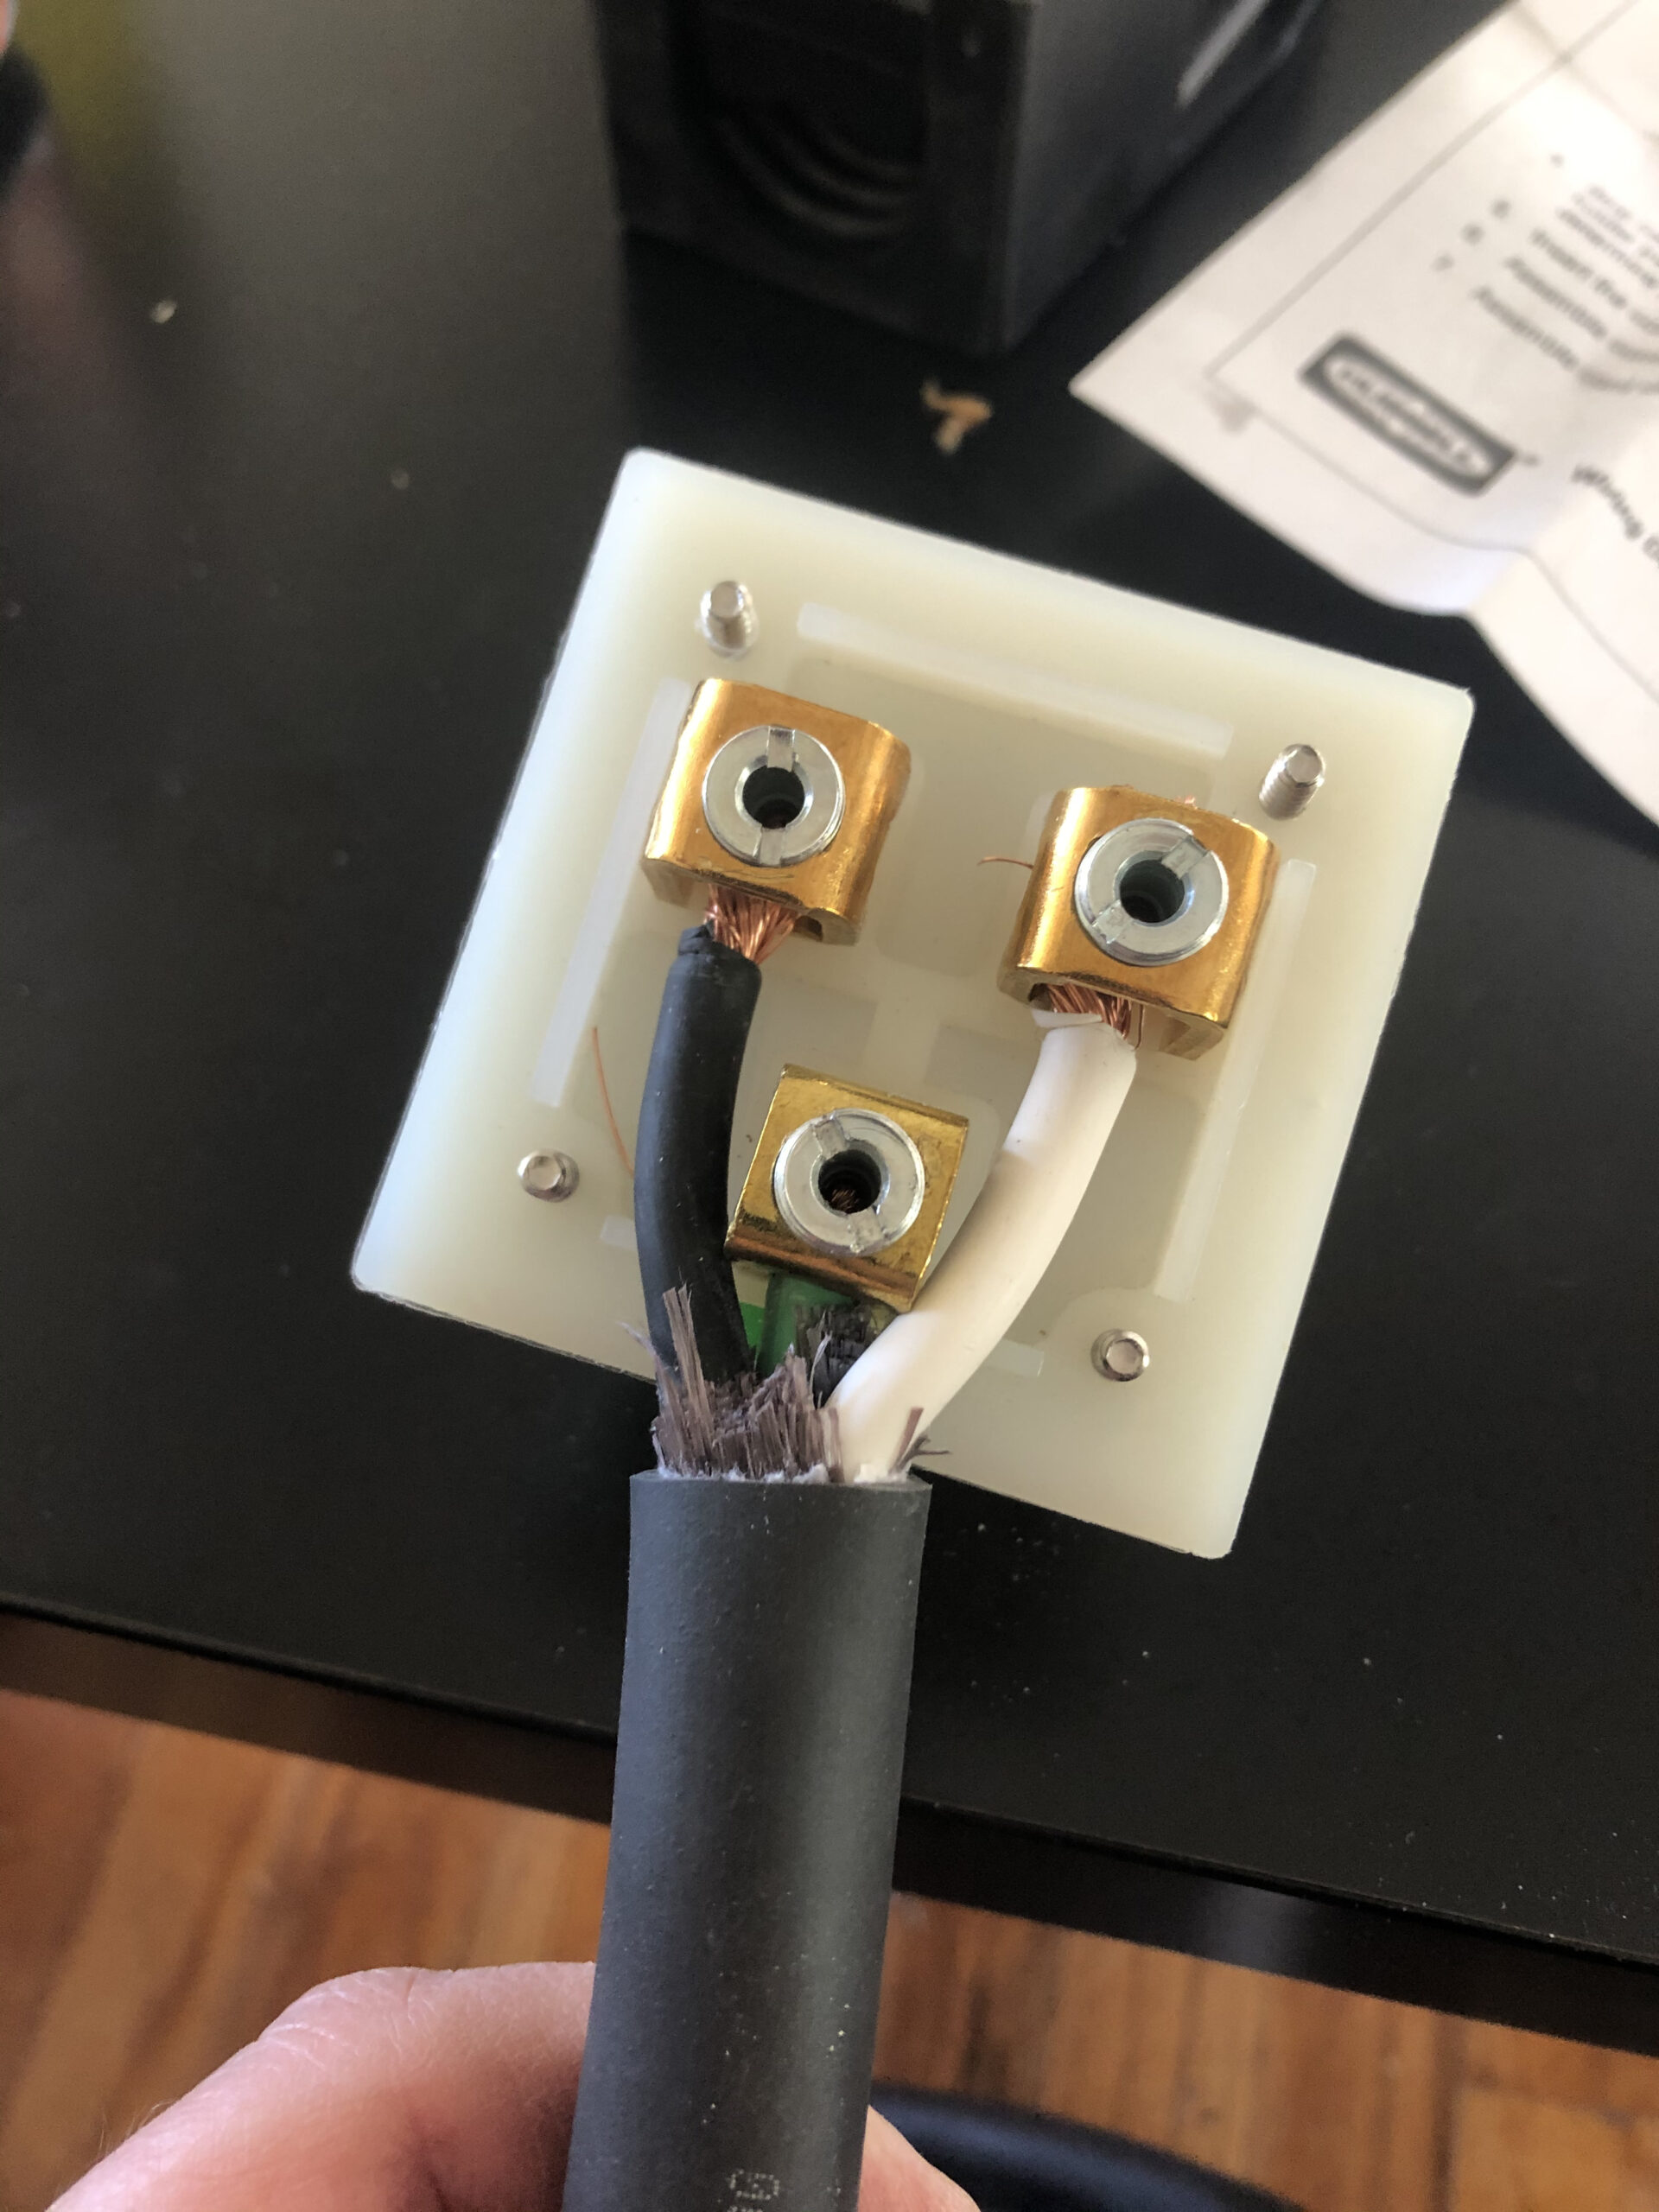
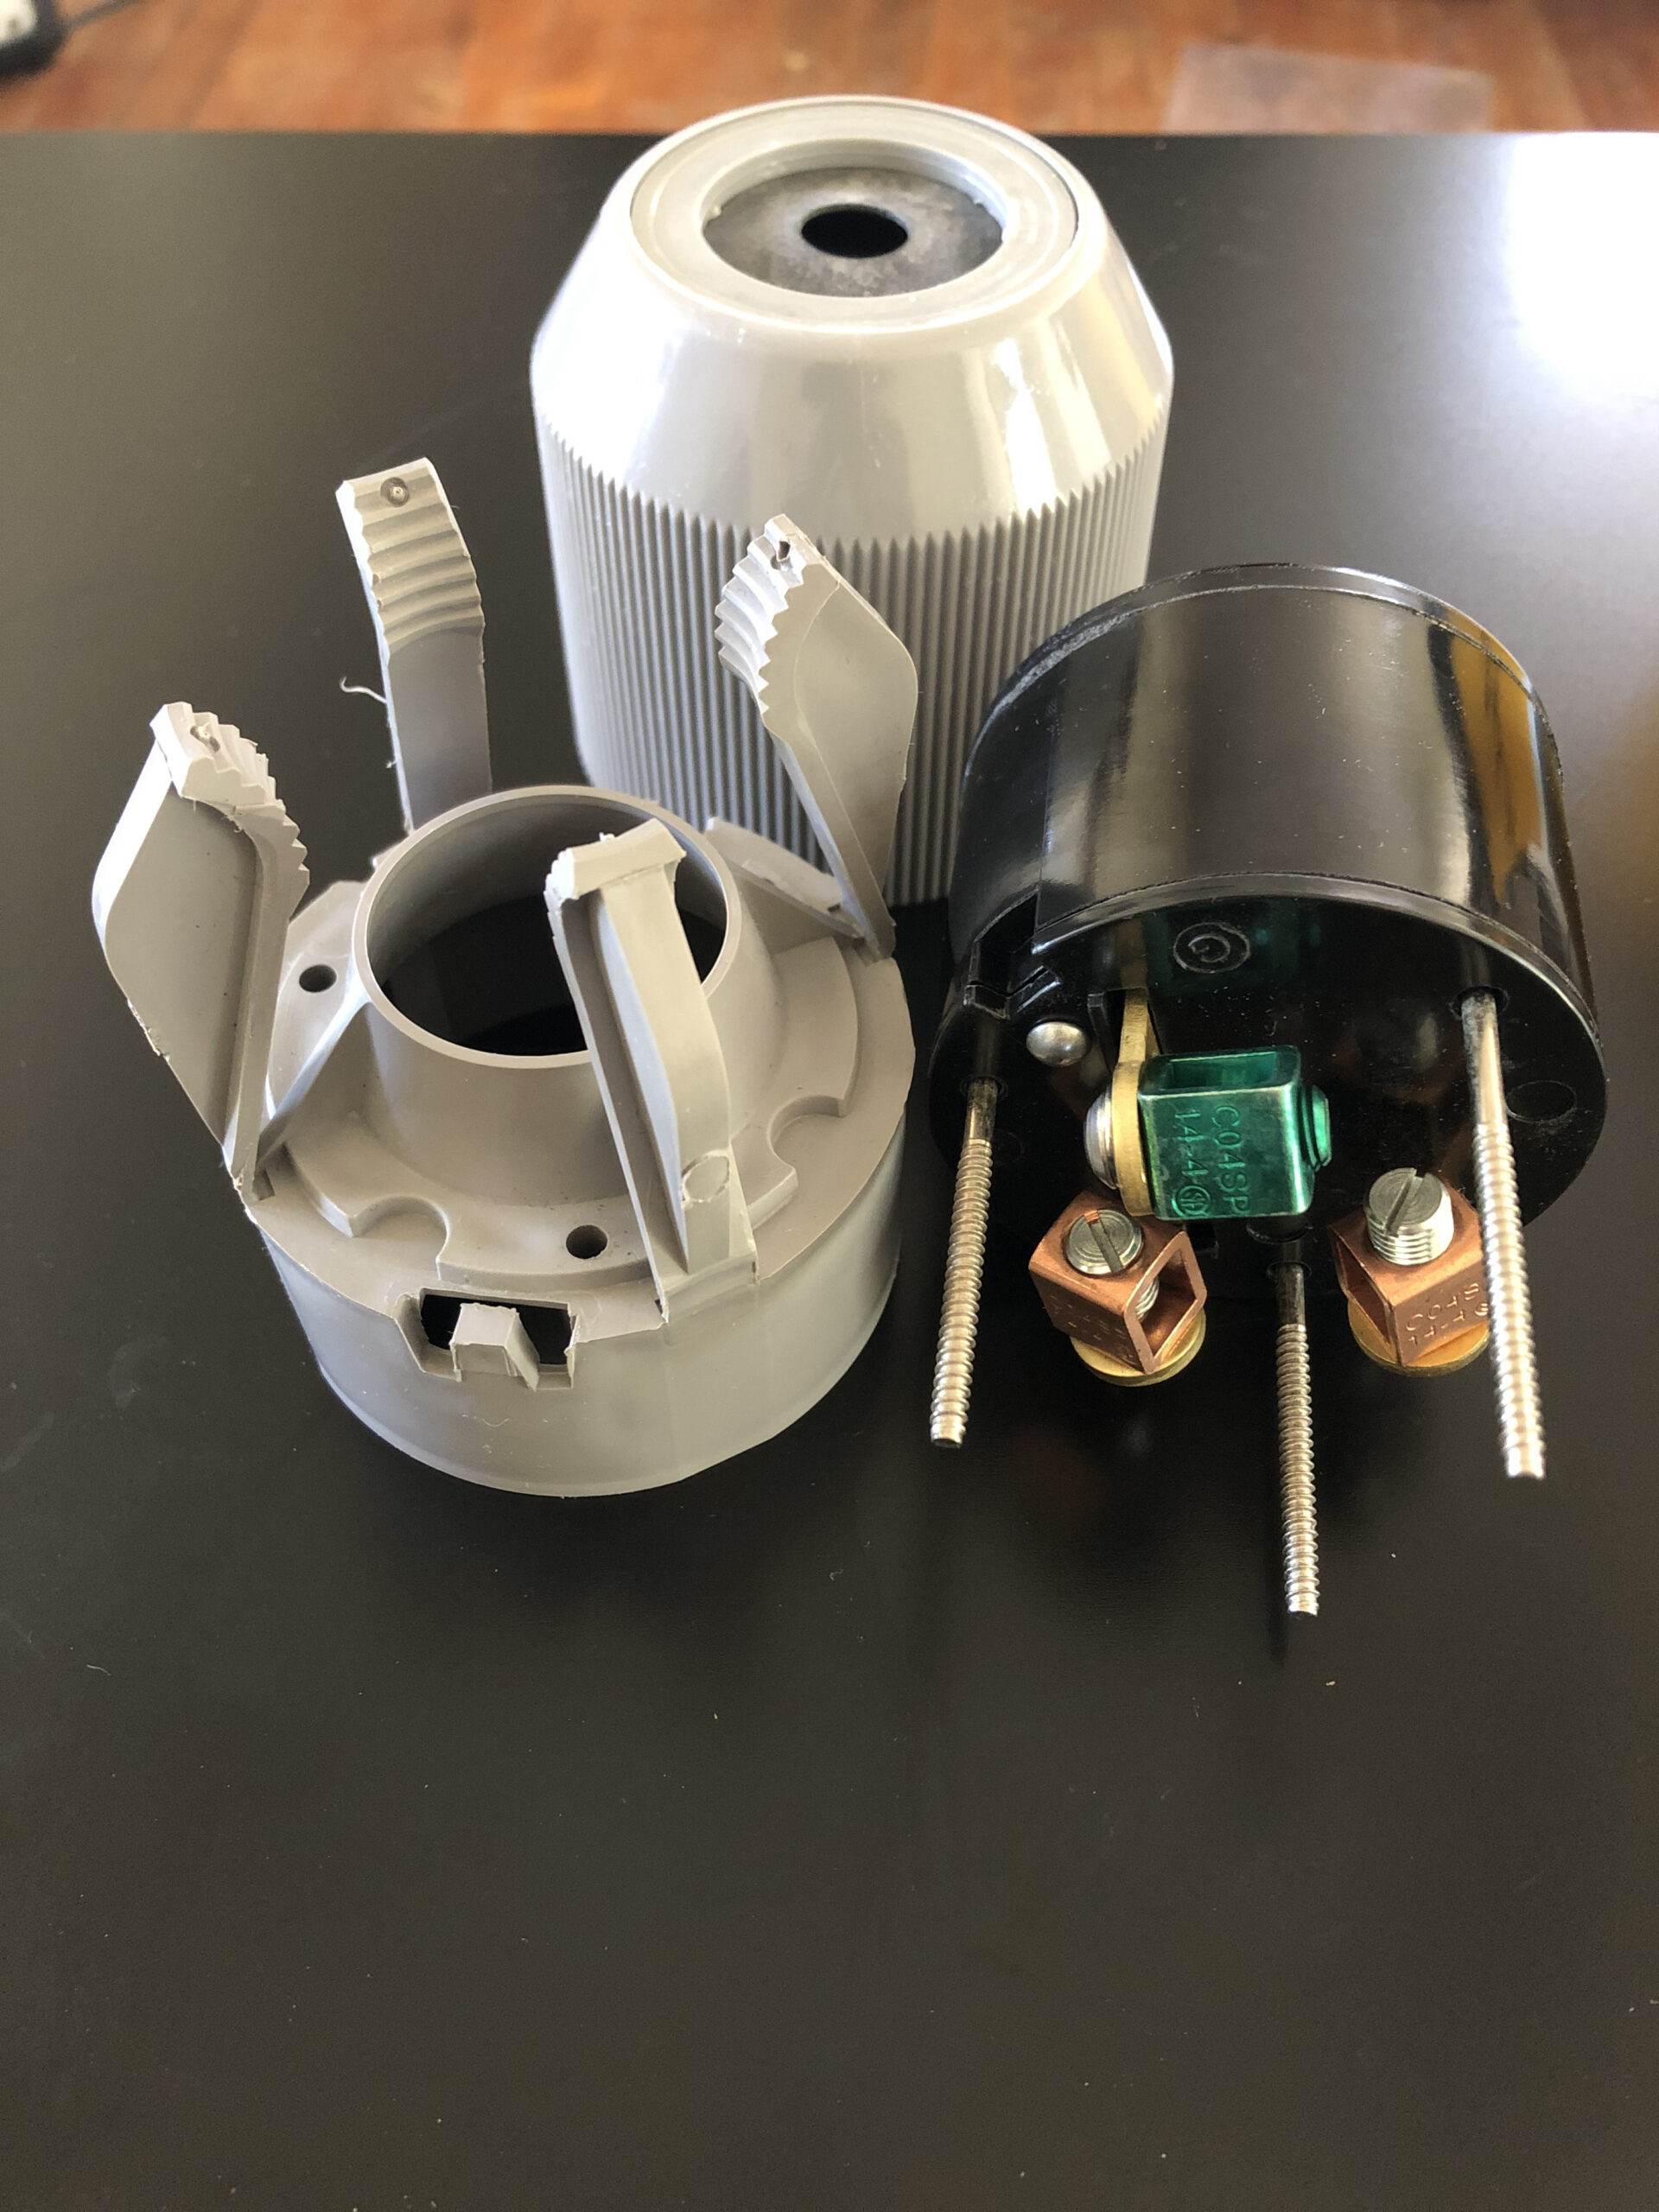
Here is where I learned that all extension cords are not created equal. Au contraire. For one thing, the cable itself ran around two dollars a foot (8/3 wire, whatever that is). But what really knocked me out were the plug and receptacle that go on the ends—70 bucks apiece! I assembled everything myself.
REAL-WORLD WELDING
The time came, after the splatter-drenched extravaganza of my first feeble practice-welds, for me to do some real work. It was time to weld actual parts of our house together.
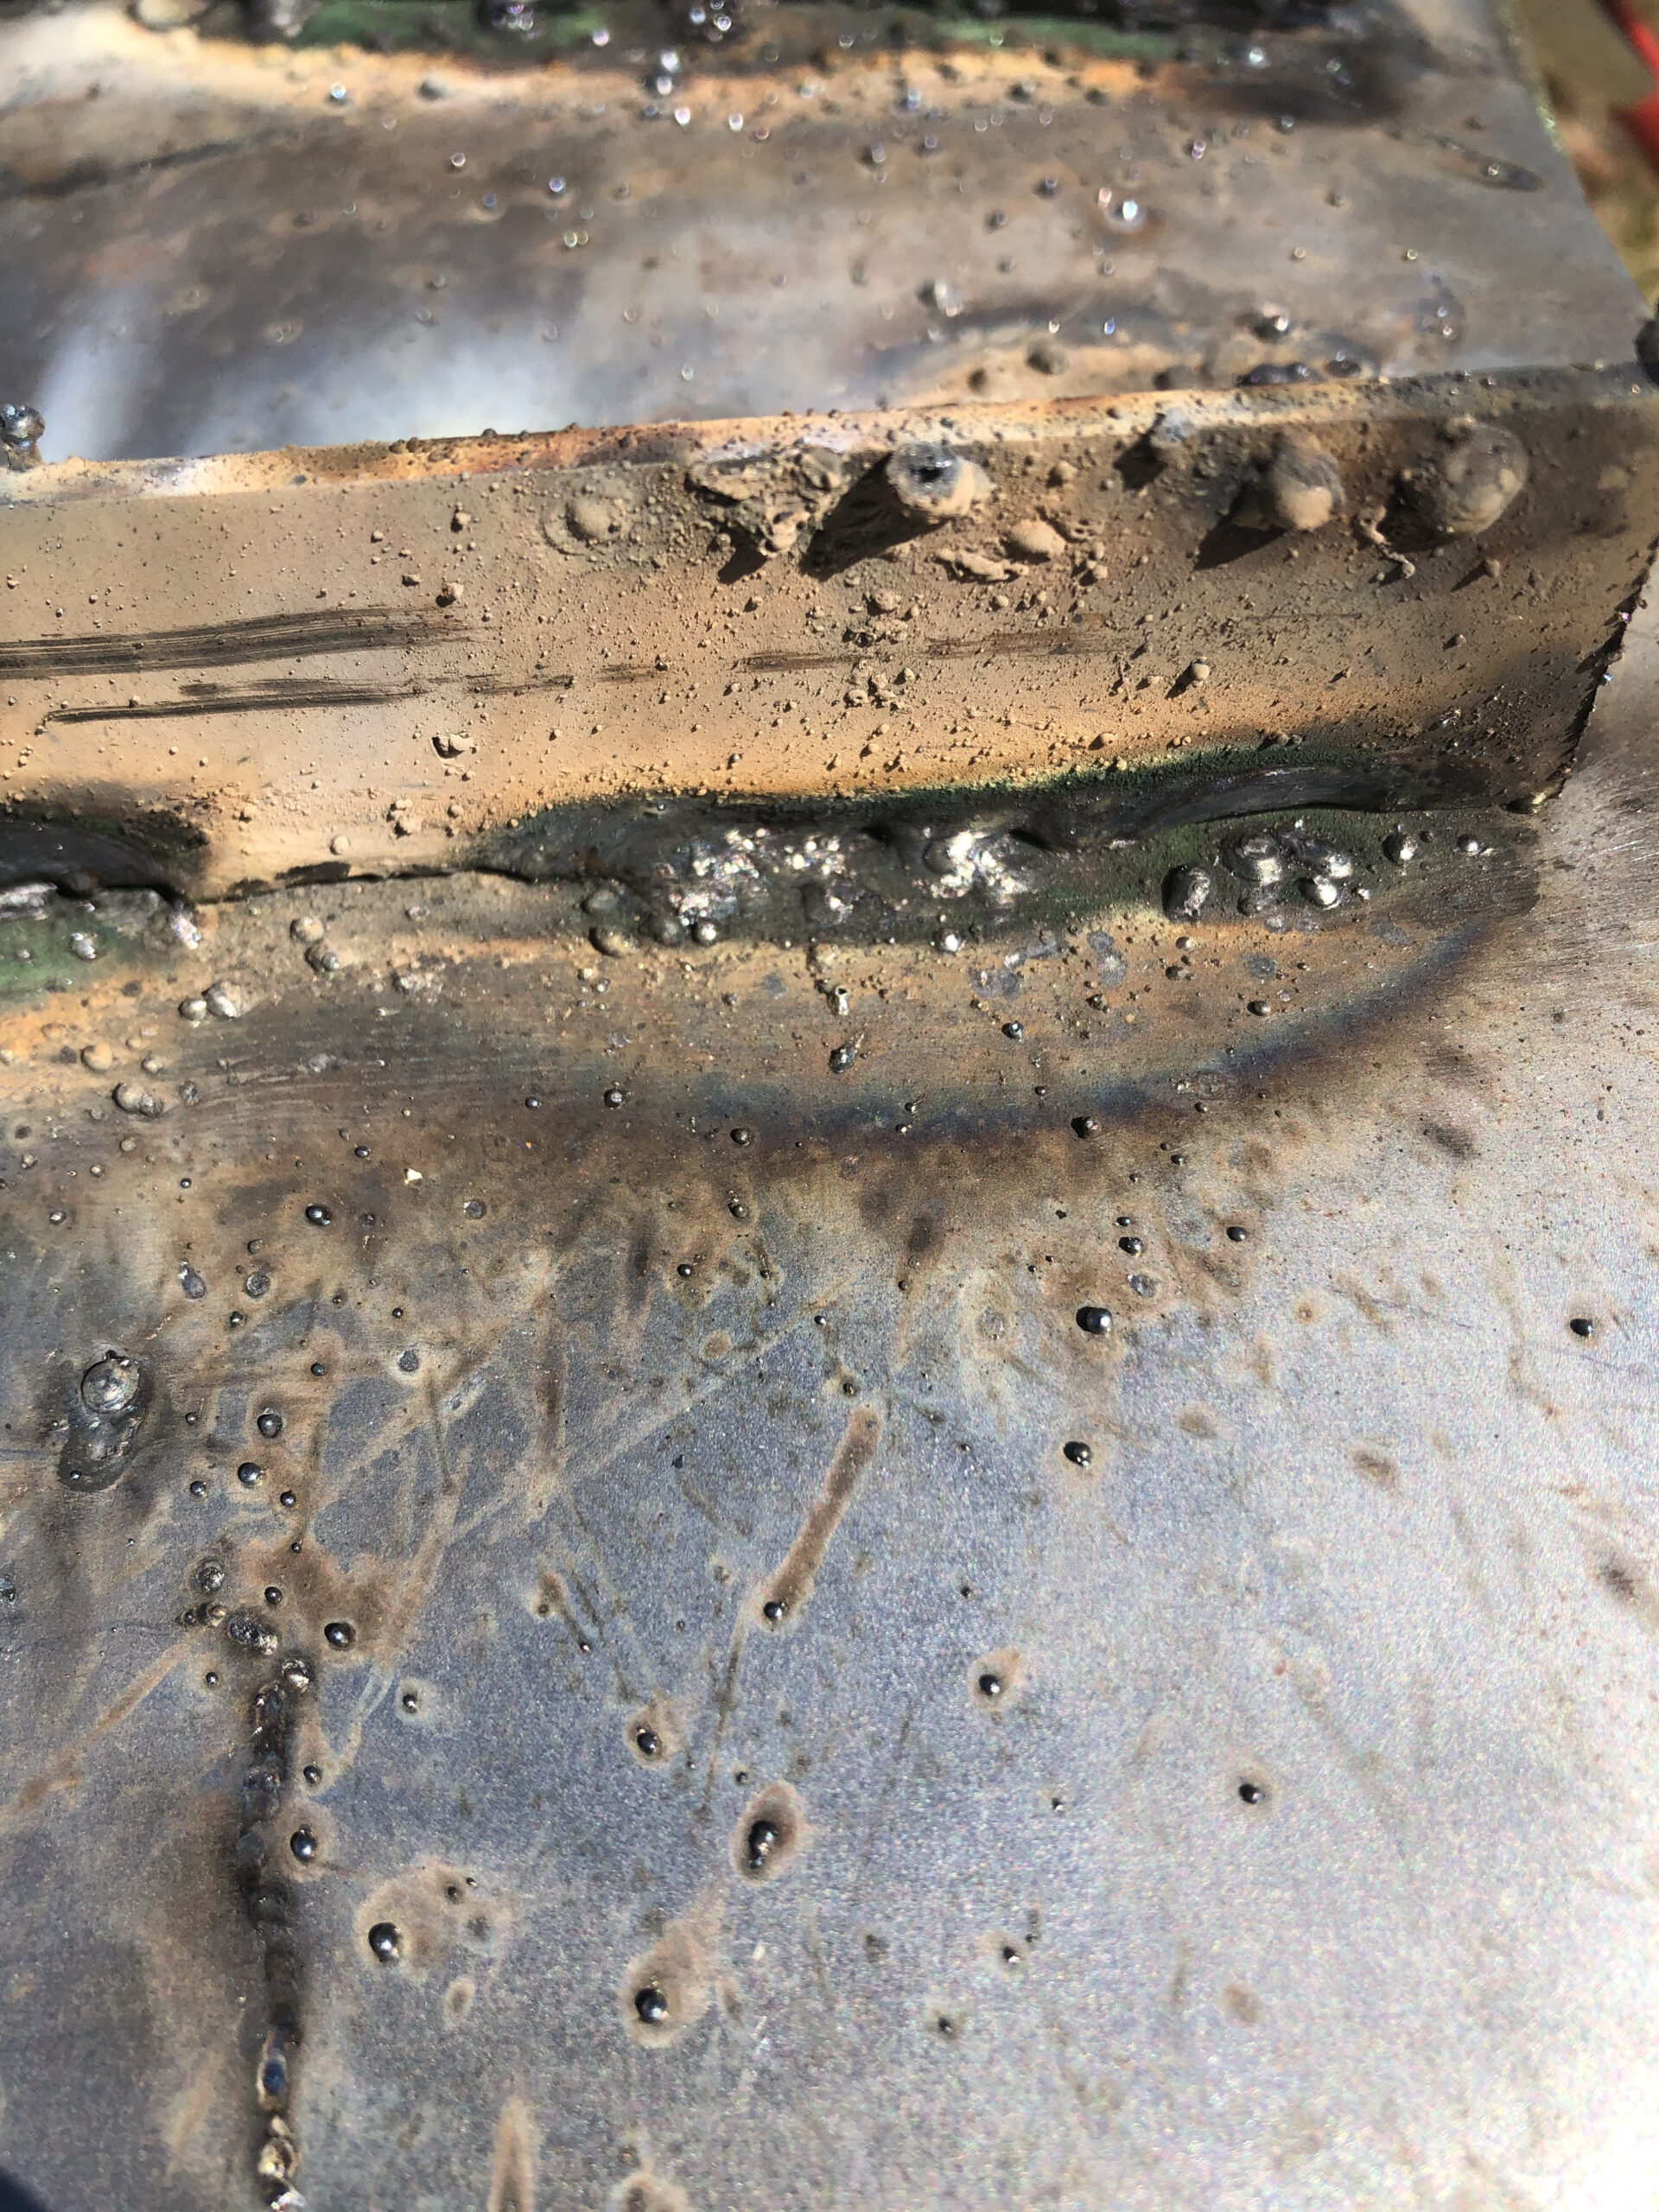
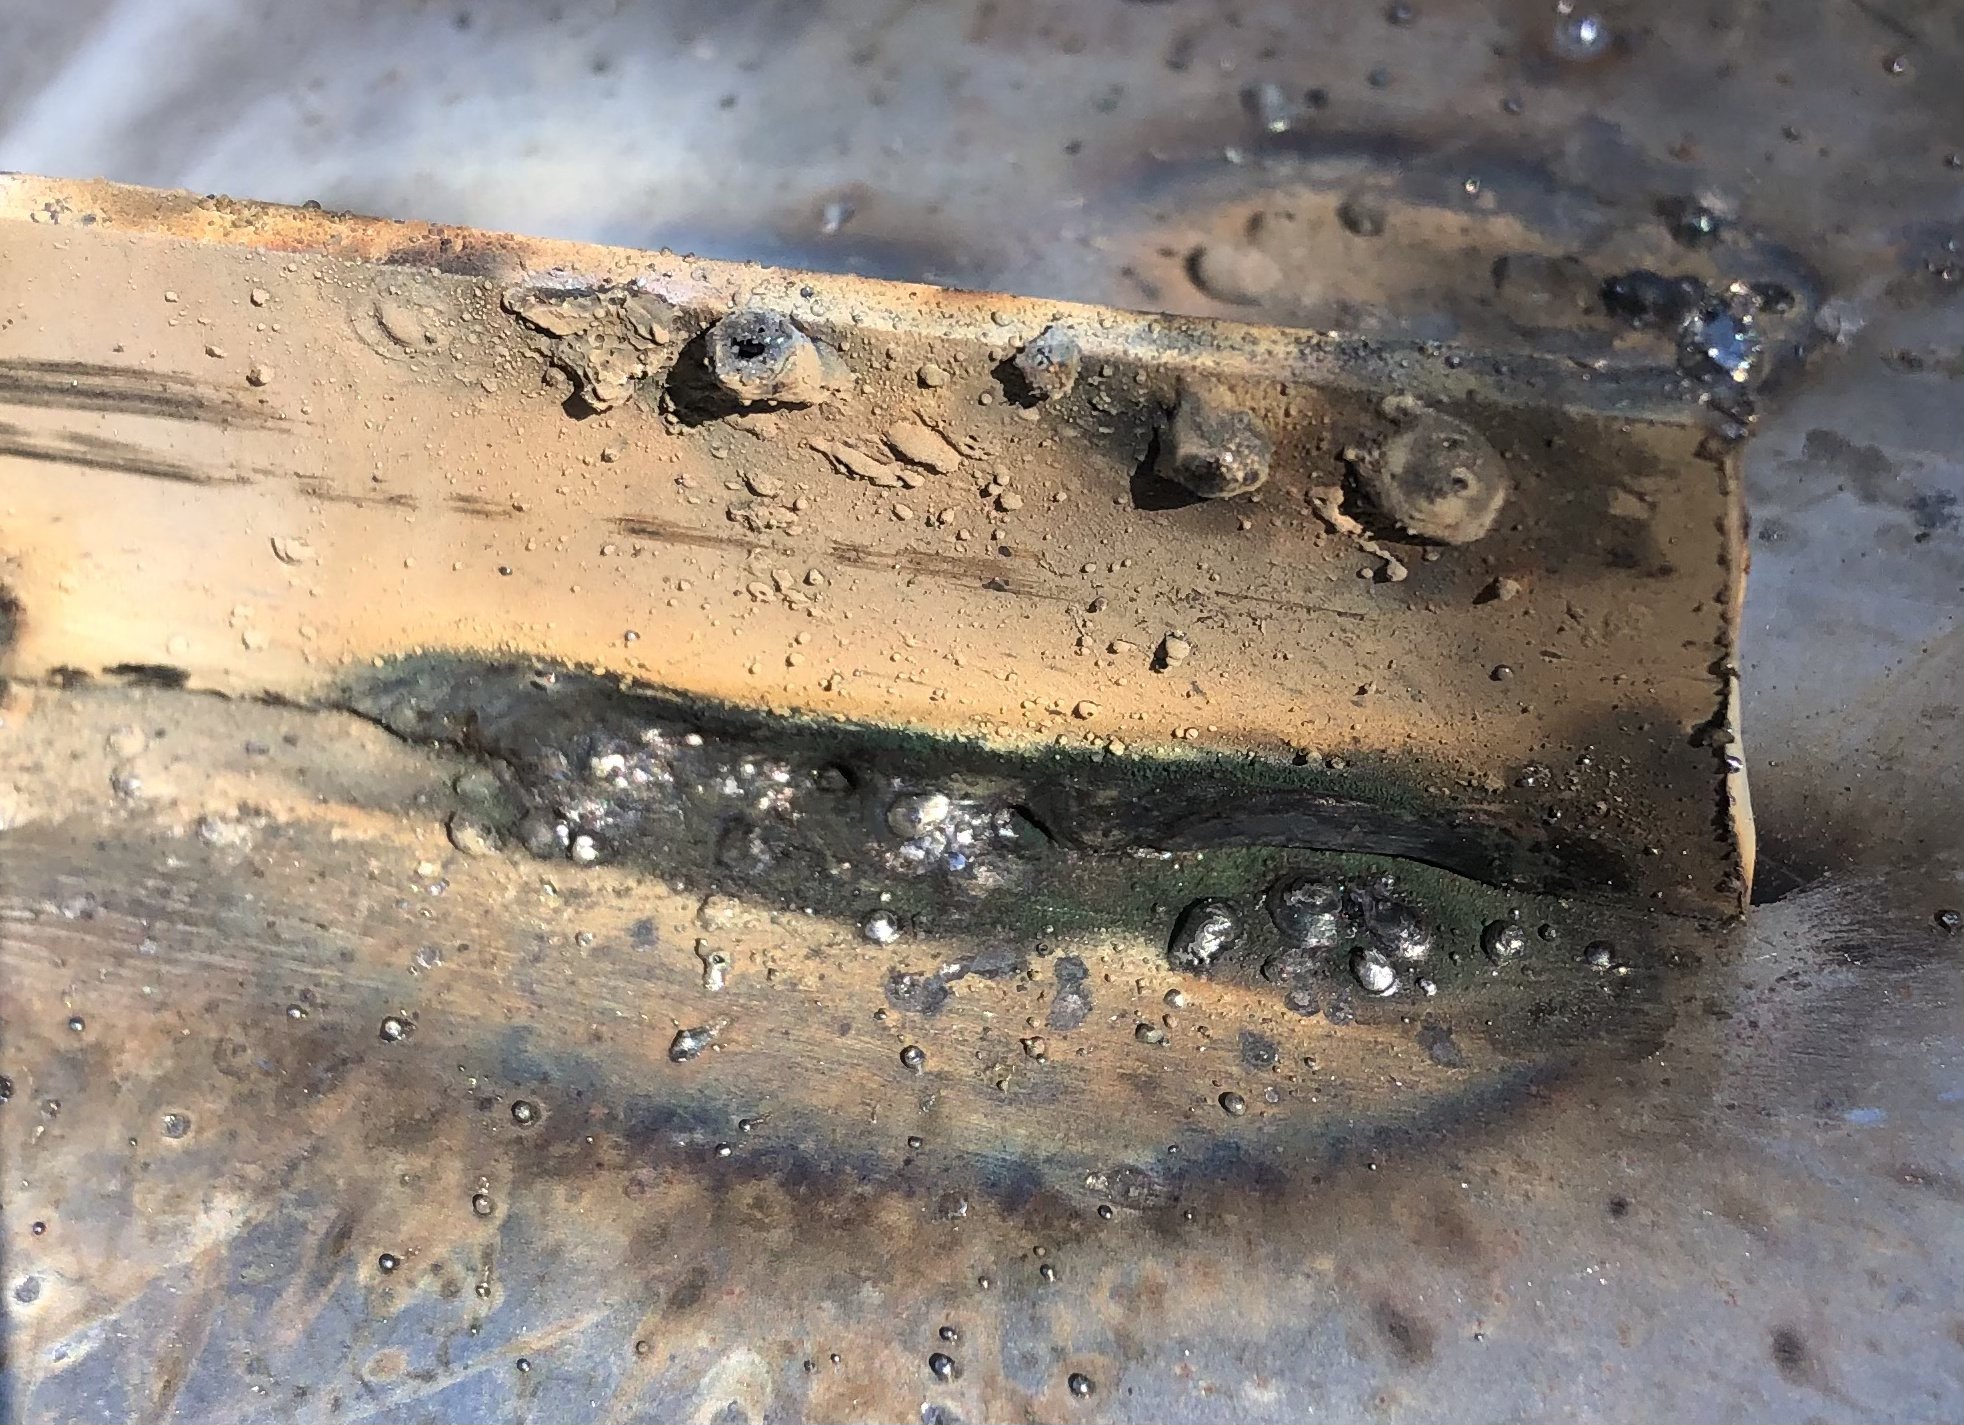
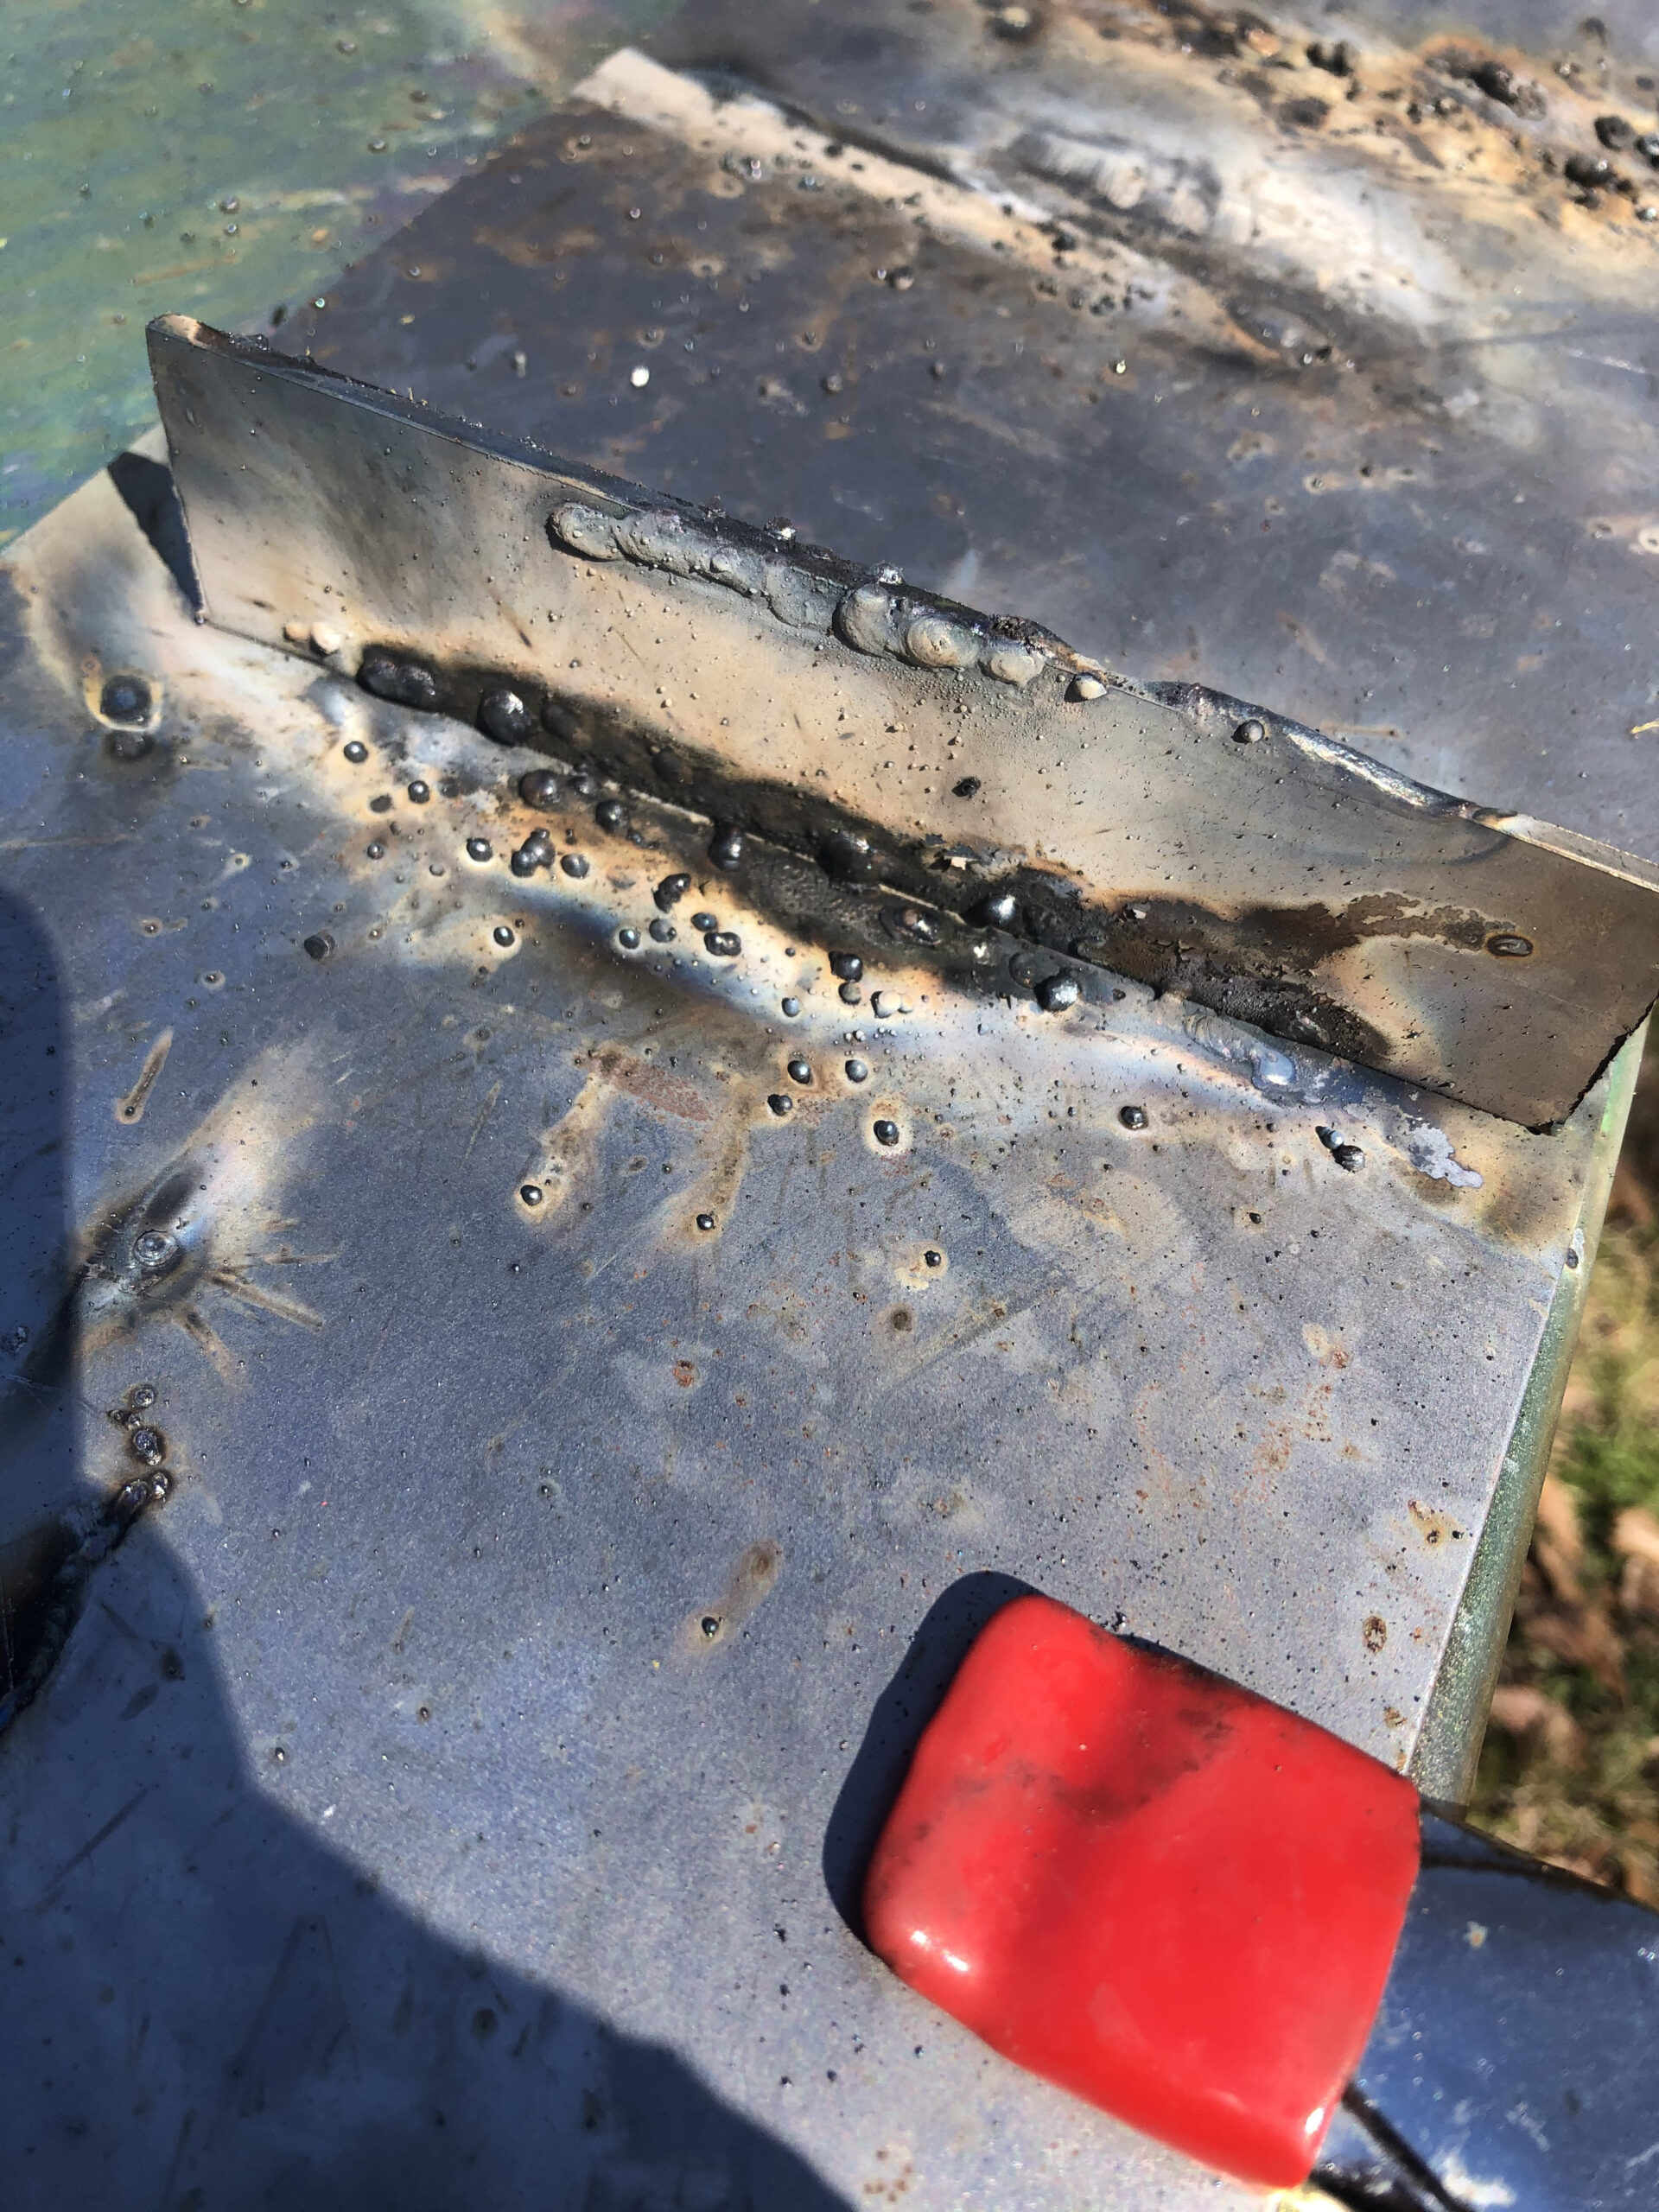
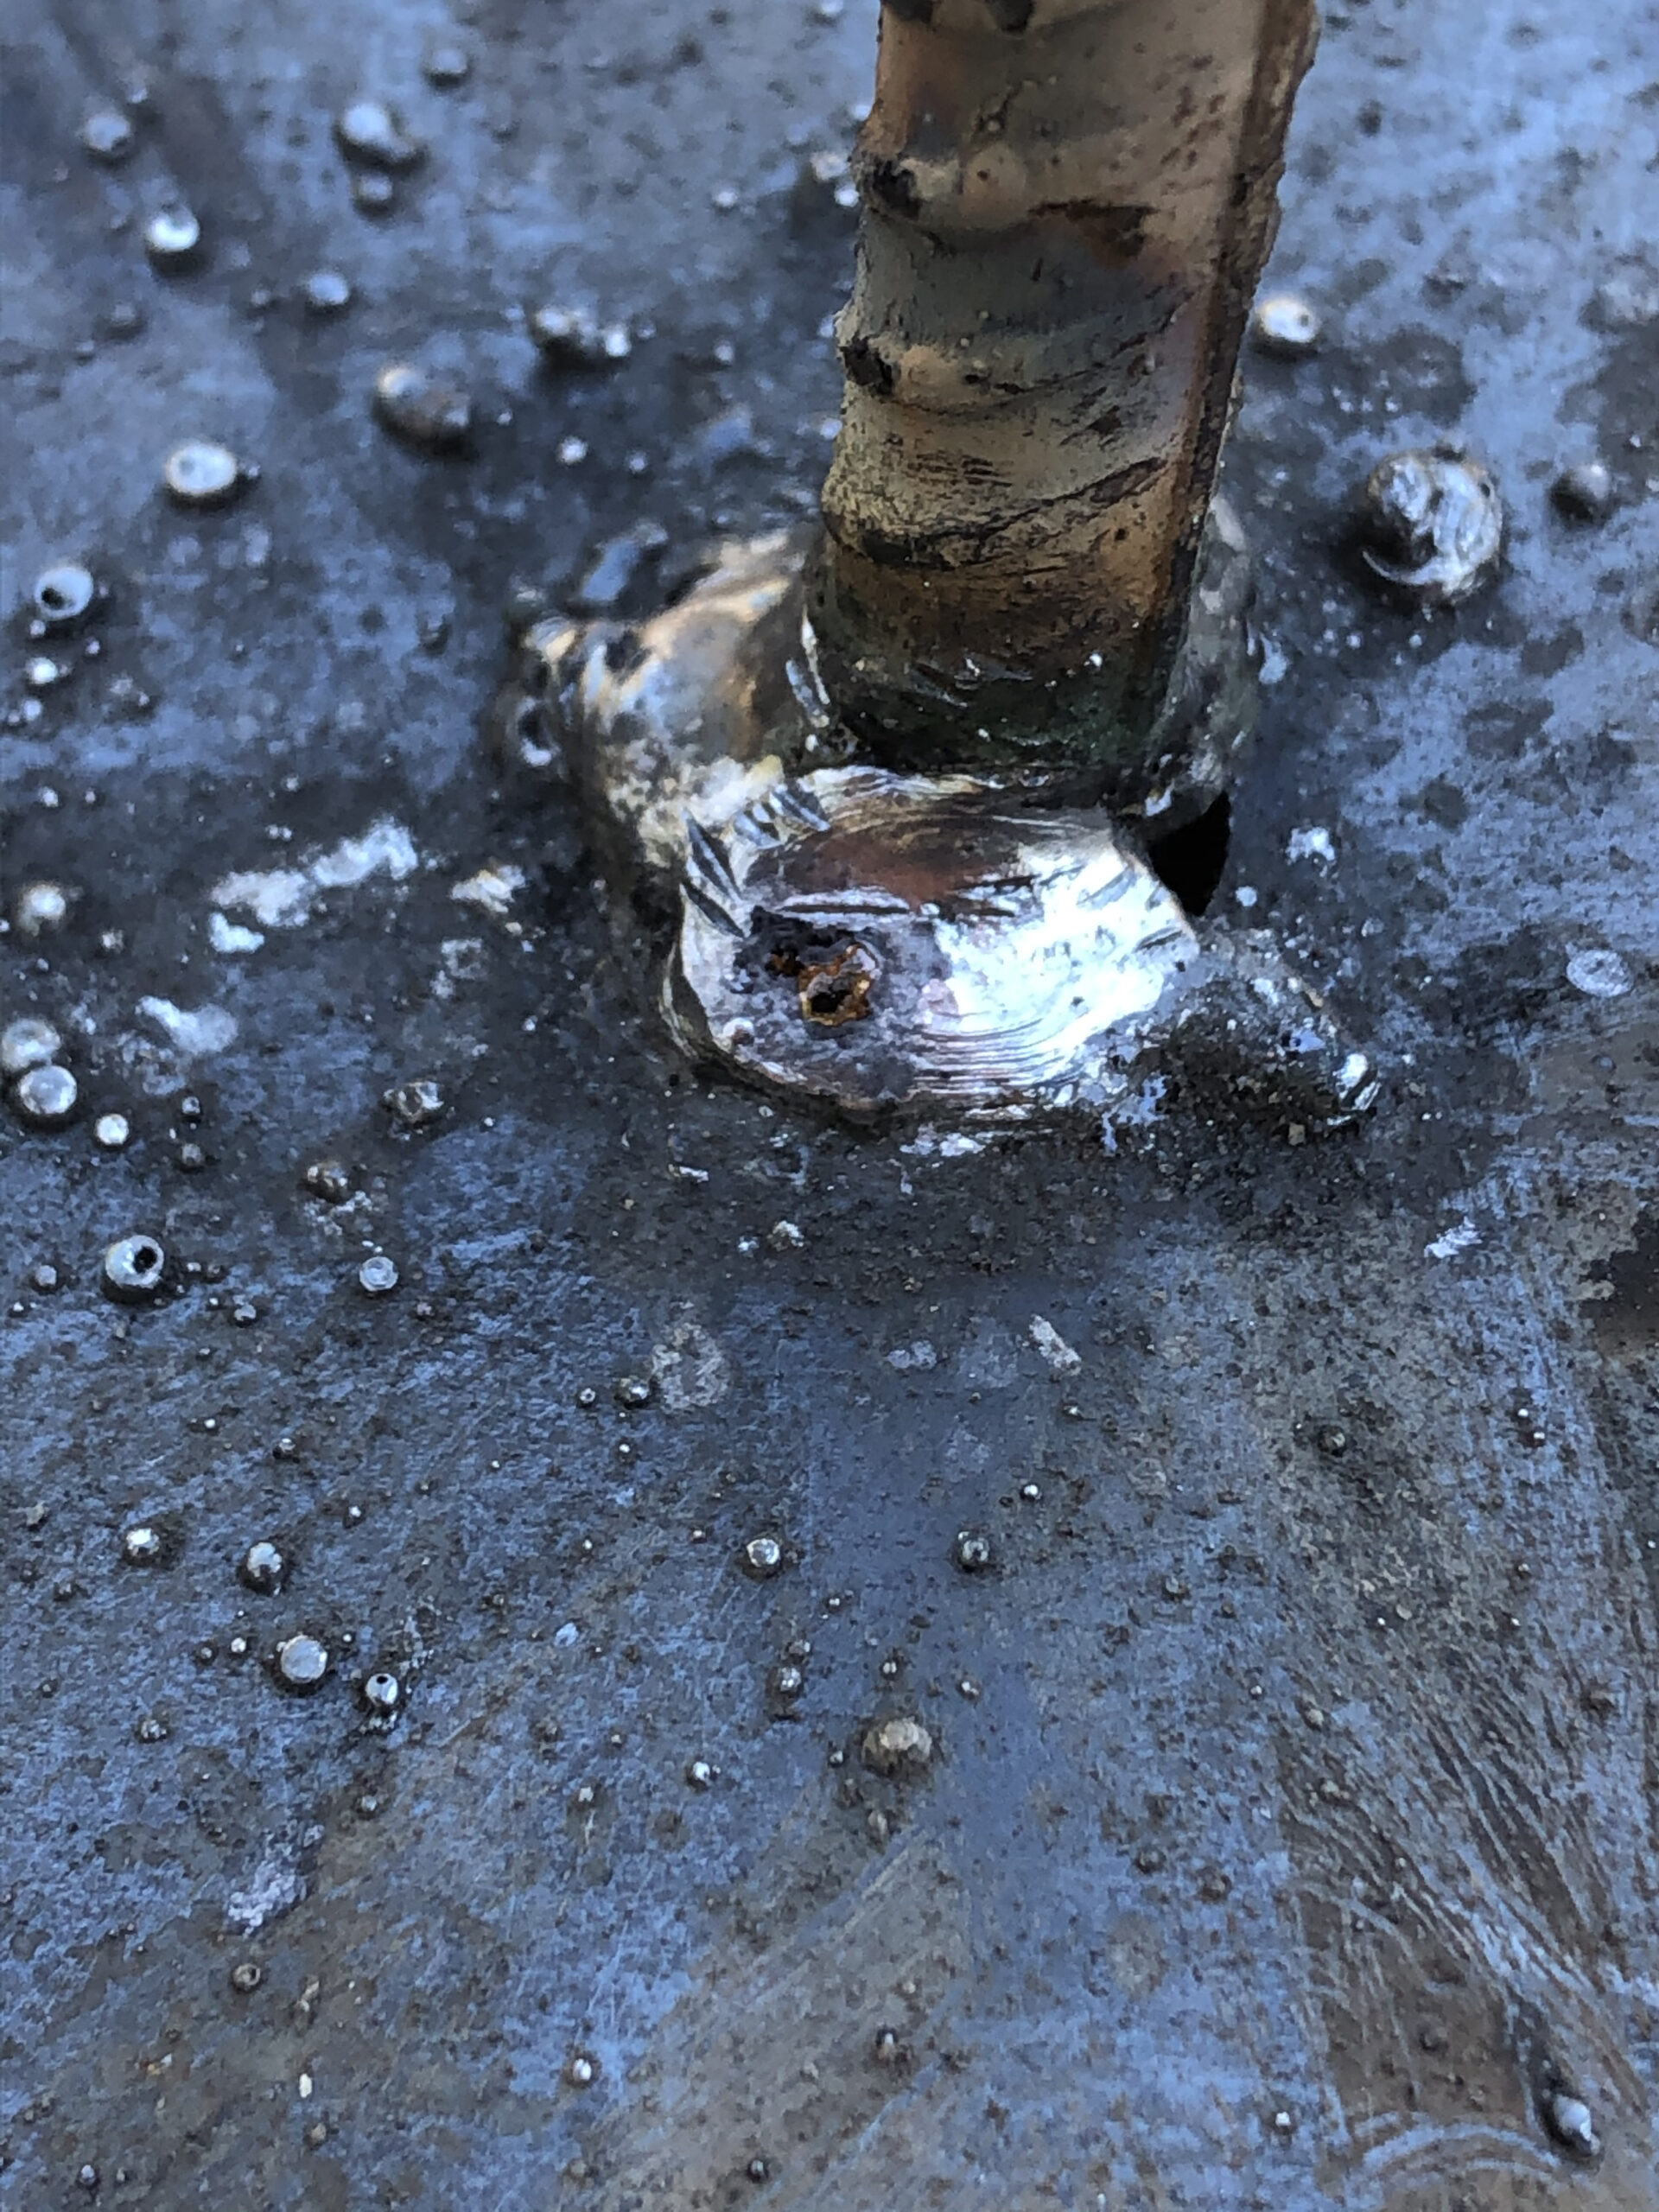
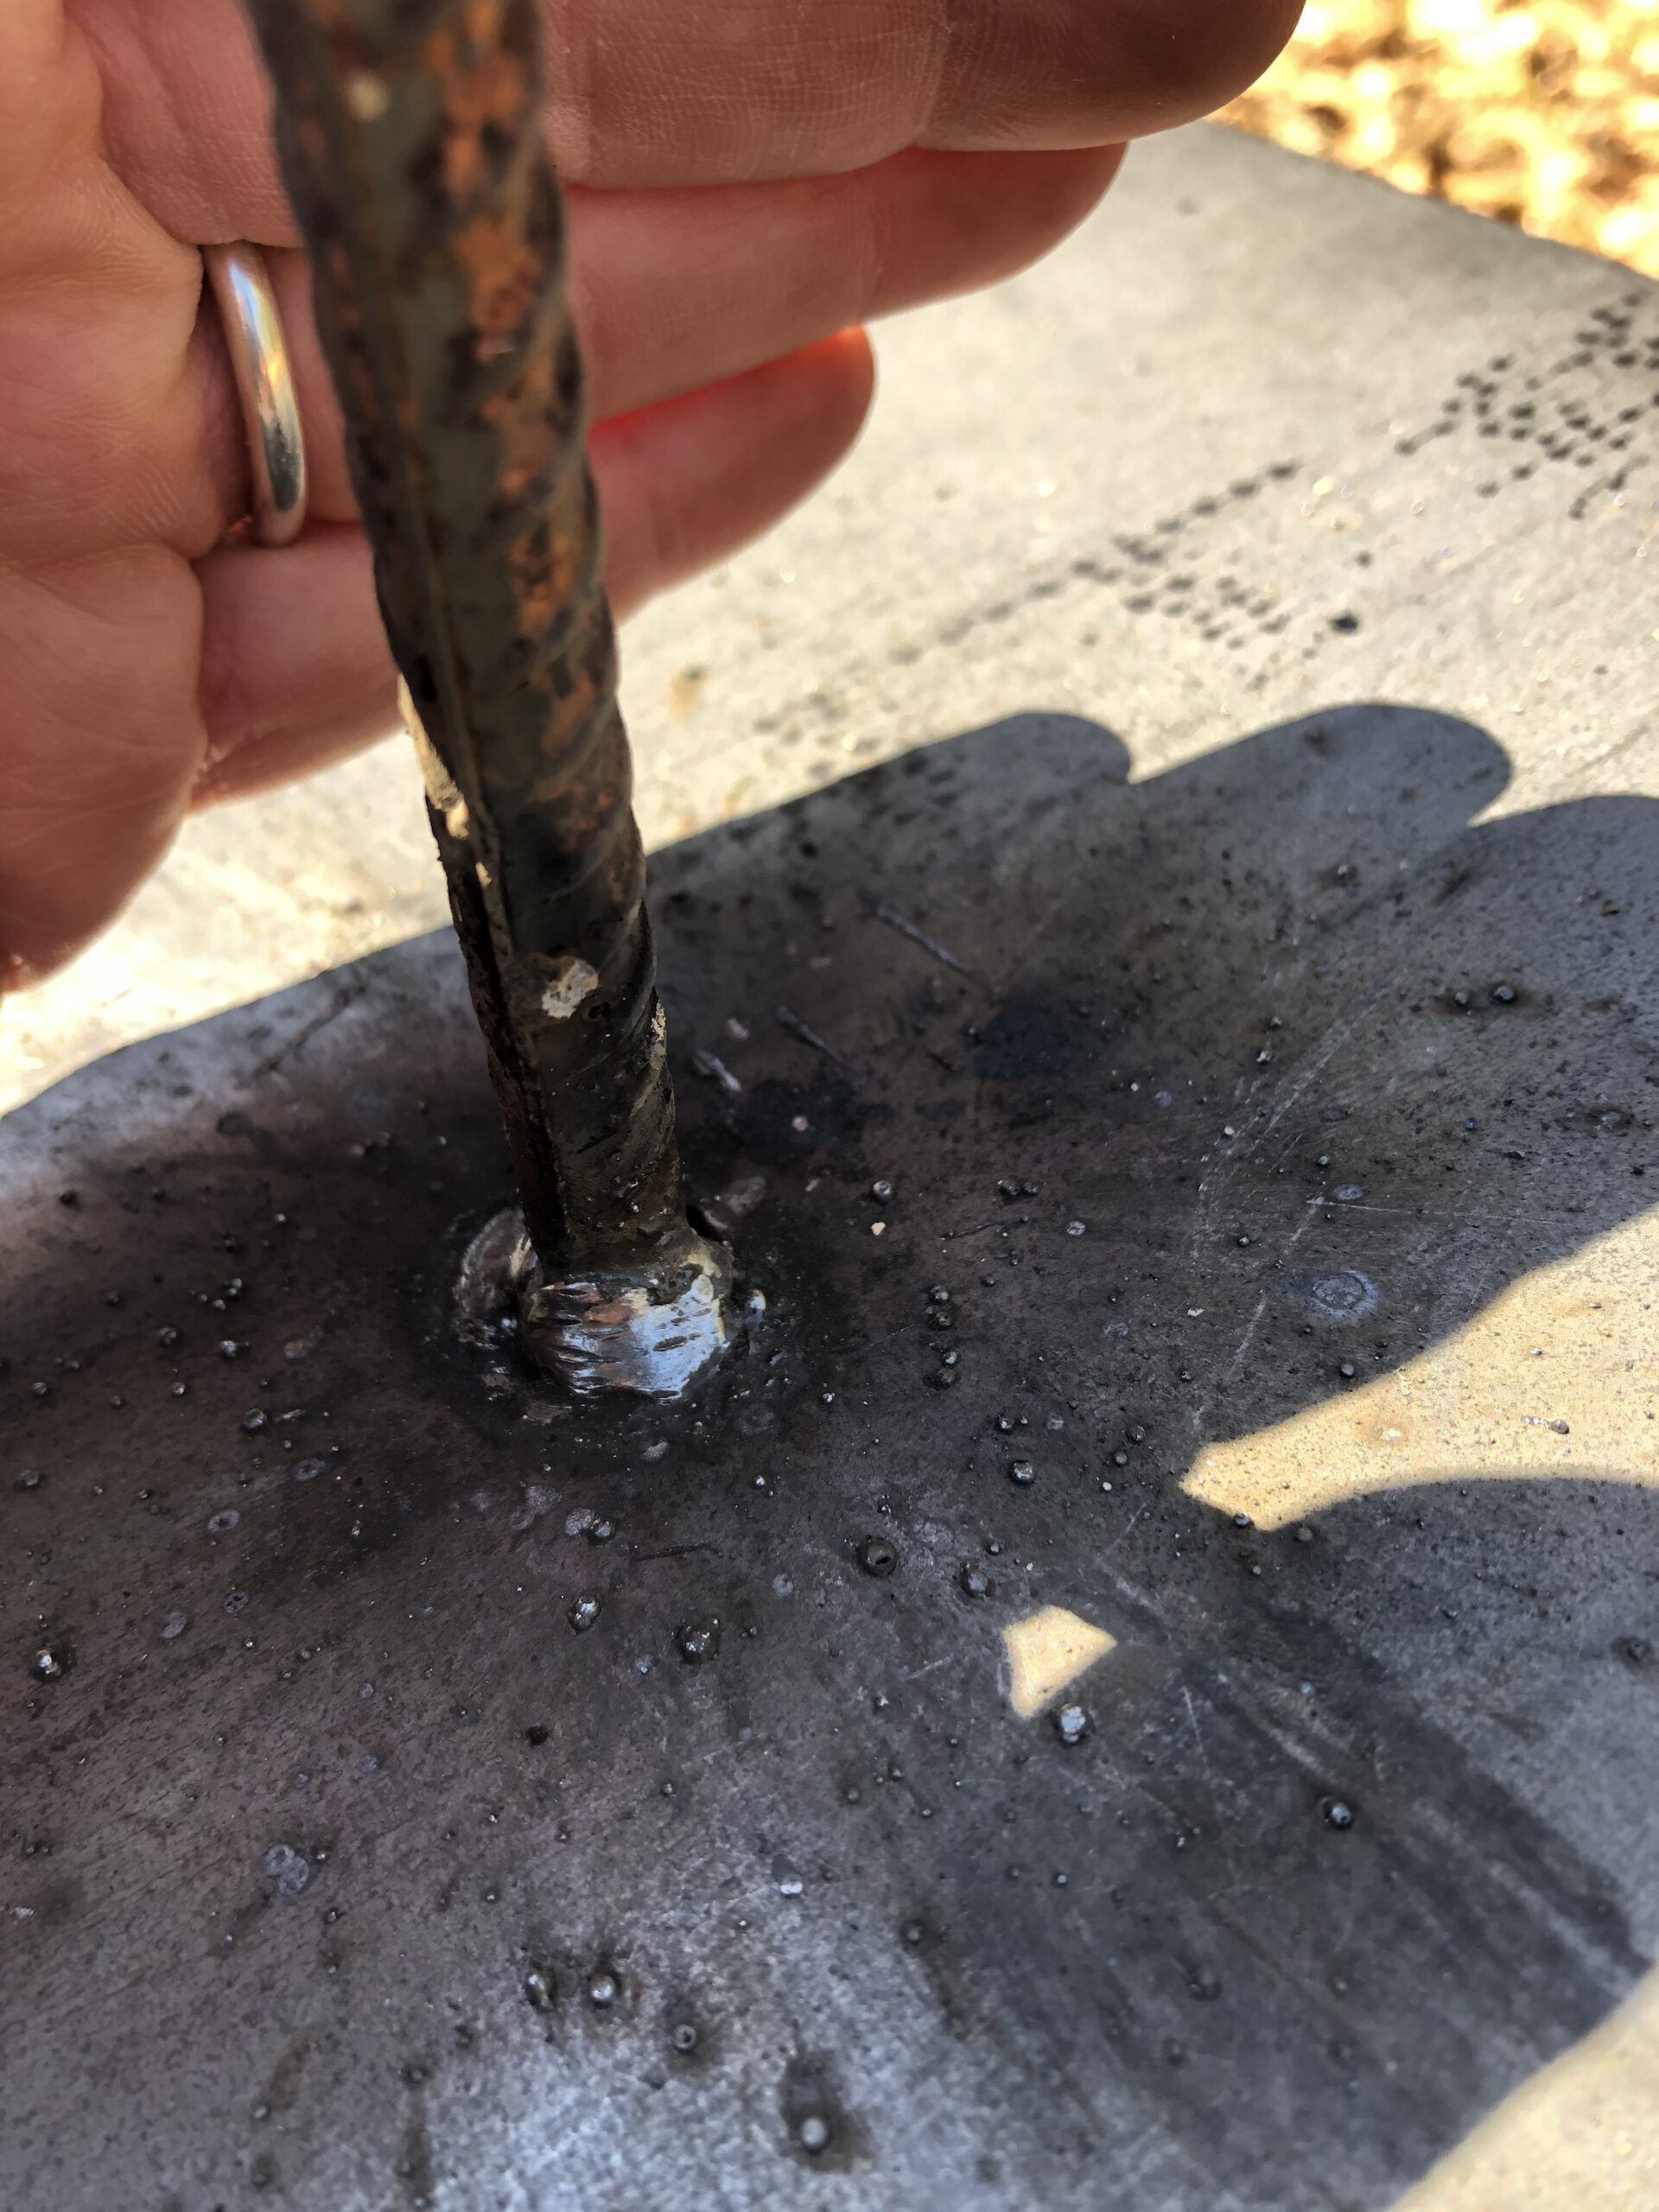
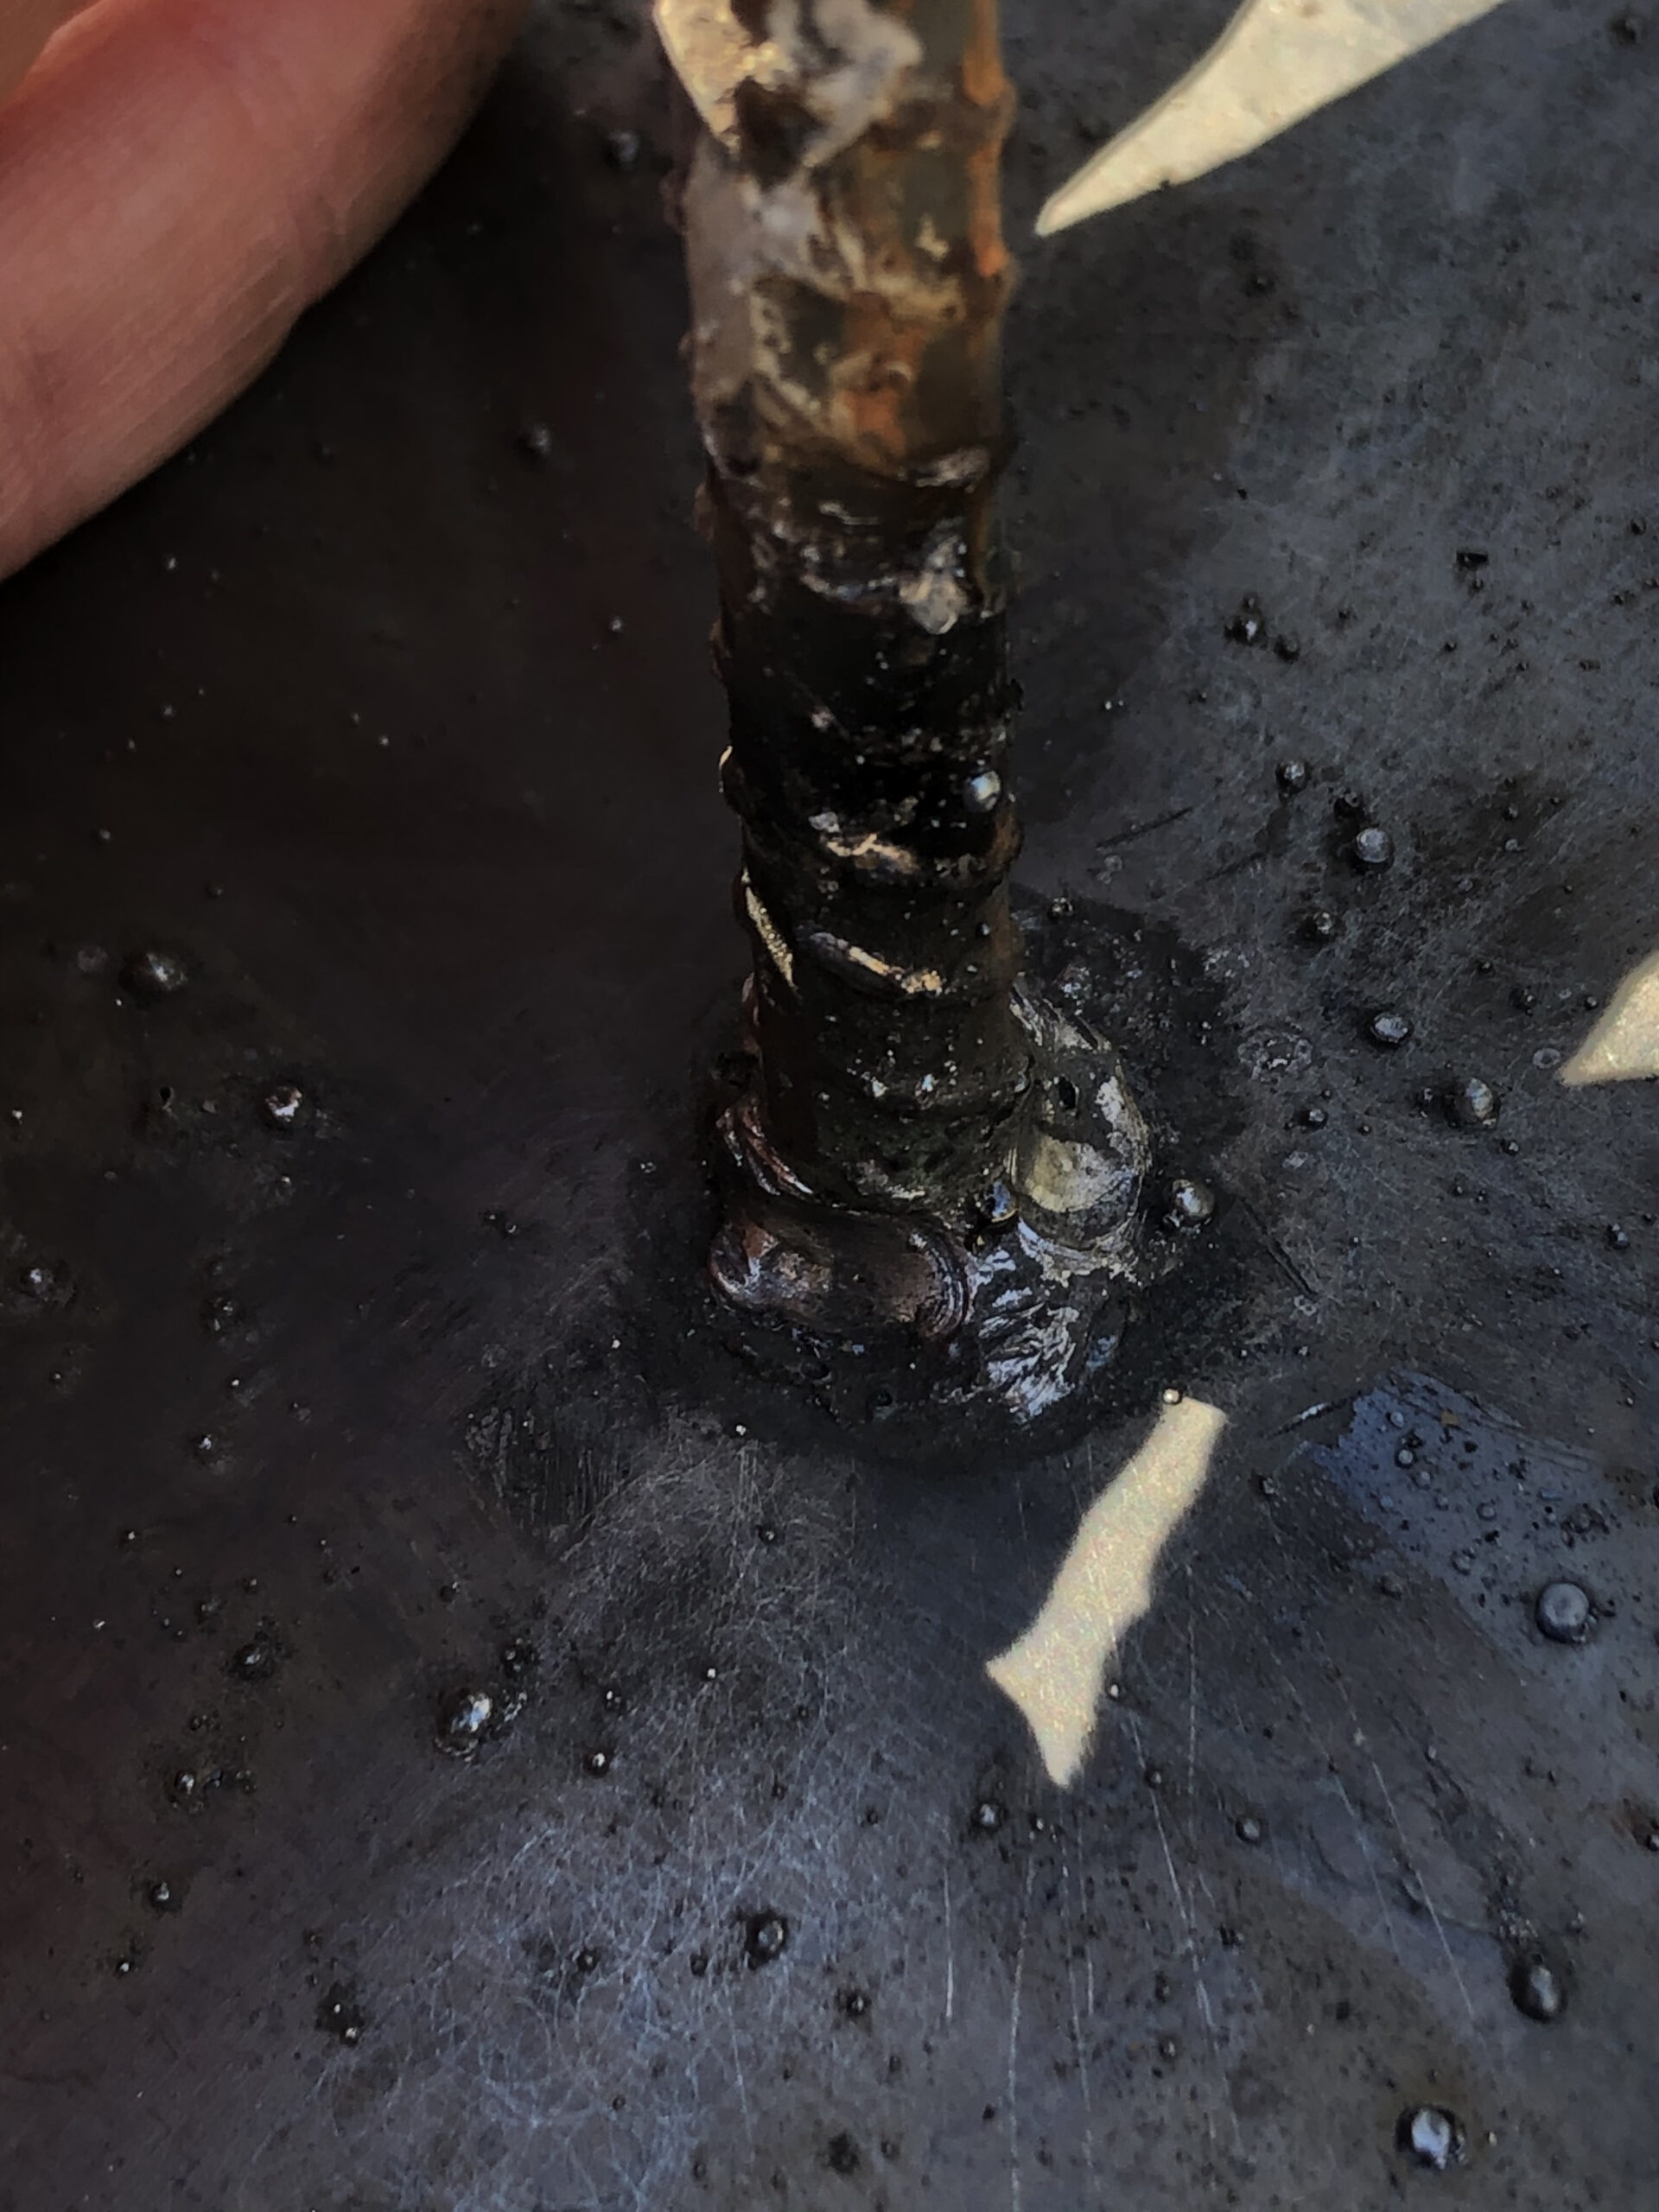
I’ve already gone into the poor design of the steel plates on the piers for the first container. But the realization hadn’t hit me when I began welding the plates to the rebar sticking up through them.
There was a lot of sticking and splattering and playing around with amps on the Hobart machine, but eventually I managed some not-too-ugly welds. But then, what do I know?
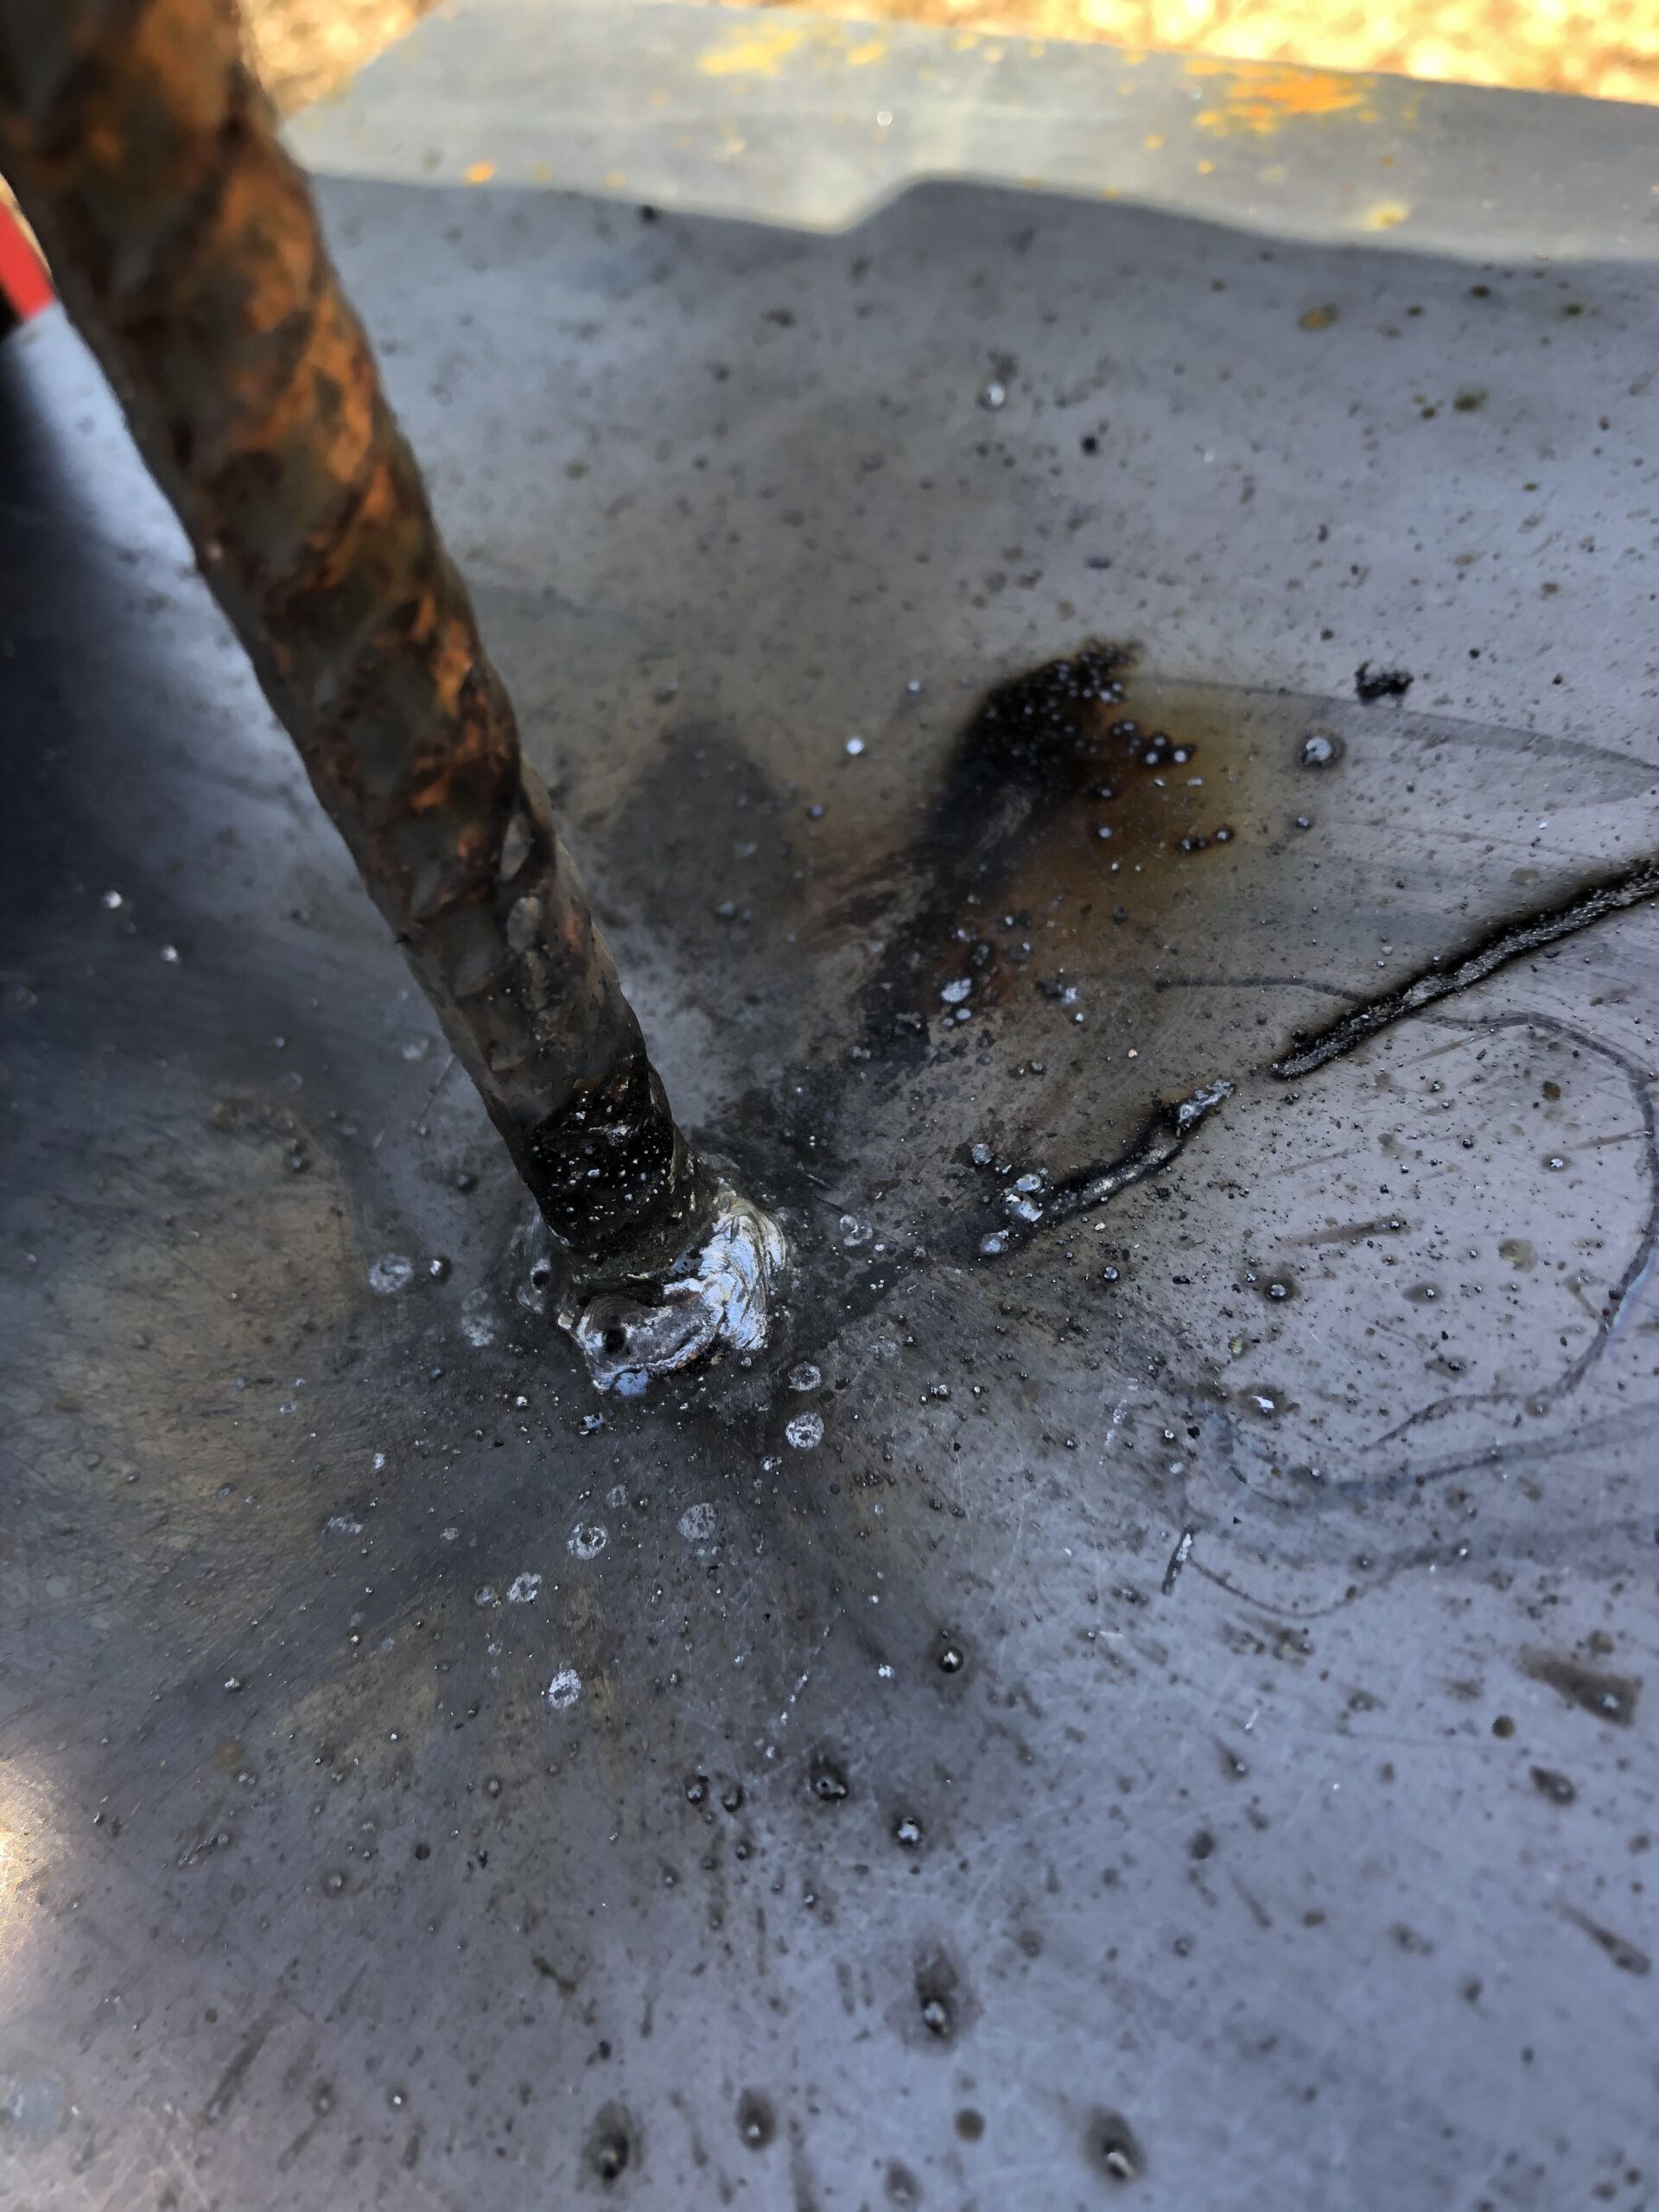
I was so pleased with myself and my new vocation that I posted a picture or two on social media. This one got some attention.

“Clay, are you crazy?”
“Umm…the leaves!”
“You’ll start a fire!”
I live most of the time in California—where wildfires are of course a terrible threat—and many of the shrieks of horror were from Californians. And they were totally justified. I pointed out, however, that all those Mississippi leaves were damp from recent rain, and the cardboard was there only to keep my pant legs dry. That calmed the nervous folks a bit, but it was a valuable lesson for my future welding adventures: Safety! I don’t remember any of those how-to videos I mentioned earlier advising against welding while surrounded by leaves and cardboard, but maybe it’s one of those goes-without-saying things.
Before long I’d need to weld more than a couple of inches at a time. Once our first container was set down on its piers, its corners would be welded onto the steel plates, and after that there would be window and door frames to assemble and weld in place. For now, though, I wasn’t too ashamed of my work.