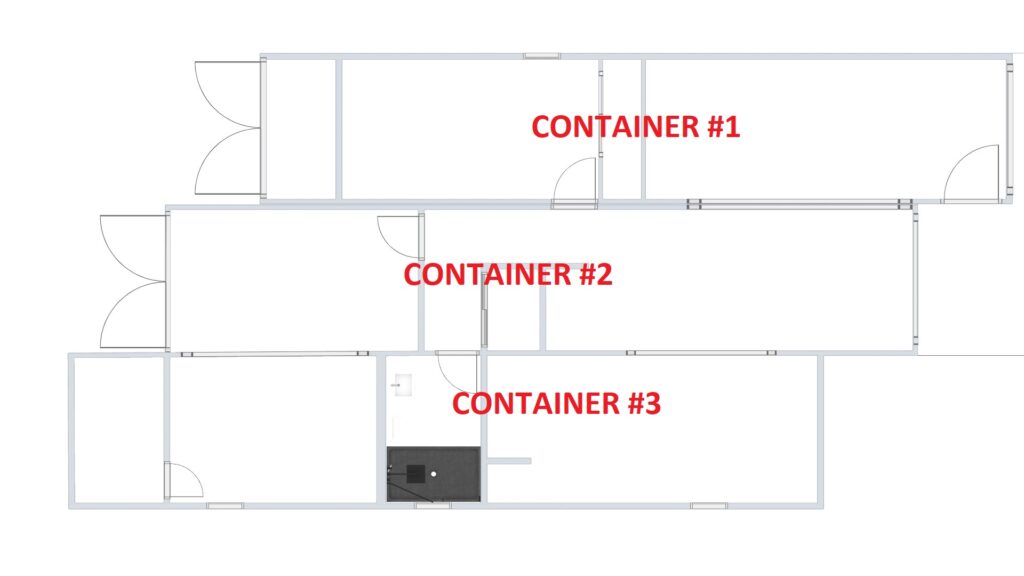
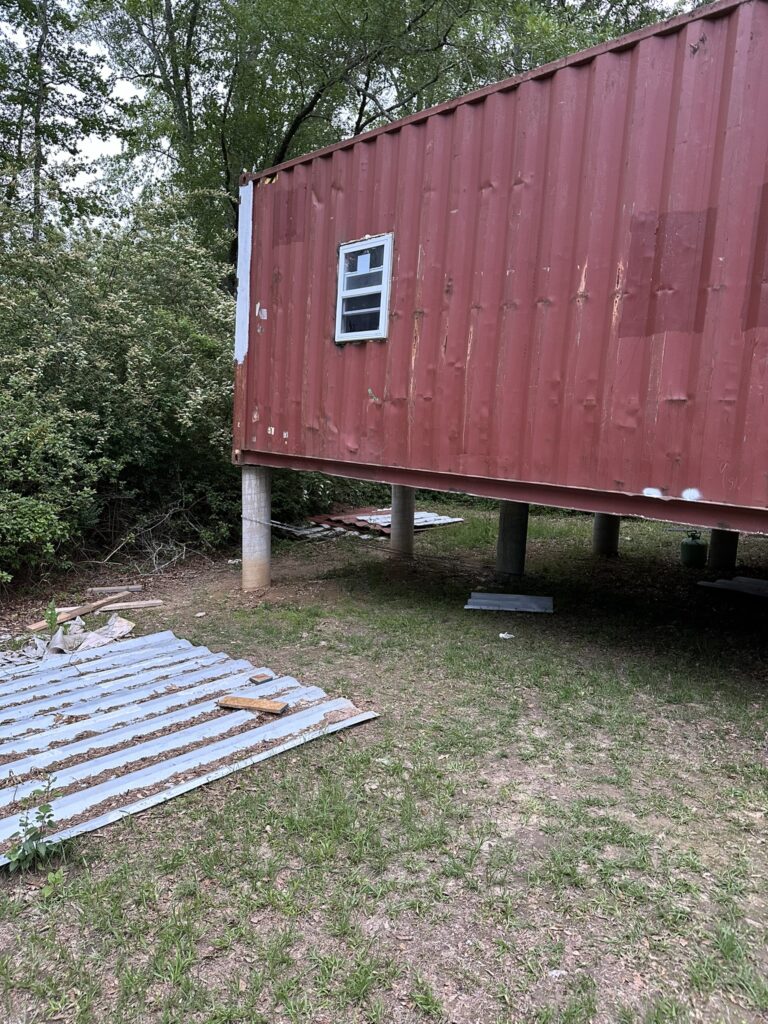
The work on this trip to Mississippi was straightforward: framing and window-installation.
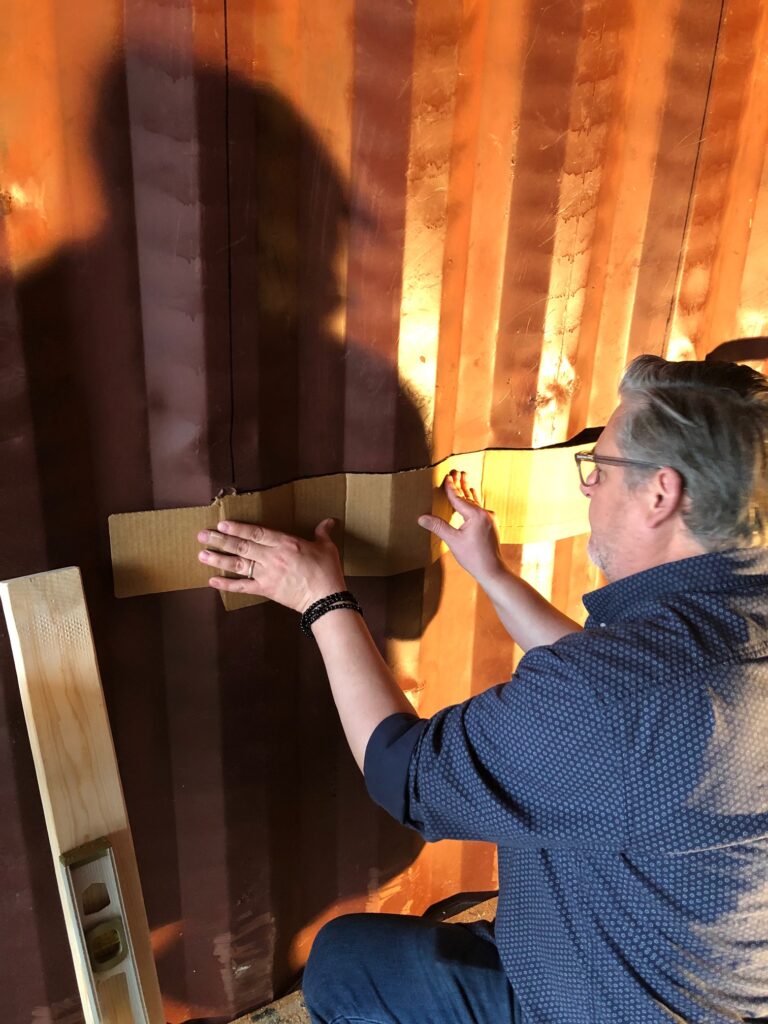
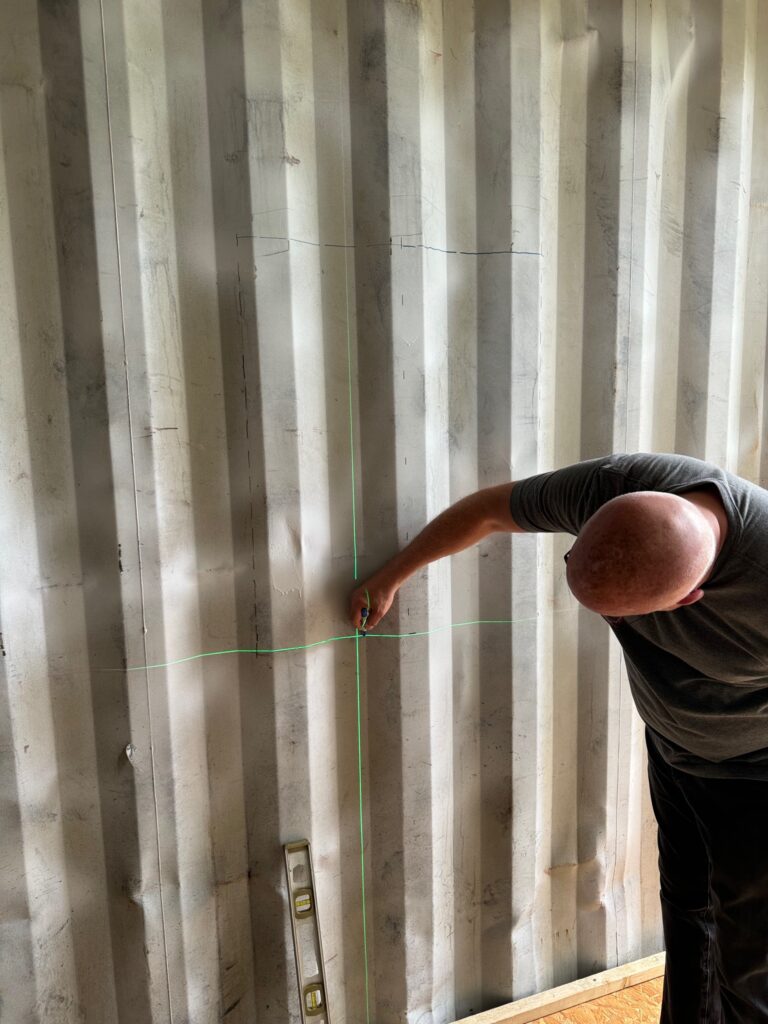
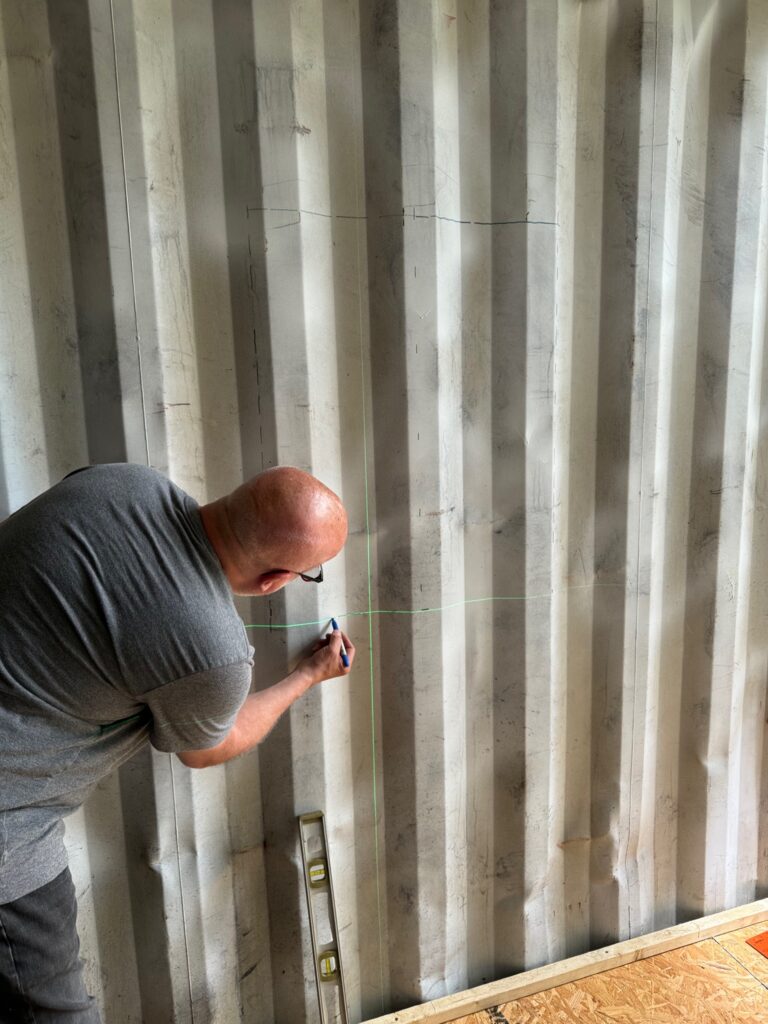
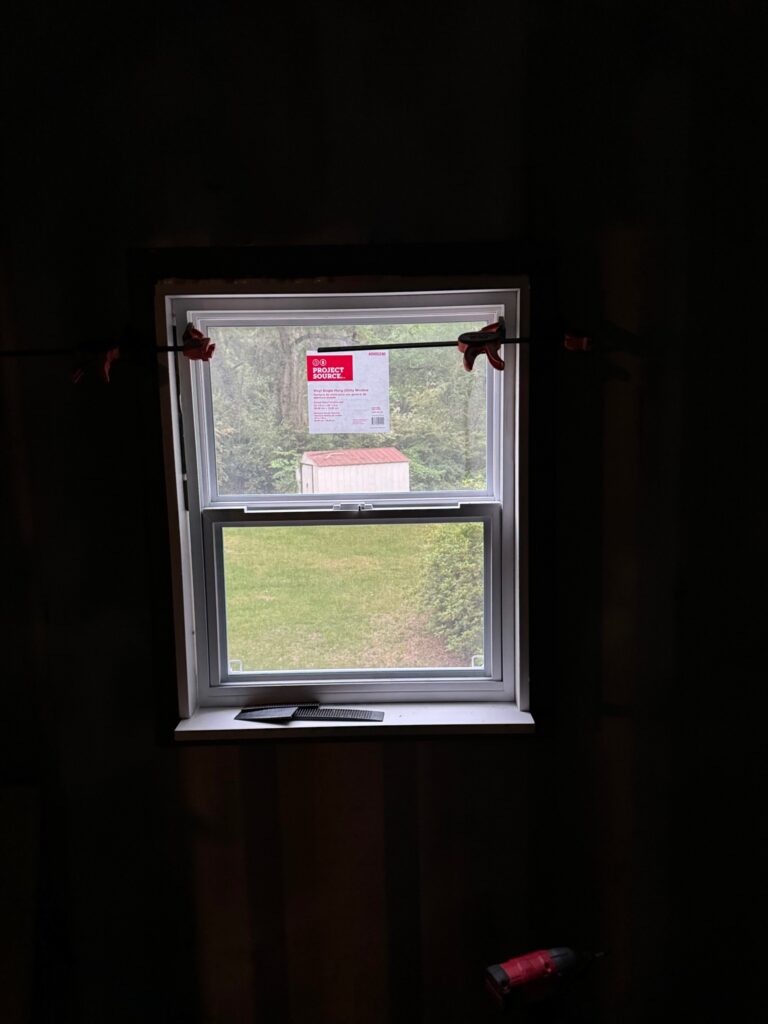
I can’t say enough about the value of a laser level in marking lines on a wavy surface, which is necessary in a situation like this. Back when we installed the window in the other bedroom, we used cardboard, a far less precise method we’d seen in other people’s container-construction stories.
But the laser makes line-marking a dream.
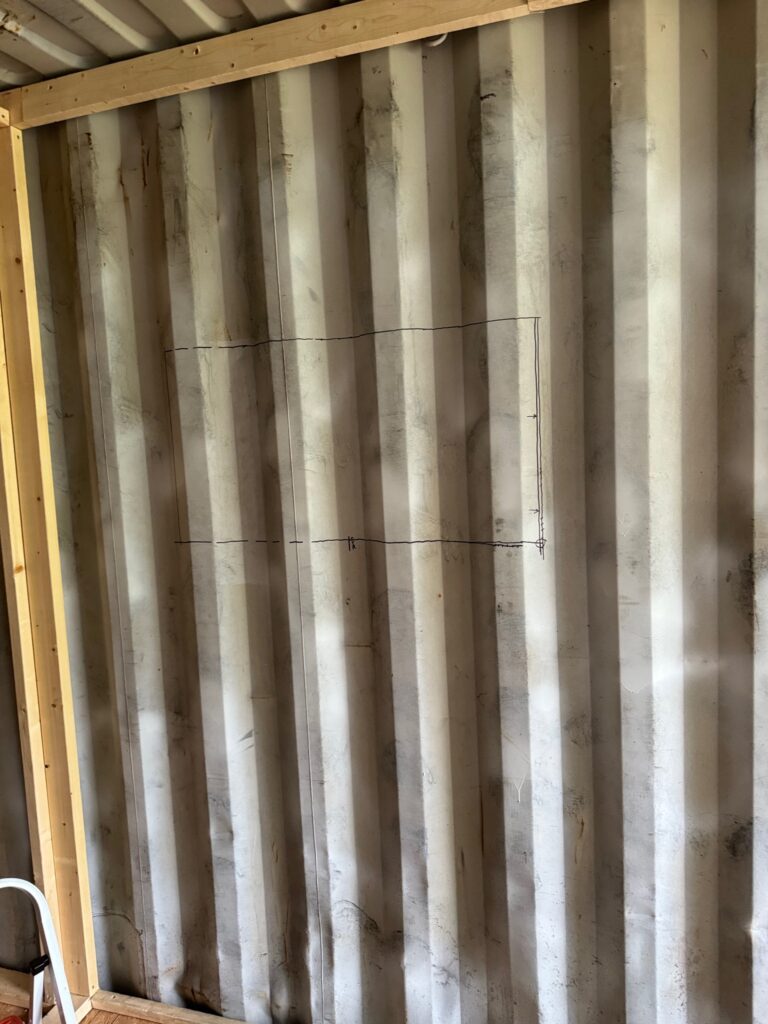
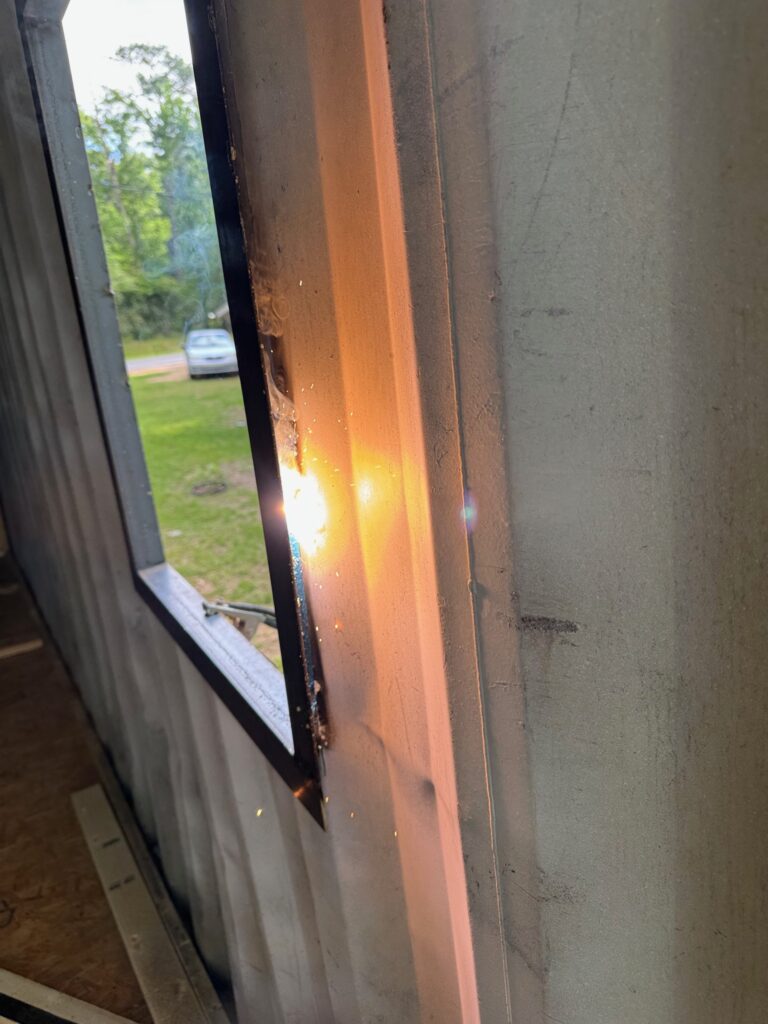
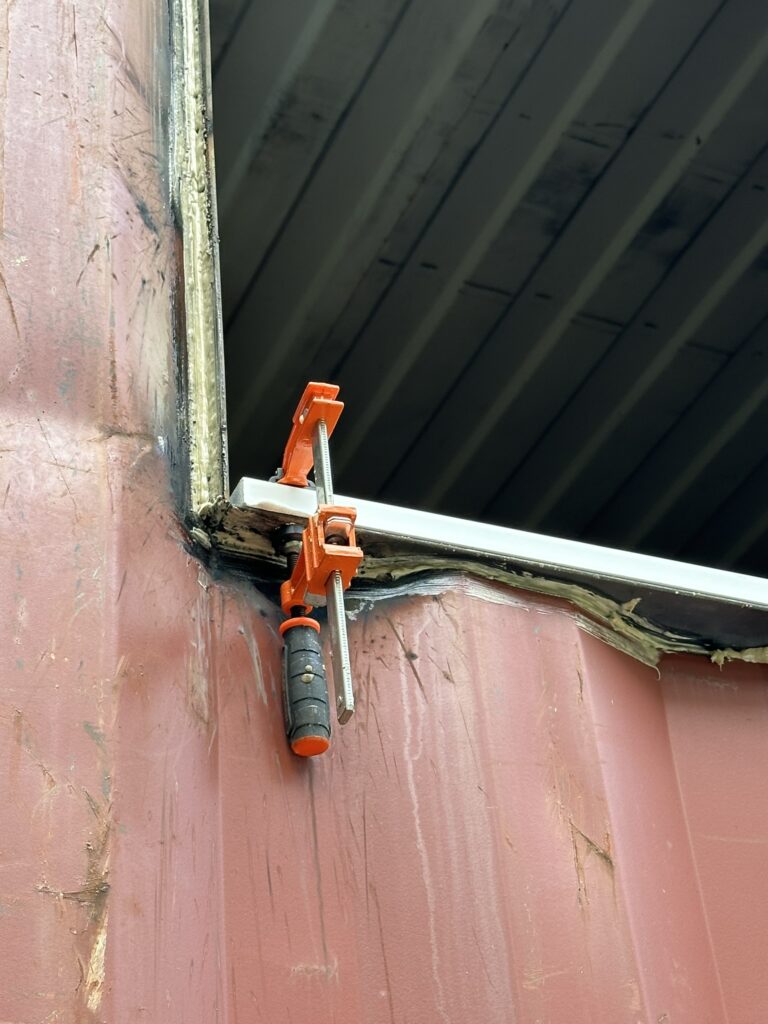
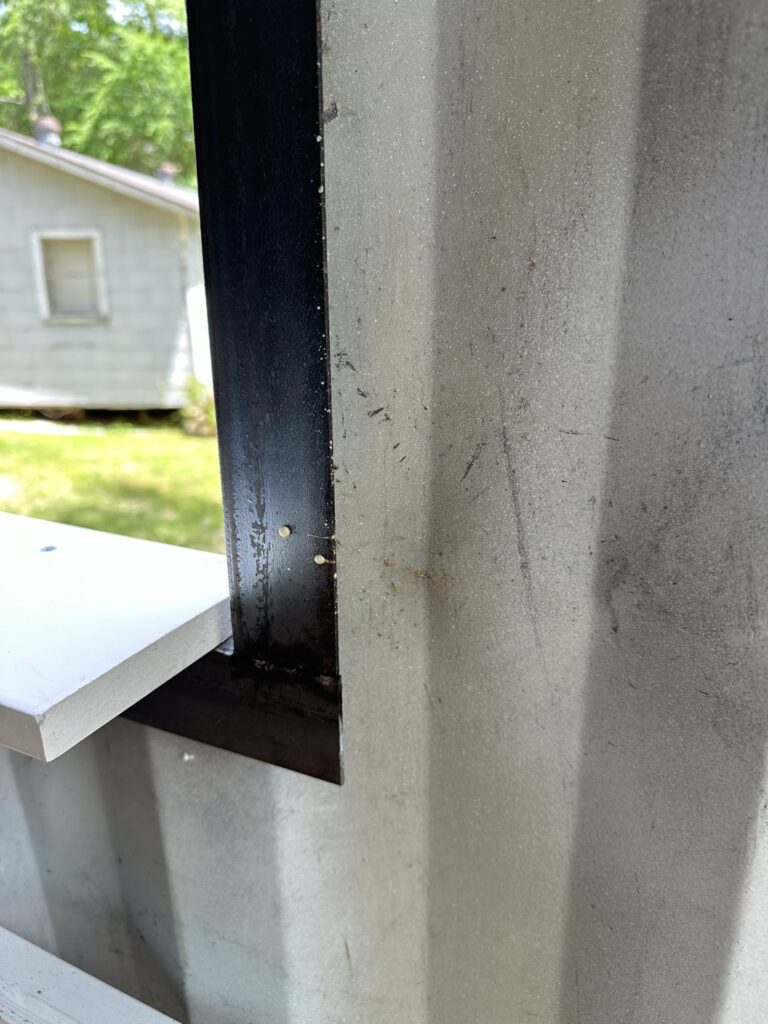
As before, I first welded a frame of 2”x2”x1/8” angle steel, leaving room not only for the window itself but also for 3/4” PVC trim all around between it and the steel.
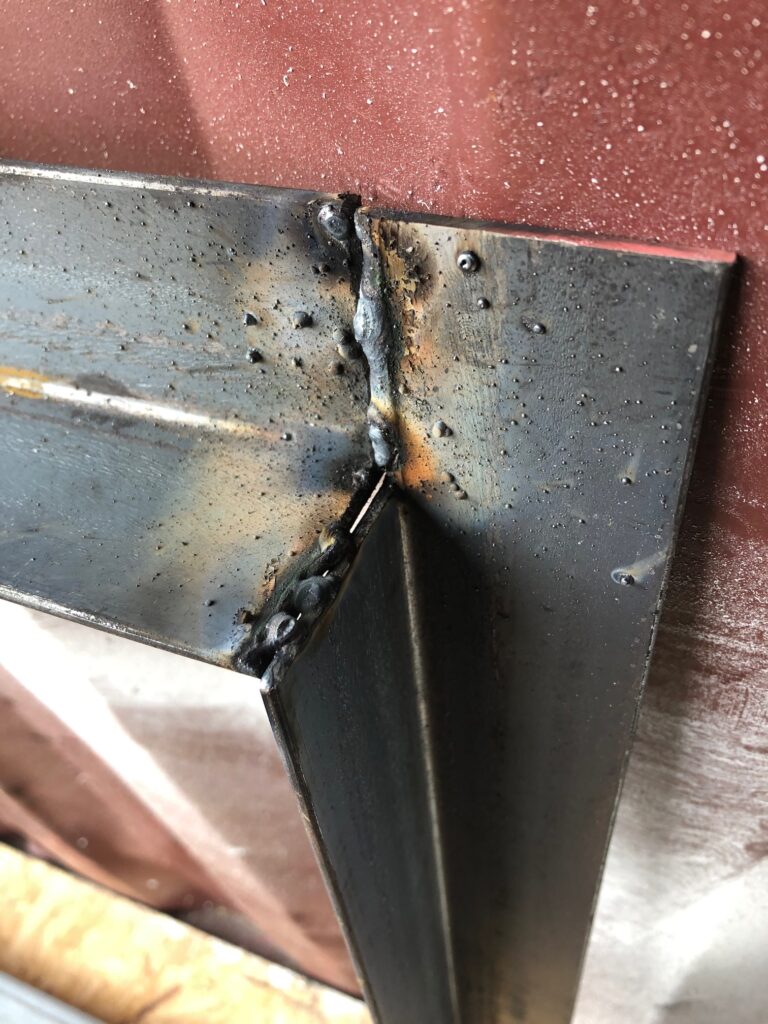
The frame is then spot-welded in place in the cutout, with gobs of caulk applied after.


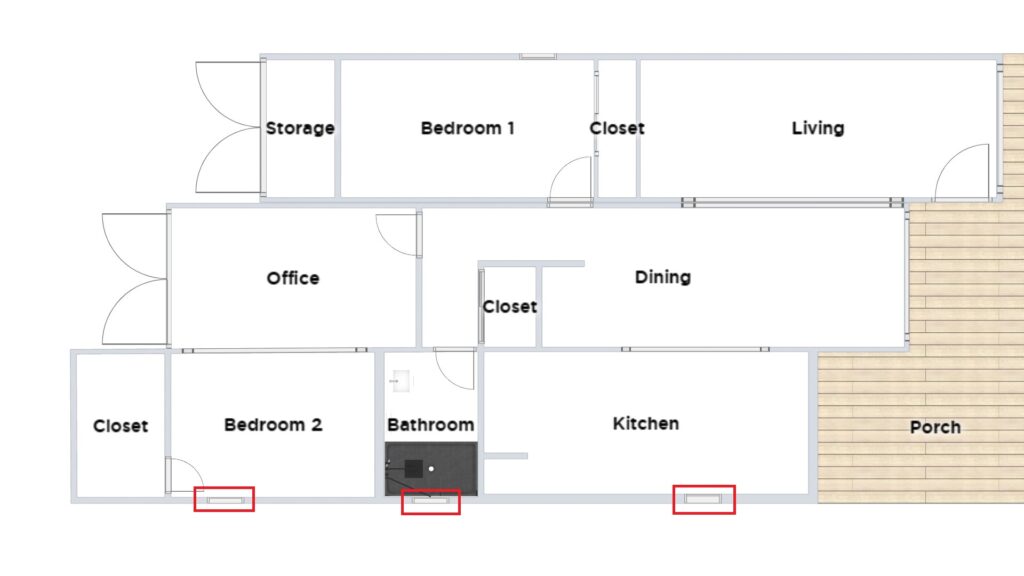
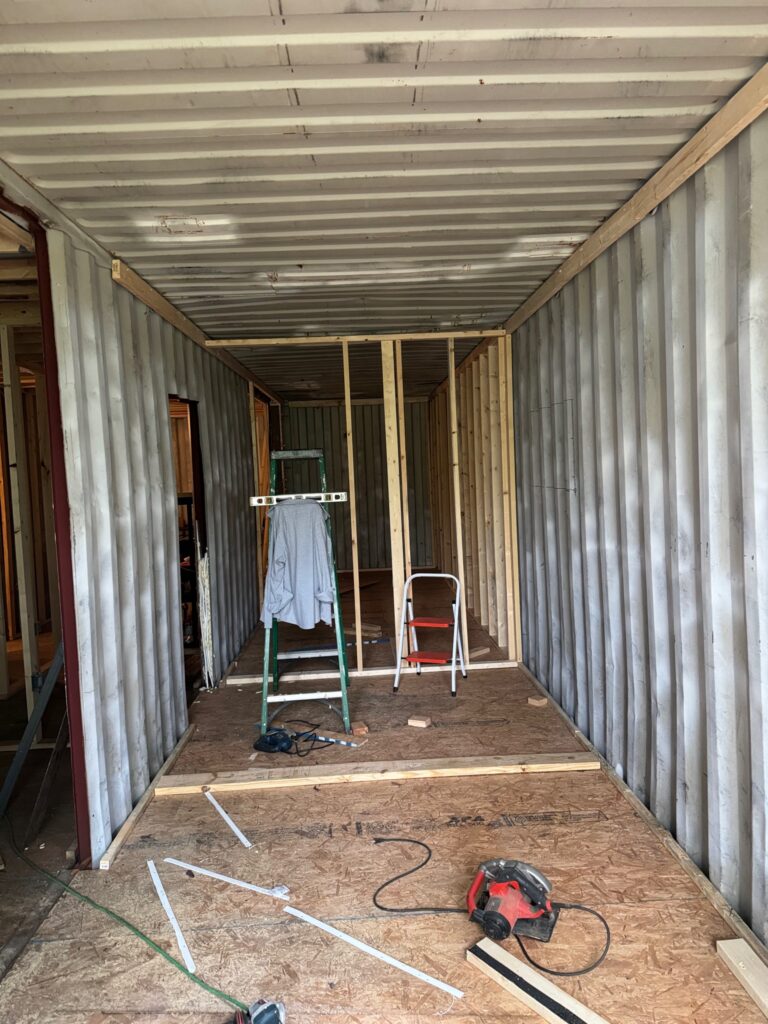
Here’s a view of the early stages of framing Container #3. The six-inch bottom plate is across what will be the rear of the bathroom. We’re installing a wall-mounted toilet that requires the deeper wall. Toilet models made for traditional four-inch walls do exist but we like the idea of additional support and the slightly larger water reservoir.
COMING UP NEXT
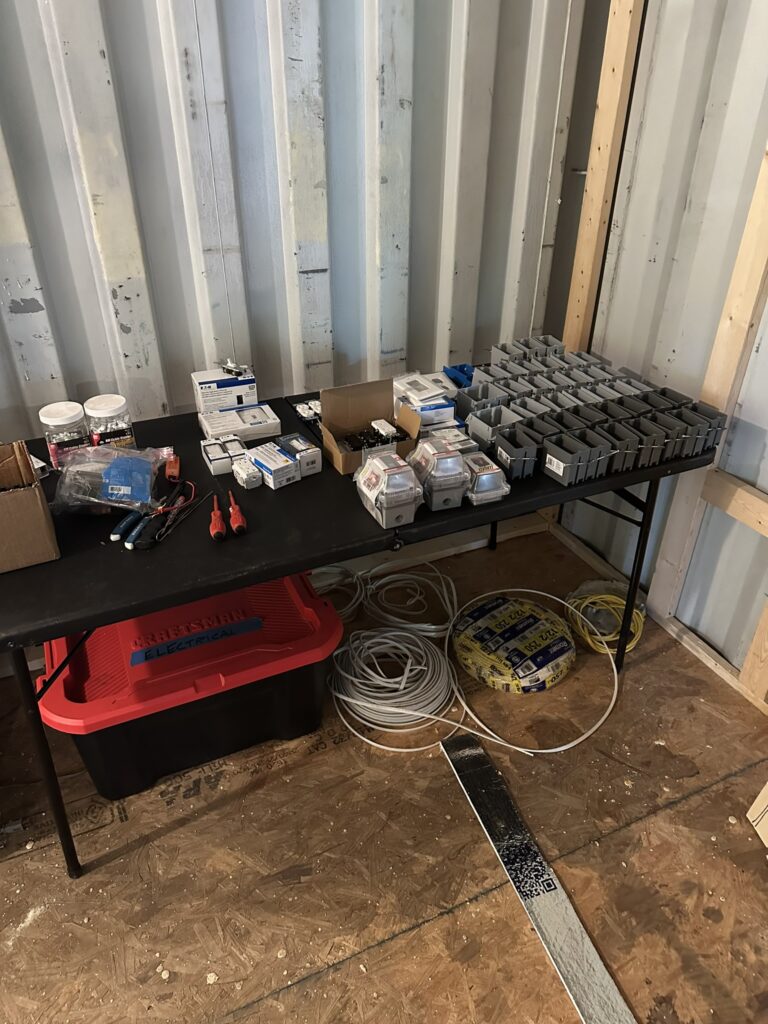
In July we’ll continue framing and begin running electrical lines to Containers 2 & 3.
LOOKING AHEAD
Later in the year we’ll complete framing on the entire project, continue electrical work, and install the bathroom window. The kitchen window will wait until we have our kitchen cabinets down the road so we know exactly where to place the window over the sink.